Showing posts with label acrylic paint. Show all posts

Sunday, June 19, 2022

Week 8 Mystical Scrapbooks Retro TV Program Competition

Hello hello

It's the final week of the Retro TV Program Challenge at Mystical Scrapbooks this week

You will find the challenge here

The program for this week is Happy Day's
What a great program it was and who wasn't "in love" with Fonzy, 
I know I was. He was so cool.

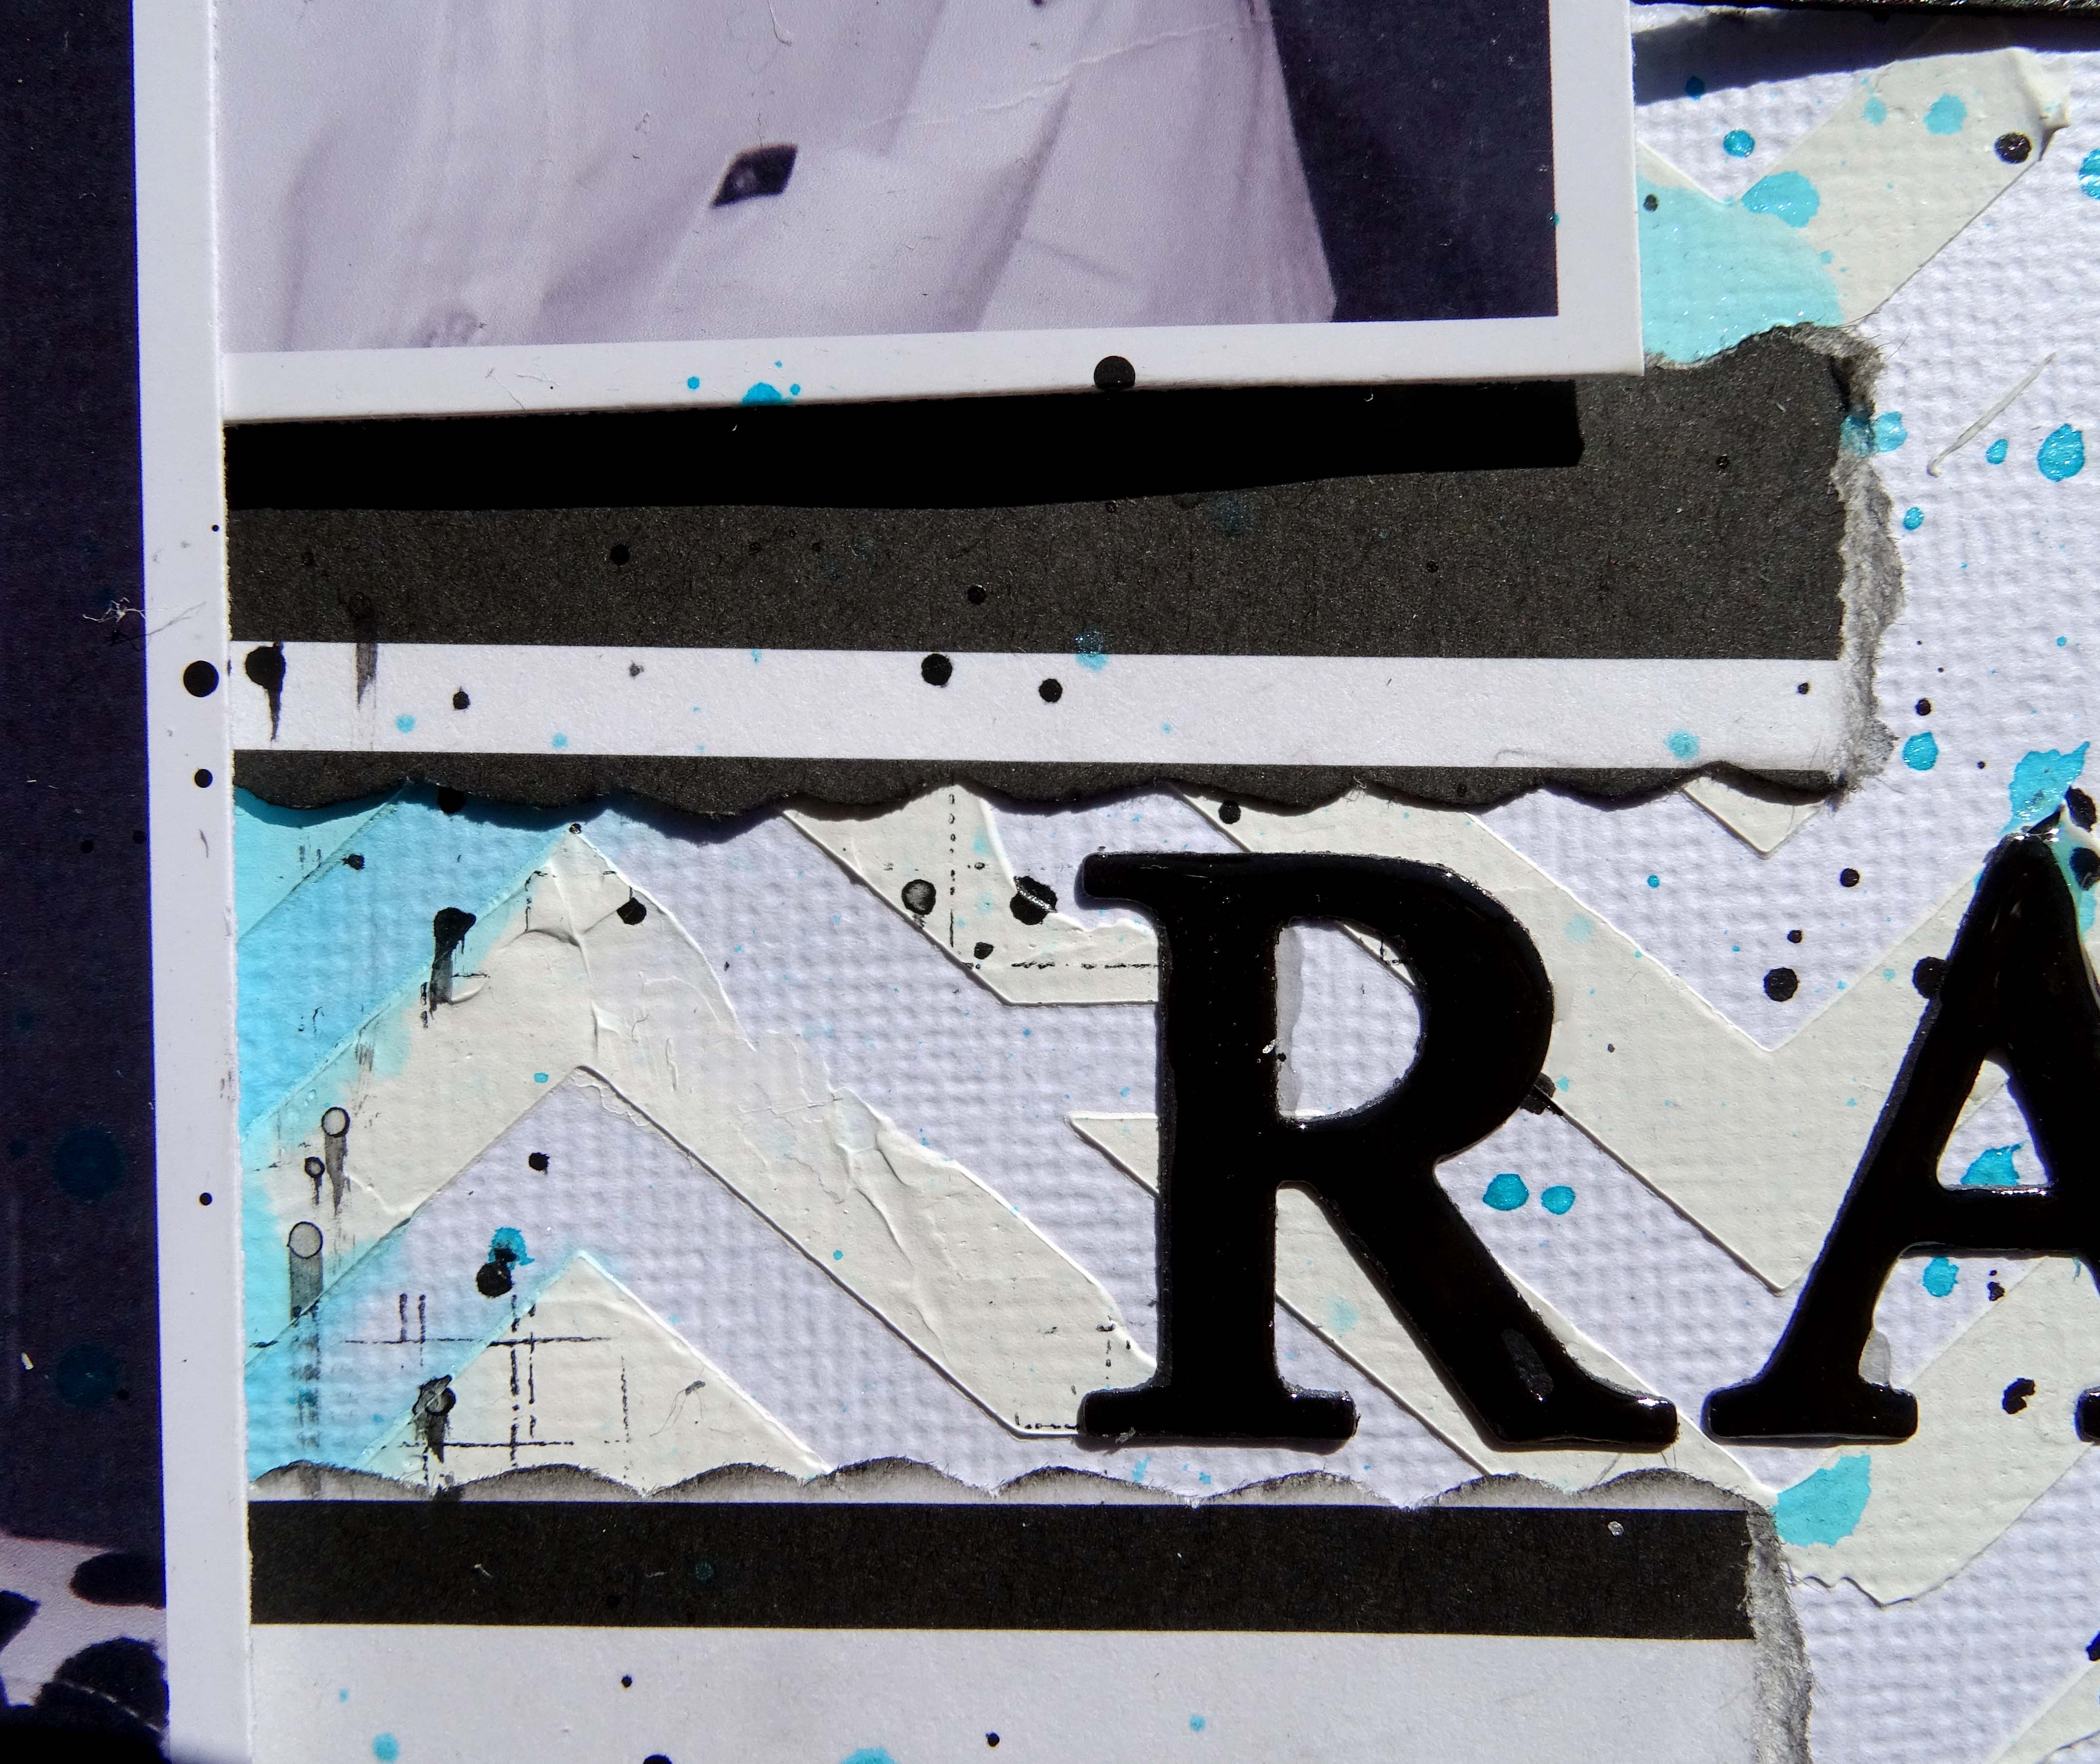
The colour scheme for this week is denim and silver,
the required technique is paper tearing,
it must be a masculine layout 
and the item from the optional kit is chipboard cogs.

Here is my layout


The papers I have used are from Uniquely Creative's Country Roads paper collection

The background is a sheet of The Real Deal patterned paper,
I have used Colour Blast Honey Hive - Love and Grace A4 stencil
and Faded Jeans Distress Ink to add some interest.

My photos are 4" square.
I have used an emery board to file around the edges of each of them.

I tore two strips of The Back Paddock paper and ran them down the sides of three of the photos

This panel was added to the left hand side of the layout 
and one of the photos, which is matted on a piece of The Back Paddock paper
is featured on the right hand side of the layout.

All of the photos are mounted on cardboard.

I added a strip of black cardstock to both edges of the photo panel 
and also to the left and right edges of the layout.

I used Memory Maze Pick up Sticks Square frame chipboard 
and the chipboard cogs from the optional kit to embellish the layout.

Each piece was painted with white acrylic paint and then silver acrylic paint.

I cut the frame in half and placed it around the fourth photo and the cogs
were added to the top right of the photo panel and the bottom right of the layout.

I created a third cluster using Uniquely Creative's Silver Metal Cogs to the bottom left of the photo panel.
I also adde one of the metal cogs to each of the other cog clusters.


I cut the title from black cardstock using Kaisercraft's DD700 Alphabet Upper Case dies.

This is attached in the top right of the layout using liquid glue


All of the details are in this video.
I hope you find time to watch and enjoy it.


Till next time
Stay safe
Hugs
Julie


Sunday, May 29, 2022

Retro TV Program Competition at Mystical Scrapbooks

Good morning

Today's layout is for week 5 of the Retro TV Program competition over at Mystical Scrapbooks.
You will find the competition here.

The program for this week is Friends.
The colour palette is rainbow, the required item is a Coffee Cup / Champagne Glass, 
you must use glitter on your page and the bonus item from the optional kit is a fabric heart.

Here is my layout


As you can see I have got the rainbow of colours as the background of my layout.
I used Simple Stories - Hello Summer papers for this layout.

I gutted a piece of black cardstock leaving a 1" frame.
My 11 1/2" square piece of Life is Good was attached to the frame using double sided tape.

I watered down both black and white acrylic paints and used my fan brush to create splatters all over my background.

I trimmed my 7" x 5" main photo to 7" x 4 1/2" and filed around the edge 
of each of the three photos with an emery board to add a fine white border.

I cut a piece of Oh Happy Day 8" x 6" and tore along one of the 8" edges.
After inking around the edges I attached my large photo to it.

I wrapped some black & white Twine around my photo three times and tied a knot at the front.

The two smaller photos were matted onto Catching Rays with a 3/16" border on each side.

I added cardboard to the back of each of the photos and attached them to the layout.

I painted my coffee cup chipboard with white acrylic paint. 
When this was dry I added a liberal coat of Art Glitter glue and pressed 
Dress my Craft Rainbow Glitter onto it, making sure it had a nice thick coat.

I added the coffee cup and the fabric heart to the layout using Art Glitter glue

To create the title I used Sizzix 662667 Alphabet die and black cardstock.
I attached the title using Art Glitter glue and my reverse tweezers

To finish the layout off I used my fountain pen to draw a double scribbly border around the page.


You can see my process video here.
I hope you enjoy watching it


Thank you for spending part of your day here with me today

Till next time
Stay safe
Hugs
Julie


Friday, May 20, 2022

Mystical Scrapbooks May Cyber Crop

Good morning

The May Cyber Crop is on this weekend over at Mystical Scrapbooks
You will find it here.

The theme for this month is 1, 2, 3. and there are three challenges.

The challenge my layout is created for is to use 1 piece of chipboard, 2 photos and a 3 word title.

Here is my layout


I have used Colour Blast Limited Editions and Love & Grace papers for this layout

I cut two 2" x 12" piece of Limited Edition - Real Deal
and tore a piece of Love & Grace - Portia to approximately 12" x 10"

Using the Portia paper I applied Modelling Paste through Dusty Attic's Criss Cross stencil

I sprayed Tattered Angels Chalkboard -Teal High Heel to three areas of the paper
and added water to help it to spread out over the page
A light spray with Docraft's Artiste Spritzing Ink - Mint 
adds a little visual dimension to the sprayed colour.

Using the Mint ink and DoCraft Spritzing Ink - Black Night, I added splatters to the background.

Once all of the mixed media was dry, I used StayzOn Jet Black Ink and 
Kazzaz - Life's Moments Background stamp 
to add random stamping to the layout.

I distressed and inked the two pieces of Real Deal paper and 
attached them to the top and bottom of my 
background piece to build it back up to 12" x 12"

I used the Black Night Spritzing ink and a brush to colour a frame 
from Memory Maze Junky Frame & Arrows chipboard pack.
I also sprayed the chipboard with Tattered Angels Glimmermist - Iridescent Gold.
The chipboard is attached to my layout using Art Glitter glue

I have used an emery board to file around the edges of my photos 
and matted them onto black cardstock.
Scrap cardboard was added to the backs of the photos 
before they were attached to the layout overlapping the chipboard.

To create the title I used Kaisercraft DD700 Alphabet Upper Case 
and Die-namics High Rise Numbers dies and black cardstock.

The final touch was to add some white splatters to the background. 
To do this I watered down some white acrylic paint and used my fan brush.


Here is my process video
I hope you enjoy watching it


Thank you for spending part of your day here with me today
Till next time
Stay safe
Hugs
Julie

Friday, May 13, 2022

Off The Rails Scrapbooking May Challenge

Good morning

Today I am sharing the layout I created for the May challenge at Off the Rails Scrapbooking

The challenge for this month is Black & White with only one other colour.
I have chosen blue as my other colour


I have gone with a simple clean layout for this challenge.
The minimalist look seems to be appealing to me at the moment.

I have added Modelling Paste through TCW Chevron stencil 
to the centre section of my white cardstock background. 
I have not been too particular with this application 
as I am looking for a random type of feel.

My colour is added by spraying Tattered Angels Jazz Blue Glimmermist 
at the top of the page and using extra water spray 
to help it run down the centre of the layout 
over some of the Modelling Paste.

When everything was dry I used Kaisercraft's Grid stamp 
and StayzOn Jet Black ink to stamp randomly over the background.


The patterned paper is from 2007, it is by Imaginisce and is 
Striped Sophistication from the Black Tie Optional range.

I tore this into strips using my Deckle edged ruler.
I inked the edges of the strips after I had torn the edges down 
to create an assortment of lengths then 
attached them to my background using Art Glitter Glue


My black & white photos were printed with the white border and measure 3" x 4 1/2".
I have attached pieces of cardboard to the back of the photos before attaching them to my layout.

To embellish the page I have painted 
Scrapmatts CB5156 Triangles 01 chipboard with black acrylic paint.
I cut the chipboard into three pieces and attached it to my page along side each of my photos

I used my fountain pen to draw a double scribbly border around the page.

A little more detail was added to the background by splattering some of the 
Glimmermist and black acrylic paint lightly, mostly to the central area of the layout.

The title was cut from black cardstock using Kaisercraft's DD735 Uppercase Alpha dies.
Once it was attached to the layout using my t ruler, reverse tweezers and Art Glitter Glue
I coated it with Glossy Accents. This gives a beautiful glossy finish when it is dry


Here is my process video. 
I hope you enjoy watching it.


Thank you for spending part of your day here with me today
Till next time
Stay safe
Hugs
Julie


Friday, March 25, 2022

Art Journal Page

Hi there

Today I am sharing my latest art journal page.


I have used two pages from my Happy Planner notebook.
I have glued them together and given one side of the page a coat of white Gesso

To colour the background I have applied Gelatos and blended them using my finger.

I have used 
Lemon
Gold Champagne
Tangerine 
and Grape

My next layer is random stamping with StayzOn Jet Black Ink 
and a background stamp that I don't know the name or brand of.
You can see the stamp in the video if you are interested to see what it looks like

Next layer for the background is Modelling/Texture Paste through a Mandala stencil

To create the hearts I applied Paper Mill Alcohol Inks to a sheet of Gloss Photo paper 
and used my air puffer to move the ink around.

The inks I used are
Lemon Yellow Shimmer
Burnt Orange Metallic
Silver Metallic
Gold Metallic
Rolling Waters Metallic
Purple Sequin Metallic
Silvery Metallic
and Penny Loafer Metallic

Once the inks were dry I used my Cutterbee scissors 
to cut an assortment of sizes of heart shapes from the card.

These were attached to my page using Matt Medium, being careful 
not to smudge the background, as I had not sealed it.

Watered down white acrylic paint was splattered all overt the page next

I drew a sketchy line just inside the edge of each of the hearts 
and a scalloped decorative border around the outside of each heart.

A sketchy boarder was also added to the edges of the page.

The quote is from the internet, I printed it onto copier paper,
trimmed it and added it to the page using Art Glitter glue.

I used my black Fudeball pen to draw a sketchy border around the quote.


Here is my process video


Thank you for spending part of your day here with me today
If you have any questions or suggestions please leave them in the comments

Till next time
Stay safe
Hugs
Julie

Tuesday, March 1, 2022

Mystical Scrapbooks March Challenge

Hi there.

Today I am sharing the layout I created for the March challenge over at Mystical Scrapbooks.

The theme over there this month is mood boards and there are two of them to choose from
 or maybe even create a layout for both of them.

This is the moodboard this layout was created for.


This is my layout


The background for this layout started life completely different to how it links now.

I gave my white cardstock a coat of white Gesso.

Originally I used Distress Inks and plastic packaging to colour where the red is now. 
I used Barn Door but when it dried it was more pink than bright red.

Not happy with the colour I used a sponge to dab red acrylic paint over the top of the ink.
I then splattered white acrylic paint over the red.

The flower frame is a cut file from Page Evans

I stamped a text stamp with StayzOn Jet Black ink all over the cut file.

I used Distress Ink Mustard Seed and a wet brush to colour the cut file and then
Carved Pumpkin and a fine brush to add a little detail to the centre of the flowers.

I punched a few circles from white cardstock, stamped them with the same stamp and ink
to fill the holes in the centre of the flowers.

I used Art Glitter glue to attach the cut file to the page 
so it sat over the painted section of the background.

I am using a 6" x 4" photo, I filed around the edge of the photo with 
an emery board before matting it onto some orange cardstock.

I also added some cardboard to the back of the mat.
This assembly was then attached to the layout.

I used Heartfelt Creations Daisy Patch Flowers to stamp and heat emboss three layers of the flower.
I used Mustard Seed and Barn Door Distress Inks to colour the flower.

I also stamped and heat embossed Picket Fence - Flowers for the Picking.

I used my flower shaping tools to shape all of the flowers.

All of the flowers were attached to the layout with liquid glue.


I trimmed my white background down to 11 1/2" square and matted it 
onto a 12" piece of black cardstock to give it a nice dark border

The title was die cut from black cardstock using my 
Kaisercraft DD700 Alphabet Upper Case dies
and attached using my t-ruler and liquid glue.

I used my fountain pen to draw a double scribbly border around the page and the flower centres

I have a process video you might like to watch


Thank you for spending part of your day here with me today.

Till next time
Stay safe
Hugs
Julie


Friday, February 25, 2022

Art Journal page using Alcohol Inks

Good morning

Today's post shares an Art Journal page that I created using Alcohol Inks for my background

I don't use alcohol inks very often and am by no means an expert with them 
but I am very happy with the way my page turned out.


I have used Office One A4 180gsm Gloss Photo Paper for my base.
This paper came from my Mum and is not as glossy as some of the other gloss photo papers I have.
I wasn't sure if it was going to work but figured I would give it a try, nothing to loose right...

I sprinkled blending solution onto half of the A4 sheet. 
I decided to work on half the sheet at a time because the alcohol inks 
dry quite quickly and I did not want them to dry before 
I had the opportunity to move them around and get the look I was going for.

Next I added the alcohol inks.
I am using Paper Mill Shimmer alcohol inks for this page.
The colour I used are Lime Green, Grass, Ocean Blue and Sea Breeze
I also added a few drops of Slate, this is not a shimmer.

I used my Couture Creations "puffer" tool to move the ink around, adding more blending solution and ink 
as needed to get a nice all over cover

I then added several drops of Ranger Fixative in Gold. 
I did not move this around because I wanted it to look like gold splatter.

I set this aside to dry. You can dry it with your heat gun 
but I find that moves the colour around a bit more 
and I prefer to let it dry naturally.

To add more interest to my beautiful shimmery background 
I splattered some slightly watered down acrylic paints using my fan brush.

The paints I used were 
Black Gloss, Golden Turquoise, Sparkling Sapphire Pearl and White Frost Pearl.


The focal point for my page was created by using my Big Shot to die cut white cardstock 
using a Hexagon die I purchased from Downunder Scrapbooking. It is GD2056.
I cut it from both white and pearl gold cardstock to see which one I preferred.
I chose the white because it stood out from the background better.


I used Art Glitter glue to attach the hexagons to the page.

To help my hexagons look like they are part of the page 
and to help them stand out a little more I used my Stabile All pencil in black
 and a water brush to shade around each hexagon.

I used a black fine point Sharpie to draw a double lined border 
around the page and then coloured black squares between those two lines.

A Copper 250 Opaque Texta marker was used to fill in the blank squares in the border. 
This colour is very close to the colour of the gold splatters in the background.

A fine white scribbly border, made with my fineliner bottle and watered down acrylic paint, 
was added to the inside of the border to finish it off.

I like to mix fonts for my quotes so I have used 
Kaisercraft's DD735 Uppercase Alpha die and black cardstock
 to cut "OPEN" and then printed "your mind" onto copier paper
to complet the quote.

I used Art Glitter glue to attach the title to the page.

A 0.7mm white Posca pen was used to highlight the black letters.


I have to say I really enjoyed making this page.

I love the look you get with alcohol inks and plan on using them more frequently in the future.

I have a process video
I hope you enjoy watching it.


Thank you for spending part of your day here with me today

Till next time
Stay safe
Hugs
Julie


Tuesday, February 1, 2022

Mystical Scrapbooks February Challenge

Good morning

Today I am sharing the layout I created for the February challenge at Mystical Scrapbooks

There is a sketch challenge this month and this is the sketch I created for the challenge.
There are two challenges and two sketches for you to use.


The added requirement for this challenge is to use some altered chipboard on your page.

This is my layout
You can see it closely follows the sketch.


The paper I have used for this layout is Mechanism from Kaisercraft's Time Machine range.

The background is white cardstock

I tore two strips approximately 2" wide and 2 approximately 1/2" wide 
and layered the 1/2" strip behind the 2" strips.
These were then attached to the sides of my layout.

My photos are 4" x 3", I filed around the edge of each one 
with an emery board to give a thin white border.
I then matted them onto the dark side of the Mechanism patterned paper

I have added scraps of chipboard to the back of my photos 
to give them a little lift when I attach them to my layout

I have used two packets of chipboard on my layout.

I coated the chipboard with white Gesso and then

I wanted the Dusty Attic Cog Border #3 to look a bit rusty and old 
so I added some textured brown paint, 
that I have had in my stash for about 20 years,
just randomly around the edges.


I painted these with the same silver metallic paint so they had the same look as my chipboard.


I tucked the border chipboard edge under the side strips, 
using liquid glue to hold it in place.

I attached the photos to the layout, then added the single cogs, both chipboard and metal,
so some of them overlapped the photos.

I wanted some of the chipboard elements on the side panels. 
I painted them with black acrylic paint so they would stand out better on the green paper
 and attached them using Art Glitter glue.
I find that this glue works extremely well for attaching chipboard and metal objects.


To create the title I used my Kaisercraft Alphabet Upper Case dies
 to cut "Toys" from the same patterned paper.

I attached these to a piece of acetate, added thin strips of chipboard 
behind the first two letters, before attaching it at the bottom of my page 
so it overlapped the vacant area of the bottom photo.
I gave the title a coat of Glossy Accents for a nice shine.


Here is my process video. I hope you enjoy watching it.


Thank you for spending part of your day here with me today

Till next time
Stay safe
Hugs
Julie


Saturday, January 29, 2022

Live your best Life Art Journal page

Hello, hello

Welcome to my blog today where I want to show you an art journal page I have just completed.


I used Gelatos to colour the background. The colours I used are
Lemon, Red Cherry, Tangerine, Gold Champagne and Butter Cream

Once the colours were dry I gave my page a coat of Boyle Matt Spray
to seal it so the colours would not move when I added any other mediums.

I cut the circles from both white and black cardstock using Kaisercraft DD942 Stitched Circle Die.

I used pearl acrylic paints to colour the circles.
I gave each circle a couple of coats of a light colour 
then shaded around the edges with a darker tone of the same colour.

The colours I used are Duncan brand pearl acrylics
Lemon Drop, Powder Blue, Sparkling Sapphire, Bright Turquoise, Golden Aqua, Golden Lime, Golden Turquoise, and Green
I also used Folk Art Metallic Pure Gold


I stencilled onto the background using a 13@rts broken circles stencil.

Firstly I used Duncan Natural Texture (gritty paste) in Pumpkin
then Duncan Pearl White acrylic paint.

The stamping on the background is done with Archival Jet Black Ink 
and an assortment of circle stamps.
One of the stamps is Kaisercraft's Stains stamp set 
and the other two are unknown brands.


I used my black Stabilo All pencil and a wet brush to shade around each of the circles 
before giving them a scribbly border using slightly watered down
 black acrylic paint in a Fineliner bottle.

The same bottle of paint was used to draw a scribbly border around the page.

I gave each of the circles a highlight using a flat brush and some watered down white acrylic paint.

The same watered down paint was used with my fan brush to add a good amount of splatters to my page.


The quote has been stamped using Tim Holtz Cling foam stamps from the block lower alphas set.

The centre part of the quote was printed using my Brother PTouch label maker.

There is a lot of texture and shine on this page.

Here is my process video for you to check out


As always, thanks for spending part of your day here with me today

Till next time
Stay safe,
Hugs
Julie


Saturday, January 1, 2022

January Challenge at Mystical Scrapbooks

Good morning and Happy New Year to you.

My post today is to share my Design Team layout for January's challenge at Mystical Scrapbooks

The theme for the month is Techniques and the highlighted product is ribbon & twine.
The ribbons and twine will be on sale for the month so don't forget to check them out.

The challenge that I have set is to use the "Smooshing" technique on your layout and to incorporate a ribbon or twine bow.

Here is my layout


There are eight photos and they are each 3" square.

I have used Distress and Distress Oxide inks for my smooching.
The paper I have used for my background is Bee Arty - Love & Grace - Adele

The inks I have used are 
Distress Oxides Speckled Egg & Salty Ocean

If you are unsure of how to do the "Smooshing" technique check out my process video below.
It is very simple and lots of fun.

I also added random stamping on my background using Versafine Onyx Black ink

I have used Bee Arty Love & Grace - Portia patterned paper and white cardstock
to die cut an assortment of flowers.

The dies I used are
Uniquely Creatives Little Leaves
Couture Creations CO724161
Cheery Lyn B311 Chrysanthimum Strip
and one other die that I do not know the name of.


I inked the edges of the flower layers, shaped them with my flower shaping tools 
and assembled them using my Art Glitter Glue.

I filed around each of the photos with an emery board before attaching them to my background.

Next the flower embellishments were attached

A Bakers Twine bow sits amongst the left hand floral cluster


The title was cut from black cardstock using Kaisercraft's DD700 Alphabet Upper Case Die,
attached to the right hand side of the layout and given a coat of Glossy Accents

To finish the layout off I added a scribbly boarder of slightly 
watered down black acrylic paint in my 

Here is my process video so you can see how I created this layout, including the "smooshing" on the background


Thank you for spending part of your day here with me today

Till next time
Stay safe
Hugs
Julie