Showing posts with label glossy accents. Show all posts

Friday, July 15, 2022

July Cyber Crop at Mystical Scrapbooks

Good morning

I have got a layout to share today.
I created this layout for the Cyber Crop at Mystical Scrapbooks.
You will find the Cyber Crop here

There are three challenges in this Crop and this layout if for the challenge 
that requires you to use a flip on your layout.

You can see what I mean in the photos below.

The centre photo opens out to reveal two more photos underneath.


I used papers from the Uniquely Creative Steampunk Safari collection for this layout.

To create the background I used Scattered Straw and Rusty Hinge Distress Inks through 


I have two photos measuring 3 1/2" x 6" and three measuring 3" x 6".
The smaller photos are in the flip section of my layout.
I used Steampunk Safari - Technical paper to matt the photos and to make the flip.

I used Uniquely Creative's Steampunk Safari - Awesome and Basic Grey's Green at Heart - Kermit papers behind the two outside photos along with a piece of the same cardstock I used to matt the whole layout.

I have sewn around everything with my sewing machine and black thread, 
including a circle in the middle of the layout.

To embellish the layout I used some items from the Steampunk Safari Creative Cuts 
and some fussy cut items from Steampunk Safari - Unique patterned paper

I cut the title from black cardstock using my Kaisercraft DD700 Alphabet Upper Case die.
I added a coat of Glossy Accents.

My process video is below.
In the video I also show you how I add my layout to a page protector 
in my album so the flip can be opened.


Don't forget to pop over to Mystical Scrapbook and check out the Cyber Crop

Thanks for being here today
Till next time
Stay safe
Hugs
Julie

Friday, June 10, 2022

Mystical Scrapbooks June Cyber Crop.

Good morning

Today I am sharing the layout I created for the June Cyber Crop at Mystical Scrapbooks.

The theme for this month is sketches and my layout uses this sketch


This is a nice clean open layout and here is my take on it


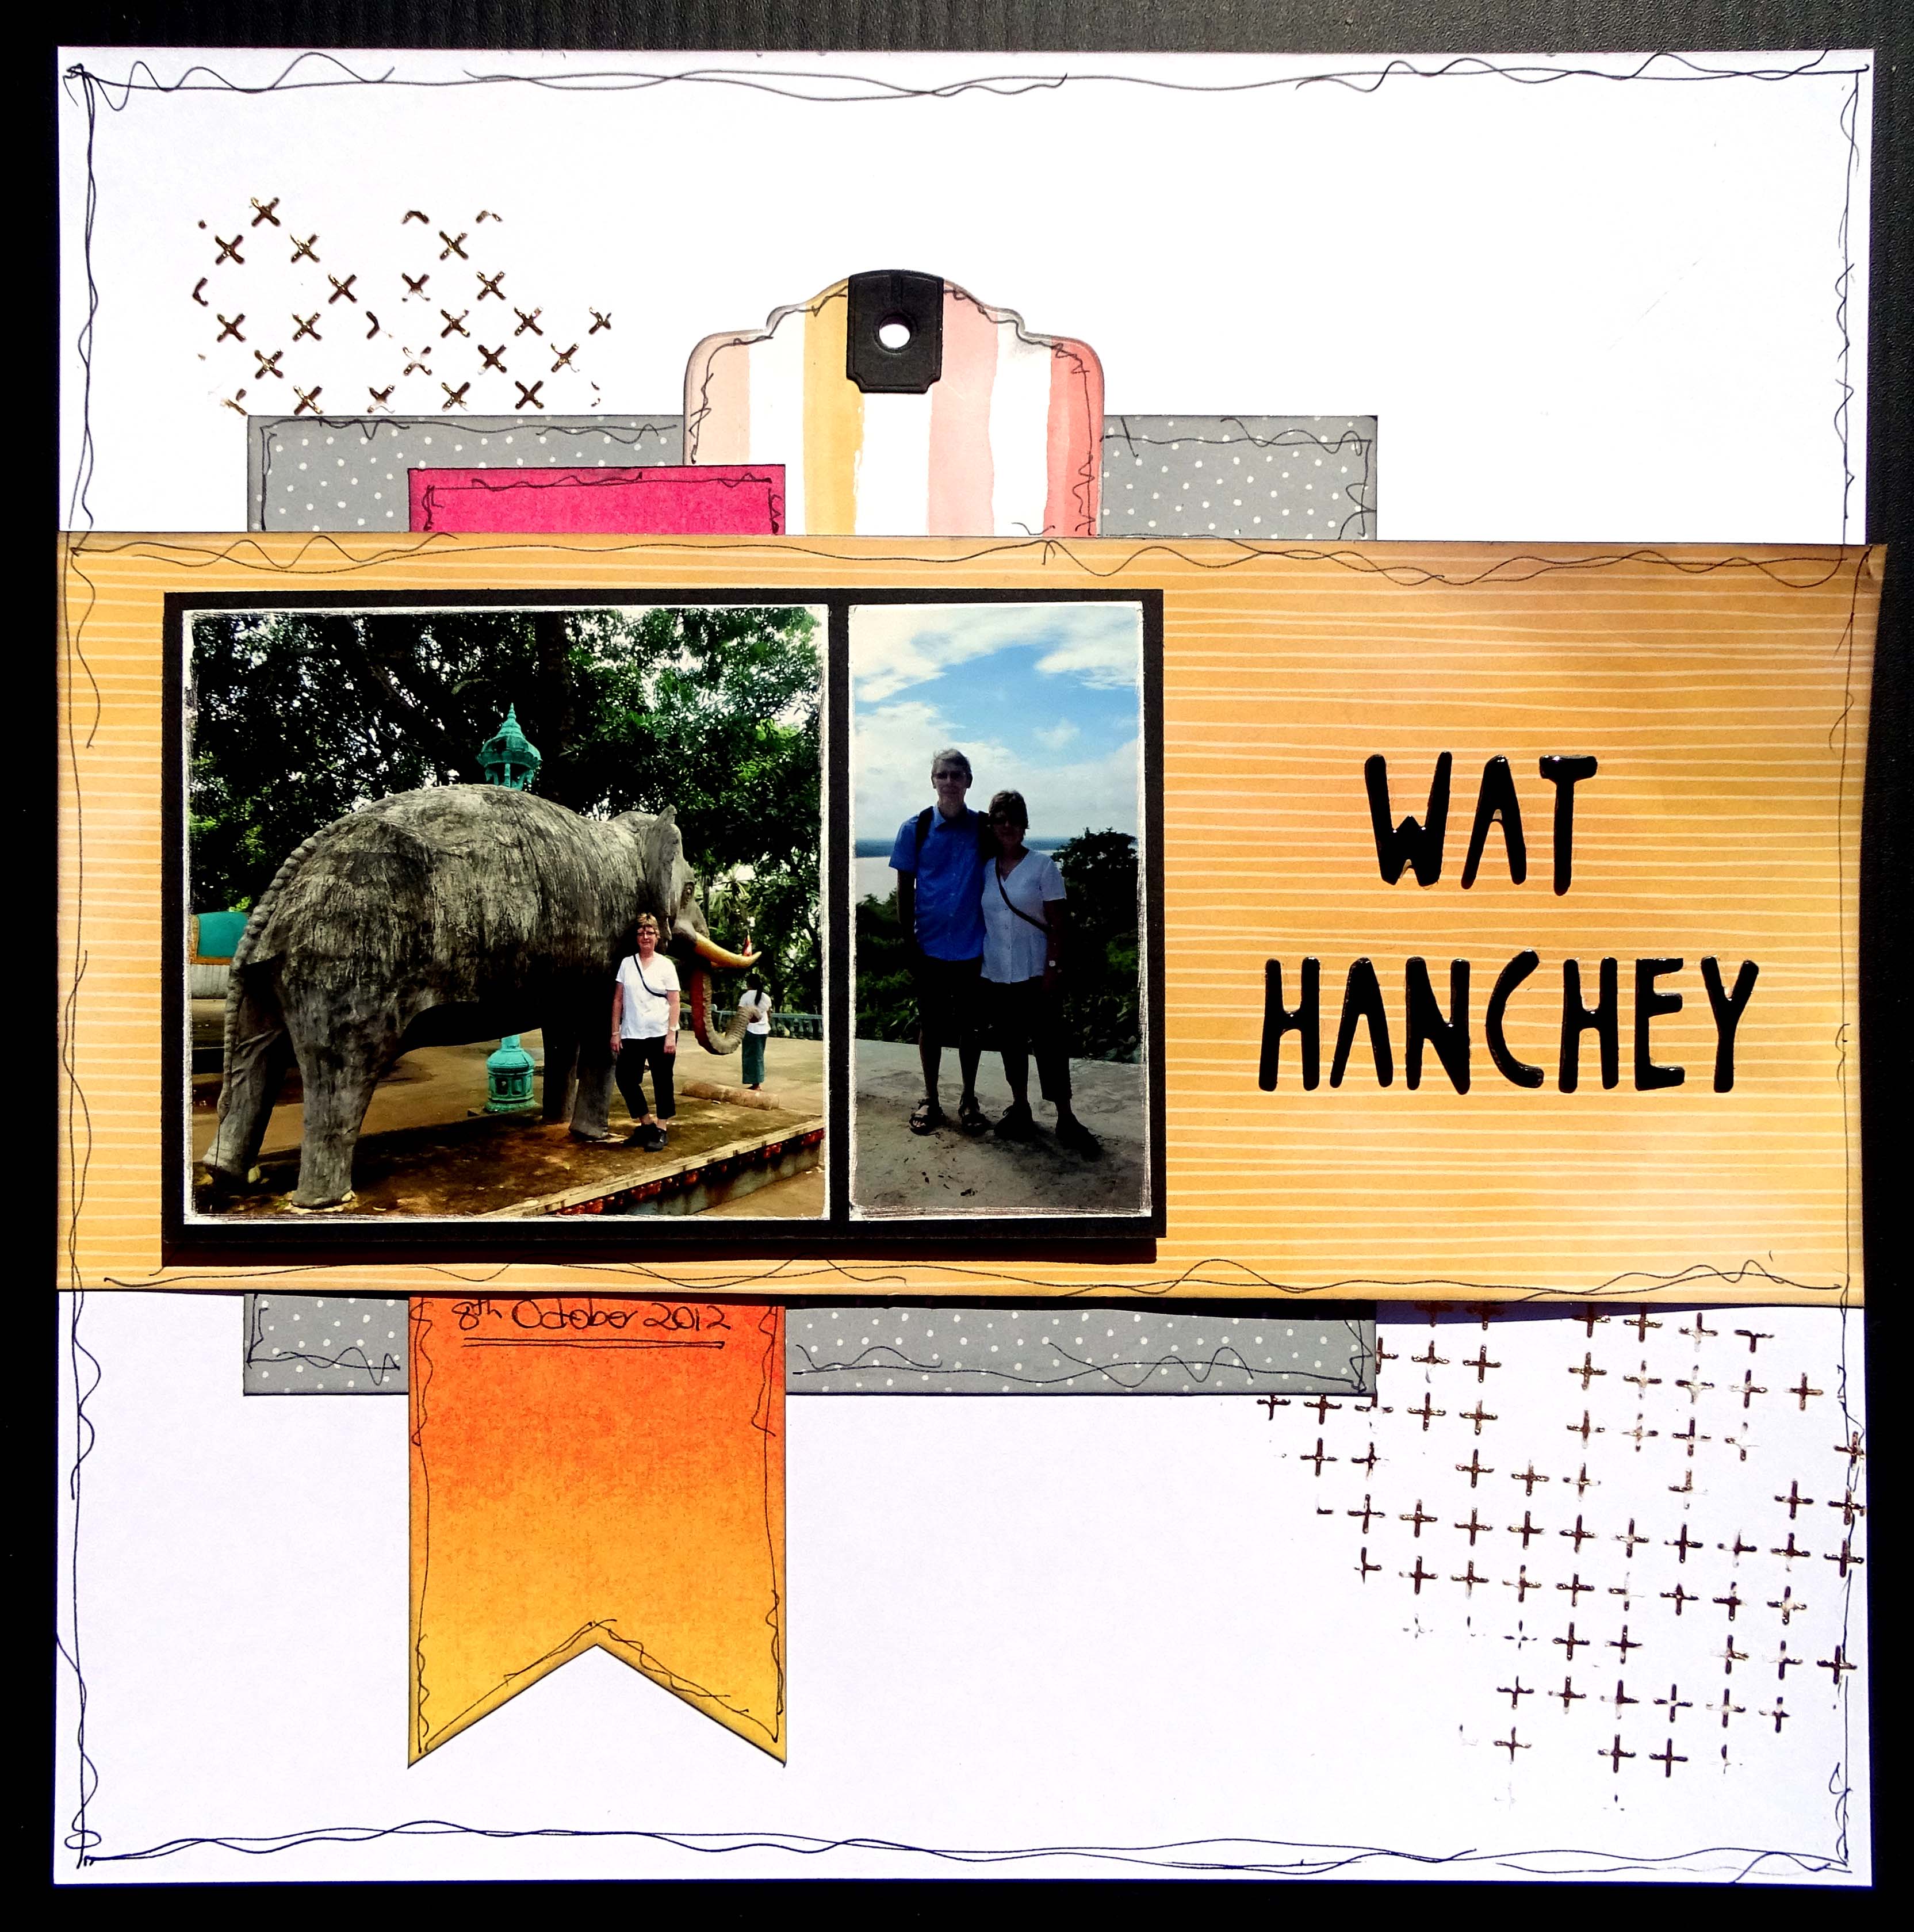
I added foil to the background by putting Deco Foil Transfer Gel through Dusty Attic's Criss Cross stencil.
Once that was dry I rubbed gold Fab Foil over the top of the Gel.

I used Cocoa Vanilla Daydream papers for this layout.

The yellow/orange paper is Daydream - Sun Shower
I cut it to 5" x 12"

The grey spot is Daydream - Garden Variety
I cut it to 7 1/2" x 6 1/2"

The rainbow paper is Sunkissed - Summer Lights
I cut it to 2 1/2" x 8 1/2". I cut a fishtail into one of the narrow ends.

The tag was cut from Daydream - Stepping Stones.
I cut the tag using Uniquely Creative Tags, Tops & Tails die.

The title was cut from black cardstock using Sizes 662667 Alphabet die.
I attached the title with glue and coated it with Glossy Accents.

The photos were matted onto black cardstock.
Cardboard was attached to the back of the photo matt before it was attached to the page.

Final touch was to add a scribbly border to the page and the patterned papers.


Here is my video.
I hope you enjoy watching it.


Thank you for spending part of your day here with me today

Till next time
Stay safe
Hugs
Julie


Friday, May 13, 2022

Off The Rails Scrapbooking May Challenge

Good morning

Today I am sharing the layout I created for the May challenge at Off the Rails Scrapbooking

The challenge for this month is Black & White with only one other colour.
I have chosen blue as my other colour


I have gone with a simple clean layout for this challenge.
The minimalist look seems to be appealing to me at the moment.

I have added Modelling Paste through TCW Chevron stencil 
to the centre section of my white cardstock background. 
I have not been too particular with this application 
as I am looking for a random type of feel.

My colour is added by spraying Tattered Angels Jazz Blue Glimmermist 
at the top of the page and using extra water spray 
to help it run down the centre of the layout 
over some of the Modelling Paste.

When everything was dry I used Kaisercraft's Grid stamp 
and StayzOn Jet Black ink to stamp randomly over the background.


The patterned paper is from 2007, it is by Imaginisce and is 
Striped Sophistication from the Black Tie Optional range.

I tore this into strips using my Deckle edged ruler.
I inked the edges of the strips after I had torn the edges down 
to create an assortment of lengths then 
attached them to my background using Art Glitter Glue


My black & white photos were printed with the white border and measure 3" x 4 1/2".
I have attached pieces of cardboard to the back of the photos before attaching them to my layout.

To embellish the page I have painted 
Scrapmatts CB5156 Triangles 01 chipboard with black acrylic paint.
I cut the chipboard into three pieces and attached it to my page along side each of my photos

I used my fountain pen to draw a double scribbly border around the page.

A little more detail was added to the background by splattering some of the 
Glimmermist and black acrylic paint lightly, mostly to the central area of the layout.

The title was cut from black cardstock using Kaisercraft's DD735 Uppercase Alpha dies.
Once it was attached to the layout using my t ruler, reverse tweezers and Art Glitter Glue
I coated it with Glossy Accents. This gives a beautiful glossy finish when it is dry


Here is my process video. 
I hope you enjoy watching it.


Thank you for spending part of your day here with me today
Till next time
Stay safe
Hugs
Julie


Friday, April 1, 2022

Design Team project for Mystical Scrapbook's April Challenge

Good morning to you,
how are you today?

Today I am sharing the layout I created using one of the two colour palettes 
over at Mystical Scrapbooks for their April challenge.

This is the colour palette I am using


and here is my layout


I have used Uniquely Creative's The Story Garden papers for this layout.

I cut a 1" frame from a 12" piece of Character to create the page frame.

A piece of English Rose was trimmed to 11 1/2", the edges were inked using a 
Versa Color black ink cube and the two papers were attached 
to each other using double sided tape.

Using Cadence MU-13 Stencil and my palette knife I added Modelling Paste randomly to the background.

I used Gesso to coat a frame from Memory Maze's Junky Frames & Arrows chipboard set.
When this was dry I coloured it using Glimmermist, colour Starfish.


My photo is 5' x 7", I cut two mats for the photo, 
one from Stories that is 5 1/2" x 7 1/2" and 
one from Character that is 6" x 8".
I used an emery board to file around the edge of the photo 
before inking around the edges of all of the layers and attaching them to each other.
I also added a layer of sticky backed craft foam to the photo panel

I fussy cut all of the elements from Marvellous and the Cut a Part sheet and inked the edges.

Time now to assemble my page

I added the chipboard first and then the photo.

I then played around with the placement of all of the fussy cut elements 
and once I was happy with the layout I used my Art Glitter glue
 to attach everything to the page.


I used a Uniball Eye black fineline pen to draw a scribbly border around my page 
and write the date the photo was taken on one of the tabs at the top of the photo.


The title was cut from the Characters paper using my Apple Blossom Large Numbers & Suffixes die.

The title is attached at the bottom left of the photo.

A coat of Glossy Accents was added to the title and 
the gold locket amongst the photo cluster at the bottom right of the photo.

A coat of Wink of Stella clear shimmer pen to all of the flowers finishes this layout.

Here is my process video if you would like to see this page come together.


I hope you enjoy watching it

As always I appreciate you spending part of your day here with me today
Till next time
Stay safe
Hugs
Julie


Sunday, February 20, 2022

Making flowers using dies

Good morning

Today I am sharing a video showing how I create five flowers using an assortment of dies.

The shaping techniques I use on these flowers can be used on any fussy or die cut flowers.

You will find links to most of the products I use to make these flowers in the video description box.

These are my flowers


Hope you enjoy watching my video.


Thank you for sharing part of your day here with me today

Till next time
Stay safe
Hugs
Julie


Friday, February 11, 2022

Mystical Scrapbooks Cyber Crop

Good morning

Today I want to share the layout I created for the February Cyber Crop at Mystical Scrapbooks.

This is the sketch I used.


This challenge requires you to use the sketch and to add gold to your project.

Here is my layout


The outer frame of the layout is Kaisercraft's Time Machine - Mechanism paper that I have cut the middle out of leaving a 1" frame.

The background of the layout is Uniquely Creative's Drive & Fly - Engine paper
 that I have trimmed to 11 1/2" x 11 1/2"

I used Kaisercraft's Crackle stencil and some black Gesso randomly to add some interest at the top and bottom of the layout.

Once the gesso was dry I rubbed Art Alchemy Metallique Wax in White Gold.

I trimmed Uniquely Creative - Drive & Fly - Train to 7 1/2" x 12"
and two strips of Mechanism 3/4" x 12".

The strips were added to the 12" edges of the Train paper

Next I trimmed a piece of Kaisercraft - Time Machine - Ironclad to 4" x 10" and tore the two 4" edges.

A little more gold was added to the layout by heat embossing a frame from Memory Maze's Junky Frame and Arrows chipboard with embossing ink and Stampendous Aged Gold embossing enamel.
I cut the frame in half so I could off set it on my layout.

I used an emery board to file around the edges of my photos and matted them onto the Mechanism paper.
I also added some scrap chipboard to the back of the photos.

I used my Scan N Cut to cut my title and three tropical leaves.

Time now to attach all of my elements to my page. I used Art Glitter glue for this.

Here is my process video


I hope you pop over to Mystical Scrapbooks and check out the Cyber Crop

Till next time
Stay safe
Hugs
Julie


Tuesday, February 1, 2022

Mystical Scrapbooks February Challenge

Good morning

Today I am sharing the layout I created for the February challenge at Mystical Scrapbooks

There is a sketch challenge this month and this is the sketch I created for the challenge.
There are two challenges and two sketches for you to use.


The added requirement for this challenge is to use some altered chipboard on your page.

This is my layout
You can see it closely follows the sketch.


The paper I have used for this layout is Mechanism from Kaisercraft's Time Machine range.

The background is white cardstock

I tore two strips approximately 2" wide and 2 approximately 1/2" wide 
and layered the 1/2" strip behind the 2" strips.
These were then attached to the sides of my layout.

My photos are 4" x 3", I filed around the edge of each one 
with an emery board to give a thin white border.
I then matted them onto the dark side of the Mechanism patterned paper

I have added scraps of chipboard to the back of my photos 
to give them a little lift when I attach them to my layout

I have used two packets of chipboard on my layout.

I coated the chipboard with white Gesso and then

I wanted the Dusty Attic Cog Border #3 to look a bit rusty and old 
so I added some textured brown paint, 
that I have had in my stash for about 20 years,
just randomly around the edges.


I painted these with the same silver metallic paint so they had the same look as my chipboard.


I tucked the border chipboard edge under the side strips, 
using liquid glue to hold it in place.

I attached the photos to the layout, then added the single cogs, both chipboard and metal,
so some of them overlapped the photos.

I wanted some of the chipboard elements on the side panels. 
I painted them with black acrylic paint so they would stand out better on the green paper
 and attached them using Art Glitter glue.
I find that this glue works extremely well for attaching chipboard and metal objects.


To create the title I used my Kaisercraft Alphabet Upper Case dies
 to cut "Toys" from the same patterned paper.

I attached these to a piece of acetate, added thin strips of chipboard 
behind the first two letters, before attaching it at the bottom of my page 
so it overlapped the vacant area of the bottom photo.
I gave the title a coat of Glossy Accents for a nice shine.


Here is my process video. I hope you enjoy watching it.


Thank you for spending part of your day here with me today

Till next time
Stay safe
Hugs
Julie


Saturday, January 1, 2022

January Challenge at Mystical Scrapbooks

Good morning and Happy New Year to you.

My post today is to share my Design Team layout for January's challenge at Mystical Scrapbooks

The theme for the month is Techniques and the highlighted product is ribbon & twine.
The ribbons and twine will be on sale for the month so don't forget to check them out.

The challenge that I have set is to use the "Smooshing" technique on your layout and to incorporate a ribbon or twine bow.

Here is my layout


There are eight photos and they are each 3" square.

I have used Distress and Distress Oxide inks for my smooching.
The paper I have used for my background is Bee Arty - Love & Grace - Adele

The inks I have used are 
Distress Oxides Speckled Egg & Salty Ocean

If you are unsure of how to do the "Smooshing" technique check out my process video below.
It is very simple and lots of fun.

I also added random stamping on my background using Versafine Onyx Black ink

I have used Bee Arty Love & Grace - Portia patterned paper and white cardstock
to die cut an assortment of flowers.

The dies I used are
Uniquely Creatives Little Leaves
Couture Creations CO724161
Cheery Lyn B311 Chrysanthimum Strip
and one other die that I do not know the name of.


I inked the edges of the flower layers, shaped them with my flower shaping tools 
and assembled them using my Art Glitter Glue.

I filed around each of the photos with an emery board before attaching them to my background.

Next the flower embellishments were attached

A Bakers Twine bow sits amongst the left hand floral cluster


The title was cut from black cardstock using Kaisercraft's DD700 Alphabet Upper Case Die,
attached to the right hand side of the layout and given a coat of Glossy Accents

To finish the layout off I added a scribbly boarder of slightly 
watered down black acrylic paint in my 

Here is my process video so you can see how I created this layout, including the "smooshing" on the background


Thank you for spending part of your day here with me today

Till next time
Stay safe
Hugs
Julie