
Good morning
Today I want to share with you three cards I made using some different folds.
The patterned paper I have used on these cards is Uniquely Creative's Gums & Roses and I got it from Mystical Scrapbooks
The card bases are cut from 240gsm smooth white A4 sheets of cardstock.
Here are my cards

Let's start with
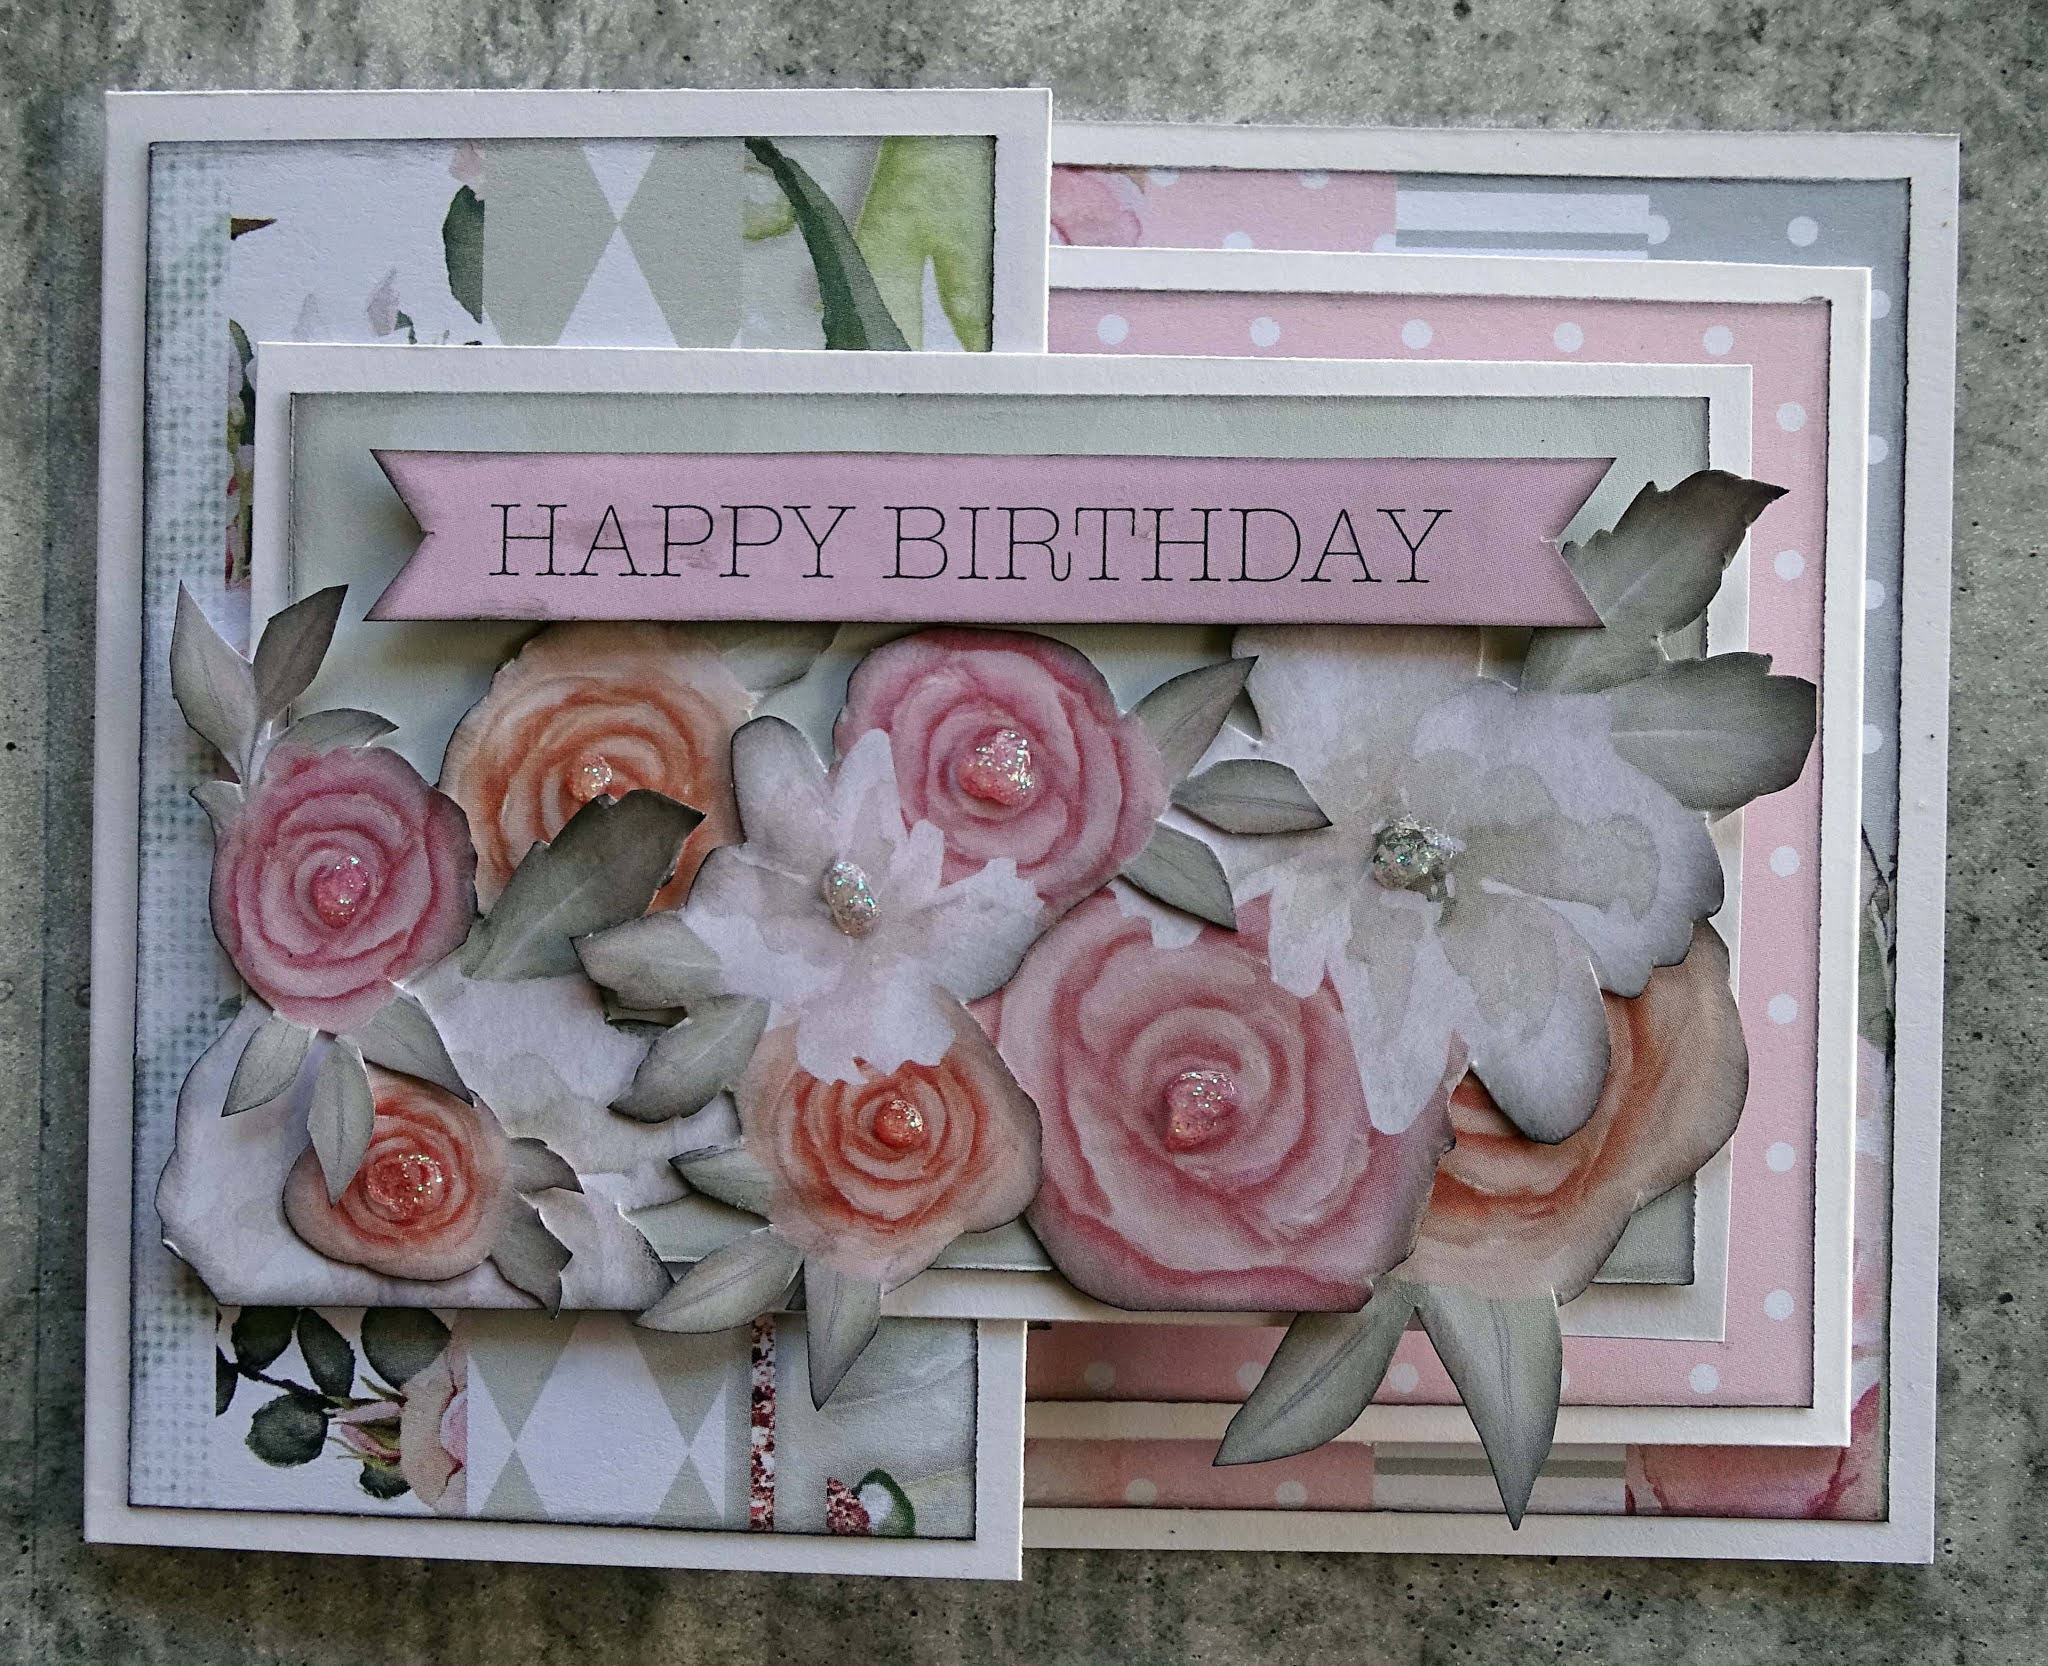
Card No. 1


There are three layers to this card.
The card base is 5.25" x 10.5" scored and folded at 5.25"
The next layer was created by folding a piece of cardstock in half and running it through my Big Shot with Lifestyles Nesting Doily Square die so that one of the cutting edges overhung the fold of the cardstock, which meant it did not cut.
This gave me a 4.25" square card with three fancy edges.
Use glue to attach the back left hand section of the 4.25" card level with the right hand edge of the 5.25" card base.
This is the base of our card.
Cut the patterned paper as follows:-
3 pieces 5" square
2 pieces 3.75" square
1 piece using the same die I used to cut the smaller card base (4.5")
1 piece using one size smaller die from the same set. (3.5")
I inked the edge of all of the papers and attached them to the card base using double sided tape.
To embellish the card I fussy cut a tag, some flowers and a couple of greetings from the cut apart sheet.
I used my Crop-O-Dial to add an eyelet to the tag and threaded some crochet cotton through that eyelet.
Each of the embellishments had the edges inked.
I cut a piece of gauze and frayed the edges slightly, attached this to the card front with glue, added some chipboard to the back of the tag and attached that on top of the gauze. The flowers were tucked in under the tag on the front section of the card.
One of the greetings was attached to chipboard and glued to the top of the tag while the other one was glued to the inside of the card so you could see it when the right hand section was opened.
Card No. 2


Cut a piece of cardstock 11.5" x 5.5"
Score at 0.25", 3.75", and 7.25"
Fold from 0.25" score mark, make a valley fold first.
Starting from the 0.25" fold end, cut 5/8" from one of the long edges to the 7.25" fold. Trim this piece off at the fold line
Cut a piece of white cardstock that is 2 5/8" x 4.25"
Attach this to the 0.25" fold at the front of the card, so it is level with the bottom of the piece you are attaching it to. Trim off the 0.25" folded piece that shows above the cardstock you have just added.
Cut the patterned paper as follows:-
2 @ 2 3/8" x 4"
2 @ 3.25" x 4 5/8"
1 @ 4" x 5.25"
Attach these to the card base.
To decorate this card I created another tag in the same manner as the one on the first card.
This was added to a pocket I made on the inside of the small front section of the card. The pocket was made using an off-cut from the first card.
I suggest if you are going to add a tag to your pocket, you do not add the eyelet, it makes that section quite bulky.
All of the other embellishments on the card are fussy cut items from the patterned papers or cut apart sheet.
All of the papers and embellishments were inked around the edges.
Card No. 3

Cut Cardstock 4.25" x 11" and score at 5.5"
Trim 2.75" from one end. This short section will be the front of the card. Keep the piece you trimmed off.
Cut another piece of cardstock 3.5" x 10" and score at 5"
Cut your patterned paper as follows:-
1 @ 5.25" x 4"
3 @ 4.75" x 3.25"
2 @ 2.5" x 4"
Attach the 5.25" x 4" piece of patterned paper to the inside back of the card base. (The piece with the short front)
Attach one of the 4.75" x 3.25" pieces of patterned paper to the short front section of the card base and attach another one of the same sized pieces to the 2.75" x 4.25" piece you cut off of the front of the card base.
Attach the folded 3.5" x 10" piece of cardstock to the centre of the inside back of the card base, on top of the patterned paper
Attach the loose piece of 2.75" x 4.25" piece of cardstock, centrally, to the short front panel so it is horizontal and with the patterned paper down.
Attach the rest of your patterned papers.
I made a little pocket on the inside of the short panel by adding a 1" x 4" piece of patterned paper and slipped a piece of striped patterned paper into it.
Once again I used fussy cut items as my embellishments.
For a little extra I cut fishtails into each end of the sentiment and added Nuvo Glitter Drops to the centre of the flowers.
I also stamped a sentiment on the inside of the card. I do not know the brand of the stamp as I have removed the packaging.
You might like to watch the video if my explanation is a bit hard to follow.
I have really enjoyed making these cards, makes a change from Christmas cards which seems to be the only cards I have made for a long time.
I hope you have enjoyed reading about them.
Thank you for spending part of your day here with me today
Till next time
Stay safe
Hugs
Julie
No comments:
Post a Comment
Thank you for your comment