Showing posts with label Glimmermist. Show all posts

Friday, May 20, 2022

Mystical Scrapbooks May Cyber Crop

Good morning

The May Cyber Crop is on this weekend over at Mystical Scrapbooks
You will find it here.

The theme for this month is 1, 2, 3. and there are three challenges.

The challenge my layout is created for is to use 1 piece of chipboard, 2 photos and a 3 word title.

Here is my layout


I have used Colour Blast Limited Editions and Love & Grace papers for this layout

I cut two 2" x 12" piece of Limited Edition - Real Deal
and tore a piece of Love & Grace - Portia to approximately 12" x 10"

Using the Portia paper I applied Modelling Paste through Dusty Attic's Criss Cross stencil

I sprayed Tattered Angels Chalkboard -Teal High Heel to three areas of the paper
and added water to help it to spread out over the page
A light spray with Docraft's Artiste Spritzing Ink - Mint 
adds a little visual dimension to the sprayed colour.

Using the Mint ink and DoCraft Spritzing Ink - Black Night, I added splatters to the background.

Once all of the mixed media was dry, I used StayzOn Jet Black Ink and 
Kazzaz - Life's Moments Background stamp 
to add random stamping to the layout.

I distressed and inked the two pieces of Real Deal paper and 
attached them to the top and bottom of my 
background piece to build it back up to 12" x 12"

I used the Black Night Spritzing ink and a brush to colour a frame 
from Memory Maze Junky Frame & Arrows chipboard pack.
I also sprayed the chipboard with Tattered Angels Glimmermist - Iridescent Gold.
The chipboard is attached to my layout using Art Glitter glue

I have used an emery board to file around the edges of my photos 
and matted them onto black cardstock.
Scrap cardboard was added to the backs of the photos 
before they were attached to the layout overlapping the chipboard.

To create the title I used Kaisercraft DD700 Alphabet Upper Case 
and Die-namics High Rise Numbers dies and black cardstock.

The final touch was to add some white splatters to the background. 
To do this I watered down some white acrylic paint and used my fan brush.


Here is my process video
I hope you enjoy watching it


Thank you for spending part of your day here with me today
Till next time
Stay safe
Hugs
Julie

Friday, May 13, 2022

Off The Rails Scrapbooking May Challenge

Good morning

Today I am sharing the layout I created for the May challenge at Off the Rails Scrapbooking

The challenge for this month is Black & White with only one other colour.
I have chosen blue as my other colour


I have gone with a simple clean layout for this challenge.
The minimalist look seems to be appealing to me at the moment.

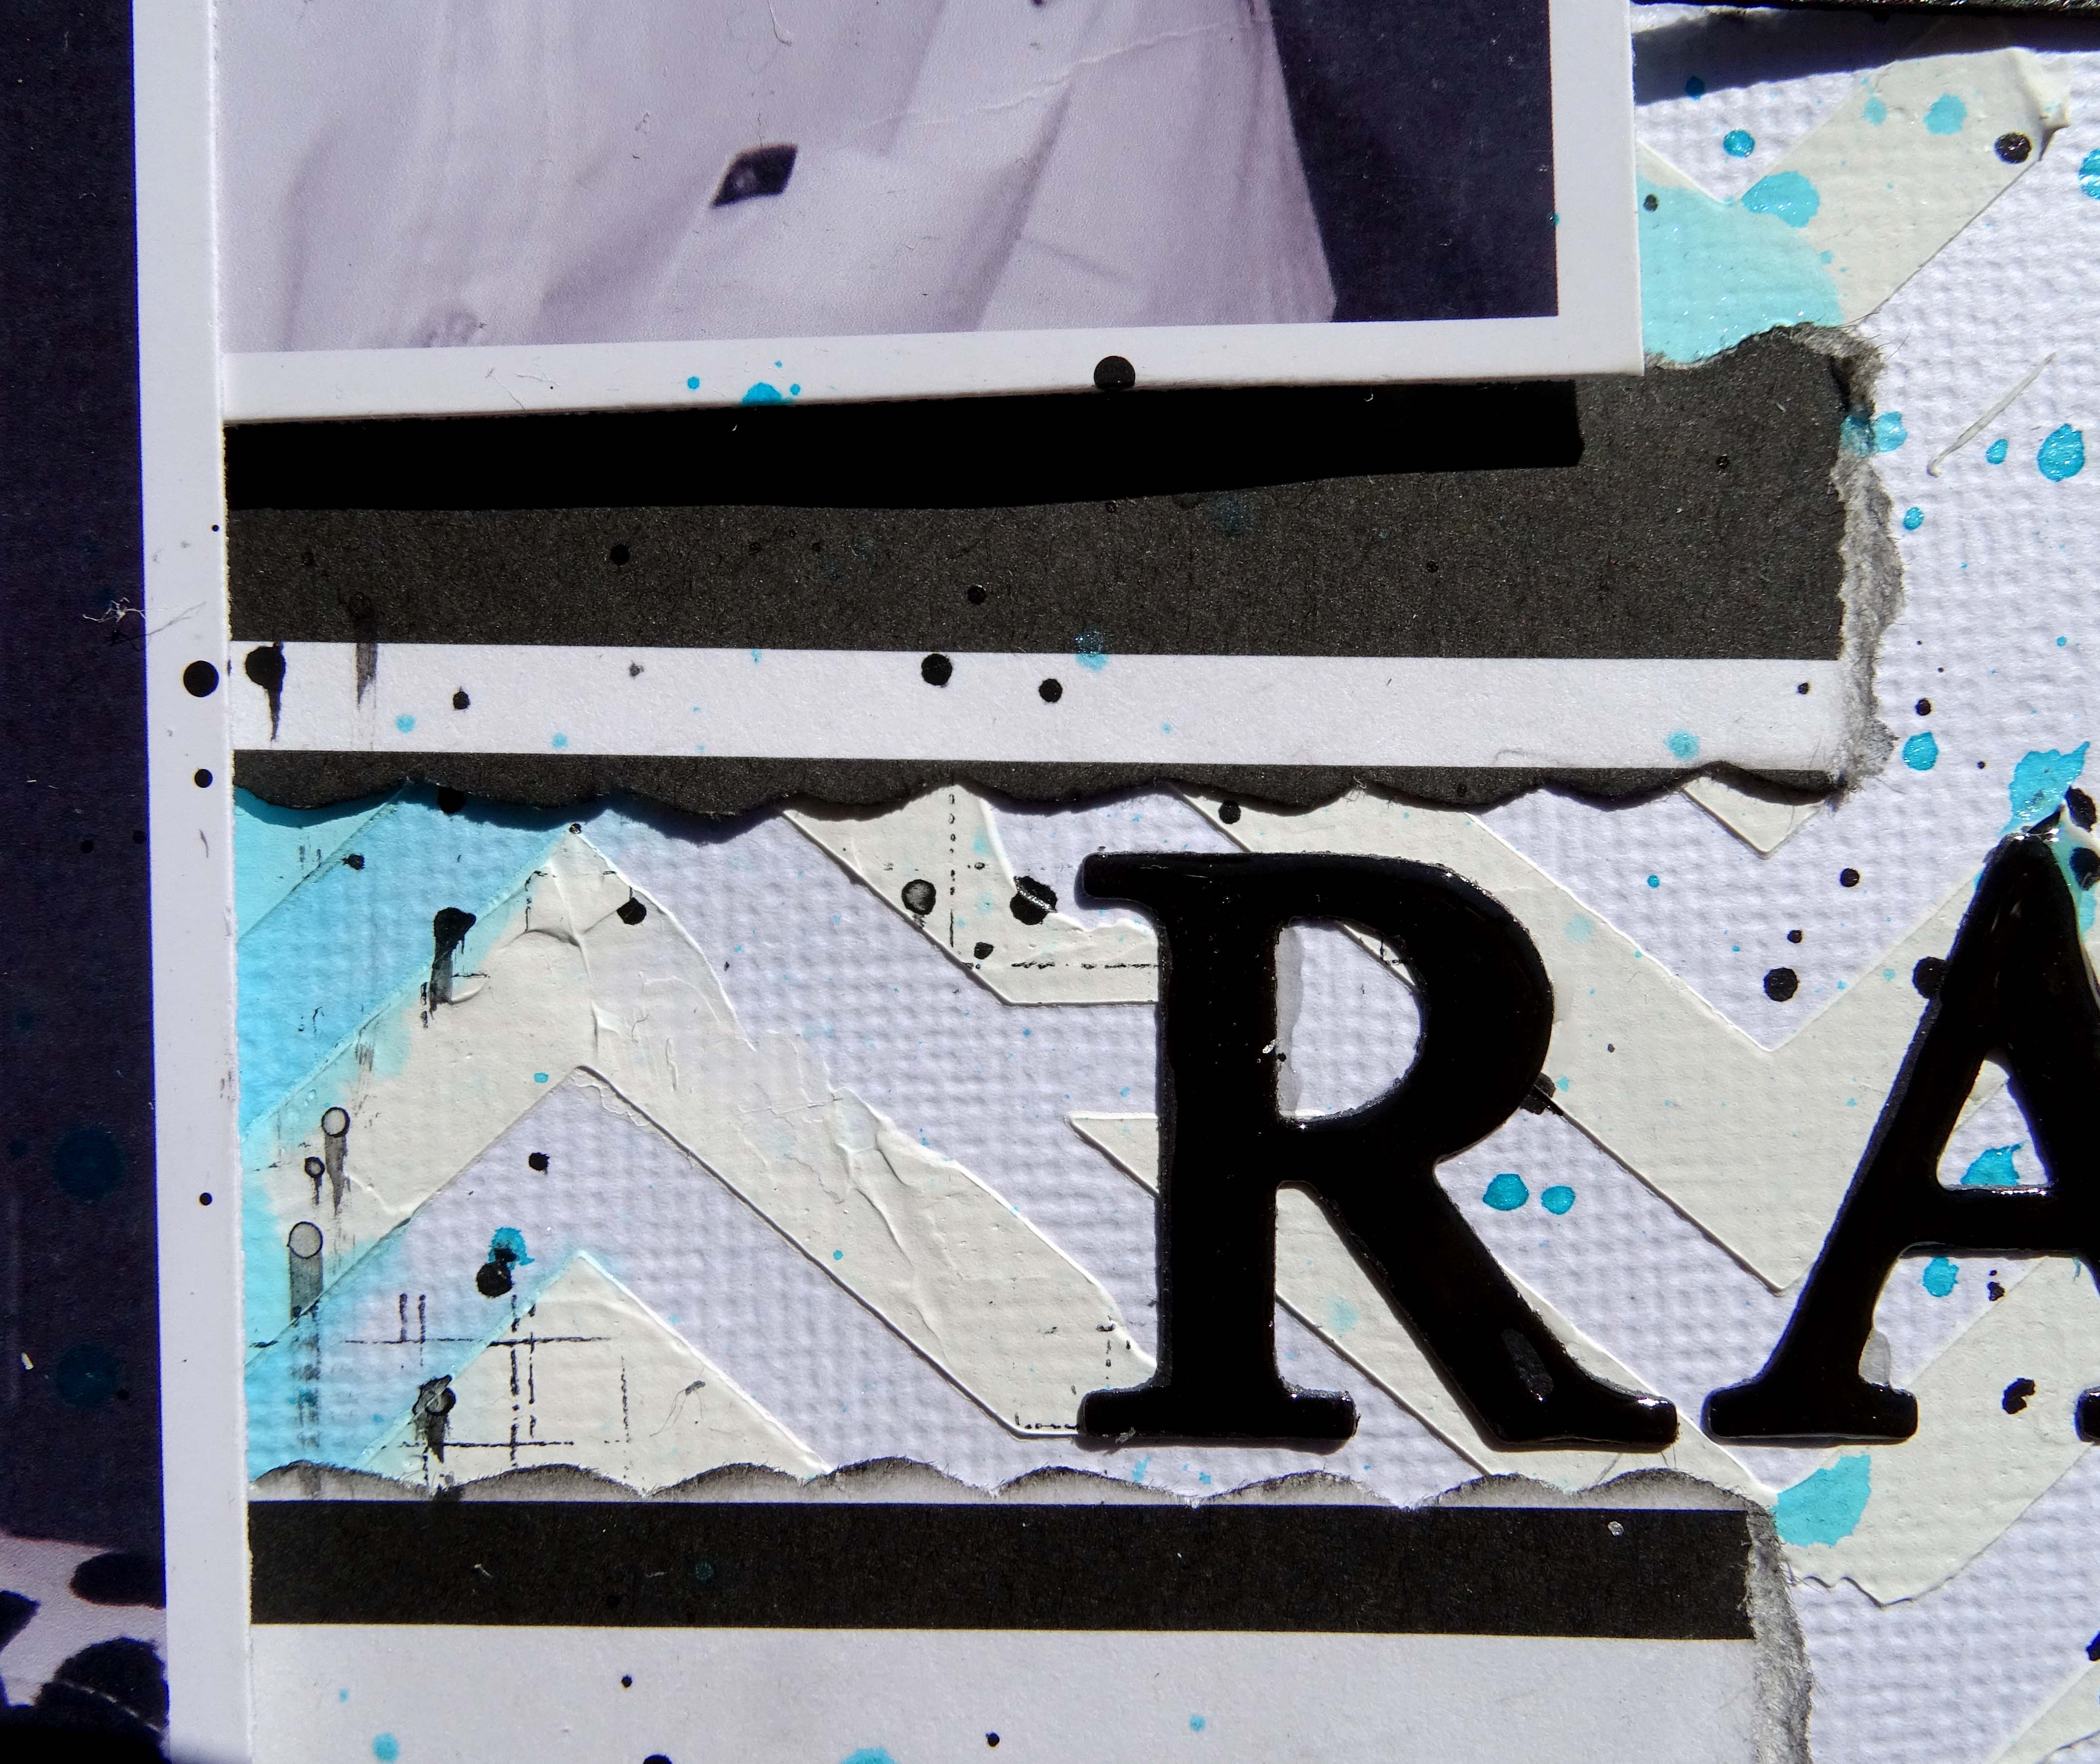
I have added Modelling Paste through TCW Chevron stencil 
to the centre section of my white cardstock background. 
I have not been too particular with this application 
as I am looking for a random type of feel.

My colour is added by spraying Tattered Angels Jazz Blue Glimmermist 
at the top of the page and using extra water spray 
to help it run down the centre of the layout 
over some of the Modelling Paste.

When everything was dry I used Kaisercraft's Grid stamp 
and StayzOn Jet Black ink to stamp randomly over the background.


The patterned paper is from 2007, it is by Imaginisce and is 
Striped Sophistication from the Black Tie Optional range.

I tore this into strips using my Deckle edged ruler.
I inked the edges of the strips after I had torn the edges down 
to create an assortment of lengths then 
attached them to my background using Art Glitter Glue


My black & white photos were printed with the white border and measure 3" x 4 1/2".
I have attached pieces of cardboard to the back of the photos before attaching them to my layout.

To embellish the page I have painted 
Scrapmatts CB5156 Triangles 01 chipboard with black acrylic paint.
I cut the chipboard into three pieces and attached it to my page along side each of my photos

I used my fountain pen to draw a double scribbly border around the page.

A little more detail was added to the background by splattering some of the 
Glimmermist and black acrylic paint lightly, mostly to the central area of the layout.

The title was cut from black cardstock using Kaisercraft's DD735 Uppercase Alpha dies.
Once it was attached to the layout using my t ruler, reverse tweezers and Art Glitter Glue
I coated it with Glossy Accents. This gives a beautiful glossy finish when it is dry


Here is my process video. 
I hope you enjoy watching it.


Thank you for spending part of your day here with me today
Till next time
Stay safe
Hugs
Julie


Friday, April 22, 2022

Mystical Scrapbooks April 2022 Cyber Crop

Good morning

My layout today is for the April Cyber Crop over at Mystical Scrapbooks. You will find the crop here.

This month the theme is colour palettes and for this particular challenge you can choose any colour you like but your project has to be monochromatic, meaning you can use any number of shades of your chosen colour with a minimal amount of black and white.

I have chosen pink for my colour.


I have chosen Uniquely Creative's Serendipity patterned papers to use today

I started with white cardstock for my background

I added Modelling Paste coloured with Starfish Glimmermist through TCW Two Hearts stencil.
This added a lot of pink to the background and minimised the white.

I splattered the background with Artiste Spritzing Ink in Black Night, Glimmermist Cherub Pink and Glimmermist Iridescent Gold

The final addition to the background was random stamping using Versafine Onyx Black Ink and Kazzaz Reason Season Lifetime, Kaisercraft Grid and Kaisercraft Numbers stamps.


I cut two strips of deep pink and two strips of pale pink cardstock to 1/2" x 12, inked the edges with my Versa Color Black Ink cube and attached them to each other with the light pink on top and about 1/4" of the dark pink showing above it.
I added a torn strip of pink washi tape to each of these strips and a pice of pink glitter washi layered on the first washi tape.

These were attached to the top and bottom of my page.

Time now to start with my patterned papers. 

I cut:-
Serendipity - Adore - 10 1/2" x 2"
Serendipity - Providence 1 1/4" x 12" and 3/4" x 12",
I used the floral side for the 1 1/4" piece and the woodgrain side for the 3/4" piece

I inked the edges with my black ink cube

I used double sided tape to attach these to the centre of my layout, layering them on top of each other, widest paper on the bottom working up to the narrowest paper.

I also added two small strips of the glitter washi so they will poke out from 
behind the photo when I attach it.

I am using a 6" x 4" photo, I have filed around the edge of the photo with an emery board before attaching it to a 6 1/4" x 4 1/4" piece of the dark pink cardstock.

To give my photo some lift I have added a piece of sticky backed craft foam before attaching it to the layout slightly above centre.

To embellish my layout I have fussy cut a doily from Serendipity - Carefree and selected several items from Uniquely Creative's Gums & Roses Creative Cuts pack.

I have inked the edges and attached them to my layout

The title is a tag from the Creative Cuts pack, I have added some pink ribbon and attached it to the layout with sticky backed craft foam behind it


Here is my process video if you would like to check out


Don't forget to check out the Cyber Crop, they are always fun and there are prizes to be won.

Thank you for spending part of your day here with me today
Till next time
Stay safe
Hugs
Julie


Friday, April 1, 2022

Design Team project for Mystical Scrapbook's April Challenge

Good morning to you,
how are you today?

Today I am sharing the layout I created using one of the two colour palettes 
over at Mystical Scrapbooks for their April challenge.

This is the colour palette I am using


and here is my layout


I have used Uniquely Creative's The Story Garden papers for this layout.

I cut a 1" frame from a 12" piece of Character to create the page frame.

A piece of English Rose was trimmed to 11 1/2", the edges were inked using a 
Versa Color black ink cube and the two papers were attached 
to each other using double sided tape.

Using Cadence MU-13 Stencil and my palette knife I added Modelling Paste randomly to the background.

I used Gesso to coat a frame from Memory Maze's Junky Frames & Arrows chipboard set.
When this was dry I coloured it using Glimmermist, colour Starfish.


My photo is 5' x 7", I cut two mats for the photo, 
one from Stories that is 5 1/2" x 7 1/2" and 
one from Character that is 6" x 8".
I used an emery board to file around the edge of the photo 
before inking around the edges of all of the layers and attaching them to each other.
I also added a layer of sticky backed craft foam to the photo panel

I fussy cut all of the elements from Marvellous and the Cut a Part sheet and inked the edges.

Time now to assemble my page

I added the chipboard first and then the photo.

I then played around with the placement of all of the fussy cut elements 
and once I was happy with the layout I used my Art Glitter glue
 to attach everything to the page.


I used a Uniball Eye black fineline pen to draw a scribbly border around my page 
and write the date the photo was taken on one of the tabs at the top of the photo.


The title was cut from the Characters paper using my Apple Blossom Large Numbers & Suffixes die.

The title is attached at the bottom left of the photo.

A coat of Glossy Accents was added to the title and 
the gold locket amongst the photo cluster at the bottom right of the photo.

A coat of Wink of Stella clear shimmer pen to all of the flowers finishes this layout.

Here is my process video if you would like to see this page come together.


I hope you enjoy watching it

As always I appreciate you spending part of your day here with me today
Till next time
Stay safe
Hugs
Julie