Showing posts with label Off the Rails Scrapbooking. Show all posts

Wednesday, July 13, 2022

Off The Rails Scrapbooking July 2022 Challenge

Hello hello

Today I am sharing the page I created for the July challenge at Off The Rails Scrapbooking.

You will find the challenge here.

The challenge is to use outback/desert colours.

Here is my layout


The photo on this page was taken during my trip to Egypt in 2019 when we were able to travel.

The top photo was one I purchased, it was taken many years ago from a slightly different angle to
mine but I wanted to show the "before & after" photos.

The papers I have used for this layout are from a Craft Concepts paper pad
called Vintage Grunge printed in 2012, so you can see I have had it in my stash for some time.

I chose a mustard coloured paper with brown script for the background.
The papers are double sided so I used both sides of the red spot paper plus the striped paper.

All of the papers were torn to size using my Deckle Rulz tearing ruler.


The red spot paper is approximately 5 1/2" wide, the striped paper is approximately 3" wide 
and the last paper is approximately 2" wide.
I used double sided tape to attach these to the background 
so they are evenly spaced across the page.

I used an emery board to file around the edges of my photos and 
matted them onto some cream cardstock.
They were attached to the layout with scrap chipboard pieces behind them.

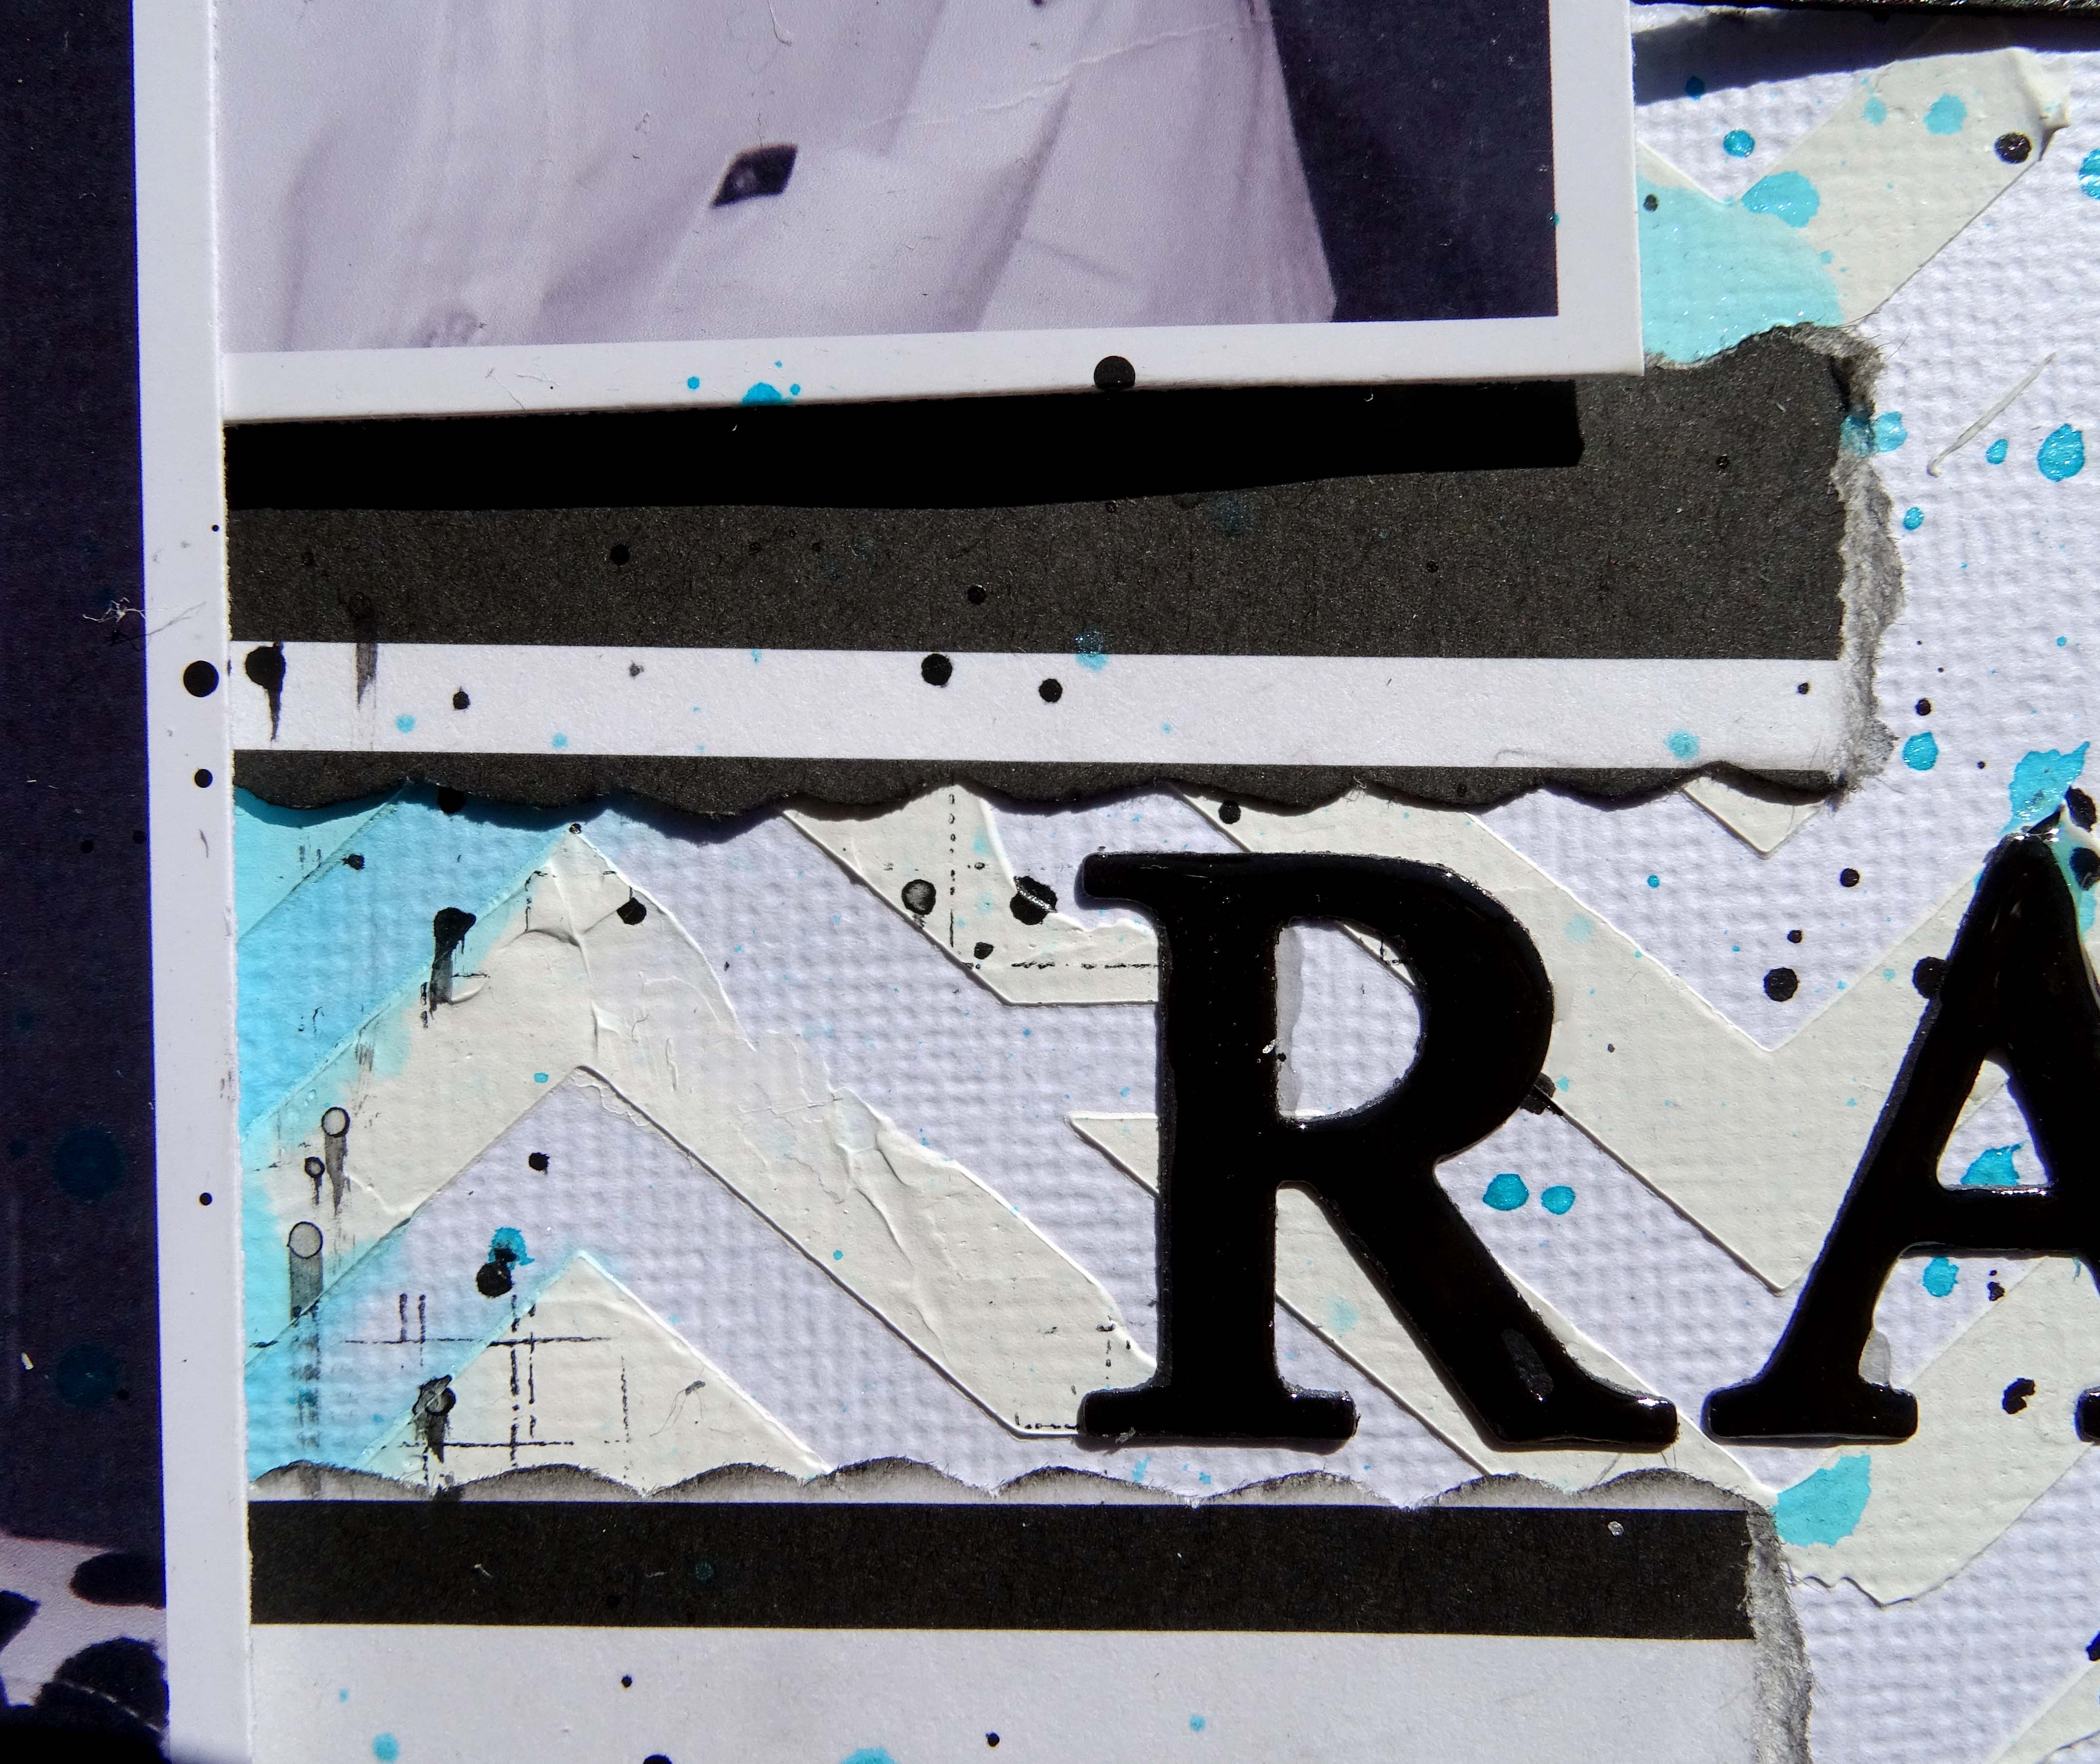
I created the title using my computer.
I typed the title using Black Oak Std font in size 28.
This was printed onto a piece of the same cardstock that the photos are matted on.
Once it was trimmed to size I backed it with scrap chipboard pieces to attach it to the layout.

The cameras, tags and suitcase embellishments were stamped onto patterned paper and heat embossed.
The suitcase is a stamp from Magnolia, the tags are from Kaisercraft's Now Boarding stamp set 
and the cameras are from Kaisercraft's Happy Snaps stamp set.


Here is my video
I hope you enjoy it


Thank you for spending part of your day here with me today
Till next time
Stay safe
Hugs
Julie


Friday, May 13, 2022

Off The Rails Scrapbooking May Challenge

Good morning

Today I am sharing the layout I created for the May challenge at Off the Rails Scrapbooking

The challenge for this month is Black & White with only one other colour.
I have chosen blue as my other colour


I have gone with a simple clean layout for this challenge.
The minimalist look seems to be appealing to me at the moment.

I have added Modelling Paste through TCW Chevron stencil 
to the centre section of my white cardstock background. 
I have not been too particular with this application 
as I am looking for a random type of feel.

My colour is added by spraying Tattered Angels Jazz Blue Glimmermist 
at the top of the page and using extra water spray 
to help it run down the centre of the layout 
over some of the Modelling Paste.

When everything was dry I used Kaisercraft's Grid stamp 
and StayzOn Jet Black ink to stamp randomly over the background.


The patterned paper is from 2007, it is by Imaginisce and is 
Striped Sophistication from the Black Tie Optional range.

I tore this into strips using my Deckle edged ruler.
I inked the edges of the strips after I had torn the edges down 
to create an assortment of lengths then 
attached them to my background using Art Glitter Glue


My black & white photos were printed with the white border and measure 3" x 4 1/2".
I have attached pieces of cardboard to the back of the photos before attaching them to my layout.

To embellish the page I have painted 
Scrapmatts CB5156 Triangles 01 chipboard with black acrylic paint.
I cut the chipboard into three pieces and attached it to my page along side each of my photos

I used my fountain pen to draw a double scribbly border around the page.

A little more detail was added to the background by splattering some of the 
Glimmermist and black acrylic paint lightly, mostly to the central area of the layout.

The title was cut from black cardstock using Kaisercraft's DD735 Uppercase Alpha dies.
Once it was attached to the layout using my t ruler, reverse tweezers and Art Glitter Glue
I coated it with Glossy Accents. This gives a beautiful glossy finish when it is dry


Here is my process video. 
I hope you enjoy watching it.


Thank you for spending part of your day here with me today
Till next time
Stay safe
Hugs
Julie


Sunday, March 13, 2022

DT layout for Off the Rails Scrapbooking

Good morning

My layout today was created for the Moodboard over at Off the Rails Scrapbooking

This is the Moodboard


This is my layout


I have used Kaisercraft's Now Boarding and After Five patterned papers.
They are very old and I don't think they are still available.

I have trimmed the mustard coloured cardstock for the background to 11 1/2" square.

I trimmed the bottom of the mustard cardstock on an angle from the bottom left corner up about 1" on the right hand edge and backed that with a piece of Now Boarding - Terminal patterned paper.

The mustard background was attached to black cardstock.

I used TCW Chevron Tiles stencil and Ripe Persimmon Distress Ink, applied with my domed blending tool, to create a pattern on the mustard cardstock.

I also ran around the edge of each of the squares on the stencil with a fine black pen to outline each shape.

Now Boarding - Cabin Crew was trimmed to 6 1/2" x 8"
After Five - Corsage was trimmed to 3" x 10 1/2" A fishtail was cut in each end
Now Boarding - Boarding Pass was cut to 2 1/4" x 9 1/2" A fishtail was cut in each end

All of these were then matted onto black cardstock that was cut a 1/4" larger, 
giving a 1/8" boarder all around.

The photos were also matted on black in the same manner.


These were attached to the layout. The largest piece of patterned paper and the photos were 
attached with cardboard behind them.

To embellish the page I used a tab from the collectables pack and several items that I had stamped, heat embossed and fussy cut using a Kaisercraft stamp set. 
I can't remember the name of the stamp set but I could look it up if anyone would like to know its name.


The title was printed on Now Boarding - Boarding Pass and attached between the two photos.

Here is my process video
I hope you enjoy watching it.


Thank you for spending part of your day here with me today

Till next time
Stay safe
Hugs
Julie


Thursday, January 13, 2022

Design Team layout for Off the Rails Scrapbooking's January 2022 challenge

Good morning

The challenge over at Off the Rails Scrapbooking this month is 
Re-use, Recycle & Repurpose.
I have interpreted that as using items from my stash that have been there for many years.
You will find the challenge here.

The photos on my layout are of my Mum taken while we were celebrating her 89th birthday
in December 2021


The chipboard frame has been in my stash for so many years 
I have no idea where I got it or what brand it is.

I have given it a coat of Gesso then sprayed it with Tattered Angels Chalkboard spray in white
and when that was dry I sprayed it with Tattered Angels Glimmermist in Iridescent Gold.

The patterned papers are from a 12" paper pad by DCWV called Love & Grace.
I purchased this pad from Spotlight a few years ago also.

I used Art Glitter glue to attach a patterned paper to the back of the frame

I trimmed the background patterned paper to 11 1/2" square
and attached it to a 1" white cardstock frame.
I took this to my sewing machine and stitched a row of zig zag 
and a row of straight stitching around the edge of the patterned paper

The frame was then attached to the background using my hot glue gun

The two 6" x 4" photos were attached to the layout using foam squares so they sat flat over the frame.

To embellish the layout I cut a 3" x 4" cut apart from one of the sheets of patterned paper,
cut the top so it looked like a tag, then heat embossed around the edge of it

I used my Crop-O-Dile to add a gold eyelet to the tag.
 I threaded some sheer gold ribbon through the eyelet.

Using Woodware's Mini Garden Spray stamp, I stamped and heat embossed
the flowers onto white cardstock. I used the same gold embossing powder.

I fussy cut these flowers.


I used my hot glue gun to attache the tag and the flowers to the layout.

The tiny embroidered flowers and leaves were another item from my stash and had been given to me by my Mum. I loved the idea of using them on this layout about her.

I added a coat of Wink of Stella to the flowers. Unfortunately I picked up the white one instead of the clear one and instead of giving my flowers a nice sparkle I managed to dull down the gold detail of the heat embossing.

*Note* I used a baby wipe to wipe over the flowers a day or so later and luckily removed a good amount of the white

The title is heat embossed chipboard numbers. 
I have used the same embossing powder I used 
for all of the other heat embossing.

I have used Art Glitter glue to attach the title to the bottom right of the frame 


Here is my process video if you would like to watch this layout come together


Thank you for spending part of your day here with me today

Till next time
Stay safe
Hugs
Julie


Wednesday, October 13, 2021

Layout for Off the Rails Scrapbooking's September challenger

Good morning

Today I am sharing a very quick layout using the Mood-board 
over at Off the Rails Scrapbooking.
The mood-board is full of bright fluro colours


The bright colours for this layout are supplied by swiping 
Colour Blast - Colour Paste across my white cardstock
using my palette knife.
The colours I used are Sunshine and Sienna.

I also used pink fluro cardstock. I cut five pieces 3/4" and one piece 1 1/2".

I used my Versafine Onyx Black ink and an assortment of star stamps from my stash
to stamp randomly over the background.

The 6" square photo, which I sanded around the edge of, is matted on black cardstock.
This is then attached to a piece of chipboard before being added to the layout.


For the title I used American Crafts - Remarks - Highline Alpha stickers.
I positioned the letters on my clear ruler so I could get it nice and straight.

A sharpie fine line texta was used to draw a scribbly border around the page.

I also underlined my title.

Here is my process video


I hope you enjoy my video, it is a quick one.

Thank you for being here with me today.
Until next time
Stay safe
Hugs
Julie