Today I want to share a mini album I created using supplies from my February 2021 DT kit from Kraft Supplies 4 U (KS4U)
They have two stores and you will find them here and here
To create the album base I used a tutorial by Rosa Kelly. You will find that video here. I have made a few slight changes to mine but this was the basic album.
This album is for sale so if you are interested in buying it please email me at juliespapercraft@gmail.com
The papers I have used for this album are from Prima's 8.25" x 11.5" paper pad called Something Blue.
It is very hard and would take a lot of reading to describe each page of this album so I have created a flip through video so you can see the album in "real" life.
I hope you enjoy looking at my album.
If you do not already subscribe to my YouTube Channel I would love it if you did.
Thanks for spending part of your day here with me today
The corrugated cardstock was trimmed to 11.25" square and the white cardstock measures 11" square.
For added dimension on the background I applied Mont Marte Modelling Paste through The Crafter's Workshop Tile Texture Stencil
For added texture on the background I used Jet Black StazOn ink and a couple of little stamps (chevrons and tiny circles) to stamp randomly. I did the same thing with a small triple arrow stamp and Encore Gold ink pad.
The stamped hearts on the background (the challenge criteria) were created using a small triple heart stamp and Versa Color Turquoise ink pad.
My photos are 3" square and were matted on 3 1/4" squares of the persimmon cardstock I had cut from the middle of the background layer. These were then attached to some scrap pieces of chipboard so they had a little height when attached to the layout.
I trimmed the five patterned papers that I chose for the backgrounds down to 5 1/8" x 5", inked the edges with black ink and attached them to the pages using double sided tape.
To cut the hole in the patterned paper for the front cover so the photo would show, I temporarily taped the patterned paper to the back of the page and drew around the frame with a pencil.
I used the smallest die in my Spellbinder S6 - 025 Squares dies to then cut that section out.
I also used the same die to cut my photo down to size, although, this was not really necessary as I could have just trimmed it down to a size that would fit within the size of the page.
I trimmed my photos so they were square and would fit on the page.
Using an emery board I filed around the edge of each photo then inked around the edge with black ink.
To decorate my pages I used elements from the Creative Cuts pack. I do not like the white border around my elements so I fussy cut them off and inked around the edge of each one.
The chipboard on the front cover comes from Memory Maze's Crisscross Hearts set. I have given it a coat of acrylic paint in Apricot Preserves. When that was dry I also gave it a coat of Dimensional Magic.
A few Uniquely Creative Pink Rhinestones and some white crochet cotton finished off my embellishing.
This Design Team layout is for Off The Rails Scrapbooking's February challenge. The theme of the moodboard is "Funny" so gather up those funny photos and create a layout, you might be this months lucky winner.
The layout I created documents a funny experience my husband and I shared with our Grand-Daughter regarding her sun hat.
The papers I have used for this layout come from a 12" x 12" paper pad by DCWV called Love & Grace
I chose four patterned papers and cut them as follows
Butterfly paper 8" x 7 3/4"
Apricot paper 10 1/4" x 6 3/4", 2 @ 12" x 1/4" and one piece 9 1/2" x 2" which I cut a fishtail in each end.
Blue paper 11 1/4" x 5 3/4" 2 @ 12" x 1/2"
Floral paper 10 3/4" x 2 1/4" with a fishtail cut in each end
The background paper is white with a fine gold stripe through it.
I used my Atriste Spritzing Ink in Gold to splatter the background cardstock.
All of the patterned papers have had the edges inked using a Kaisercraft black ink cube.
When my background was dry I attached all of my patterned papers using double sided tape.
After I matted the photos on white cardstock with a very fine border, the larger of the photos was attached to some scrap chipboard so it had some dimension when I was added to the layout.
I used some alpha stickers for the title, I'm not sure of the brand but the type is called Popsicle. It was just a fluke that I had a colour that went so well with the layout.
To help the title stand out I used a fine black pen to apply a scribbly border to each letter. I also applied a coat of sparkle using Uniquely Creative's Clear Sparkle Pen
To embellish my layout I painted some wooden hearts with Sparkling Saphire pearlescent acrylic paint and some wooden arrows with Gold metallic acrylic paint. When the paint was dry I attached them to my layout using Art Glitter Glue.
I fussy cut three small butterflies from the patterned paper and attached them to the top right of the layout, just above the title
I hope you check out my video.
Thank you for spending part of your day here with me today
Today I am sharing the cards I have made using Prima's Nature Garden 6" paper pad from my KS4U February 2021 DT kit.
You will find my video showing the process of making these cards here:-
All of the cards are 5.25" square and are made using 240gsm smooth cardstock
All have had their edges inked and cards one and three have had the paper edges distressed using my Prima edge distresser.
I have used a mixture of double sided tape and Art Glitter glue to adhere my papers and elements.
So let's start with card No. 1
I chose two papers from the pad, a darker one and a lighter one.
I cut the dark paper to 5 1/8" square and the lighter one to 4 3/4" square
A 6" paper doily was trimmed down so it covered about 2/3rds of the front of the card.
On top of that I places a 2 1/4" x 5 1/8" strip of the dark paper.
A strip of beautiful cotton lace (also from my kit) was layered on top of the dark paper and a 3/4" x 5 1/8" strip of the light paper placed on top of that.
To create the paper stack for the greeting I cut a piece of the dark paper to 1 1/4" x 3".
A piece of white cardstock 1 1/8" x 2 7/8", a piece of the light patterned cardstock was cut to 1" x 2 3/4" and the top white cardstock measures 7/8" x 2 5/8"
The greeting is cut from a bar code strip of a patterned paper in my stash.
The background flowers were stamped onto some lightly patterned paper using Heartfelt Creations Dahlia Bouquet stamp with Versamark Embossing Ink and heat embossed with Black Embossing Powder.
The final touch is a white flower from my stash, I can't be positive but I think it is a Prima flower.
Card No. 2
This card actually had two lives and if you watch the video you will see how it originally started life.
Once again I chose two papers from the pad
I cut the background paper to 5 1/8" x 5 1/8"
I used my Magnolia picket edge die to diecut two pieces of white cardstock that were trimmed to 5 1/8" long. These were attached to the edge of a piece of white cardstock that was 3" x 5 1/8". A piece of the second patterned paper measuring 2 3/4" x 5 1/8" was attached to the centre of this panel.
Scraps of chipboard were added to the back of this panel so it will be slightly raised up from the background paper.
I cut a piece of gauze and stretched it out of shape, laid it on top of the picket edged panel and used the greeting panel to hold it in place.
The greeting panel is created by layering the following papers, blue patterned paper 1 1/4" x 5 1/8", white cardstock 1" x 5 1/8", background patterned paper 7/8" x 5 1/8" and another piece of white cardstock that is 5/8" x 5 1/8". I added two thin strips of chipboard to the outer edges of this assembly so the edges would be supported. The greeting is from my computer generated sheets of greetings I print out in different sizes and fonts to have on hand.
The blue flower was in a previous kit from KS4U and the white flower was created by die cutting from white cardstock and adding three gems.
I originally put a different flower where the blue flower is but it was too overpowering so I have changed it for this one.
Card No. 3
Once again I chose two patterned papers from the pad.
The background is cut to 5 1/8" square and the next layer is cut to 4 3/4" square
I used a bow die to cut the bow from white cardstock.
The Chipboard frame is from Little Birdie and the corrugated cardboard is from an old box.
I sprayed the chipboard and the cardboard with Tattered Angels Chalkboard spray in Chalk first to cover the natural colour of these items. Next I spray the chipboard, corrugated cardboard and the bow with Dylusions Vibrant Turquoise ink spray then a light spray of Artiste Spritzing Ink in Gold to give it a bit of shimmer.
I placed a piece of gauze behind the chipboard frame before I attached it to the card.
The flower was made by cutting decreasing sized circle from crepe paper, scrunching them up, layering them on top of each other and fastening in place with a brad.
The greeting is another computer generated one which is matted on a piece of patterned paper that measures 1 1/8" x 1 5/8"
All of these cards have been decorated inside, you can see the inside of each card in the video
Finally before I go today,
KS4U are currently have a fantastic special. Boxes of assorted flowers, only 100 boxes available. These boxes weigh over 3 pound so heaps of flowers in them. $25UDS plus freight. KS4U will keep track of all the customers that bought a box and enter them in a giveaway once all of the boxes have been sold. One lucky winner will receive a $50 store credit to buy whatever they want.
Today I am sharing my DT layout for the challenge at Mystical Scrapbooks. The theme for the month is "Hearts & Flowers" and this challenge is to add at least one handmade flower to your layout.
My background is a 12" x 12" sheet of white cardstock.
I have used my Martha Stewart Round the Page punch, I think it is called Flowers but not sure, to punch all four sides of a 12" x 12" sheet of Sandy Beach.
All of the other layers on the layout are cut from one 12" x 12" sheet of Sunset Boulevard
I had to run them though twice, turning the paper between each run to get the full length
All of the papers had their edges inked with black ink and I ran a Versacolor ink cube (colour Cinnamon) lightly over the top of the embossed patterned papers. This helps the embossing stand out a little more. You can apply this as light or heavy as you like.
To create my handmade flowers I cut three each of the three smallest dies from my Lifestyles Crafts Nested Lace Circles die. I cut them from Uniquely Creatives Gums & Roses Full Bloom paper.
Using my spray water bottle I lightly sprayed each circle and scrunched it up. The smaller you scrunch these the better your flower will look. Lightly un-scrunch them and set them aside to dry.
I have fussy cut quite a few flowers from the Summer Bloom paper.
Once my circles were dry I inked around the edge of all of them and also the fussy cut flowers.
To assemble my flowers I used glue to attached three circles on top of each other starting at the largest size and working up to the smallest size so each flower has three layers. A clear gem at the centre completed each flower.
My photo is 5" x 7", so I have cut a 5.25" x 7.25" mat from the same paper I die cut my flowers from. This was attached to the photo and then a layer of craft foam was added to the back of the photo mat.
To include some hearts on my layout I painted some small wooden hearts from my stash with Apricot Preserves Acrylic paint. I also painted some chipboard letters with the same paint to create my title.
Time now to attach my layers to my background.
Next I attached my photo followed by the fussy cut flowers.
I made a bow with some sheer white ribbon and added some white crochet cotton lace and attached these at the bottom of the photo.
The hand made flowers were next to be added.
I added three sets of three Uniquely Creative Light Blue Pearls in three places on my layout and then attached the wooden hearts next to them.
Final step was to add the title to the left hand of the layout.
I have a video for you.
Thank you for spending part of your day here with me today
Today I want to share a video with you of the art journal page I created. It has been pretty hot here in Adelaide over the last couple of weeks so I wanted to create something with a summer vibe, that was bright and cheerful.
Today I have got a layout I created using a sketch by Allison Davis. Allison has a series on YouTube where she uses one sketch and creates 5 or 6 layouts adapting that sketch to suit her photos. I find it very informative and you can find the sketch I have used and what she done with it here
The inspiration to use a sketch came from the monthly theme at Mystical Scrapbooks for this month. There is a monthly challenge with two sketches and a Cyber Crop with three sketches for you to choose from. Pop over and check them out, you might be lucky enough to win one of the great prizes on offer.
This is Allison's sketch
and this is my layout.
You can see I have rotated the layout one turn to the right and turned the banner strips into a Christmas tree. This idea was taken straight out of Allison's video.
To create the Christmas tree I cut strips of Colour Blast's Arty Farty patterned paper that I had left over from a couple of other layouts. I cut a tall triangular shape from a piece of printer paper and used that as a guide to build the tree. I trimmed each piece to length, cut a fishtail in each end and then added some machine stitching to each piece. I created more pieces than I needed to make the base layer of the tree because I wanted to foam mount several pieces on the tree to give it lots of dimension. I also inked the edges of each strip so each piece would stand out from the other.
I found another scrap and cut it to shape to use as the base of the Christmas tree. I had not stitched around this piece so I used a black pen and drew some faux stitching on it.
To create the stars for the tree top and the banner that goes across the top of the page I used my Nellie's Multiframe Star die. I cut one each of the four smallest stars to create the tree topper and nine each of the smallest and next size up stars for the banner.
Each of these stars were inked and then layered on top of each other with a foam square between each layer.
Now let's talk about the layers of the layout.
The background is Basic Grey - Serenade - Dowager which is 12" x 12"
Next layer up is Core Colour - Mediterranean which is 10.75" x 10.75"
Next is Basic Grey - Serenade - Parlor which is 10.5" x 10.5"
The top layer is Core Colour - Mediterranean which is 9.5" x 9.5"
All of these layers were attached to each other then I stitched around the edge of them with my sewing machine.
The photos are of some of my Christmas tree decorations this year. I trimmed them down so they were a total size of 4" x 9", filed around the edge of them with an emery board and attached them vertically on the right hand side of the top layer
The Christmas tree was added along side the photos and the banner stars were added at the top of the layout.
My title is the year because I thought the content of the photos was fairly well self explanatory. I used my Die-Namins High Rise Numbers die to cut the 2020 out of the Parlor paper.
The final touch was to add Glossy Accents to all of the small stars and the title.
You will find the video below if you would like to watch me create this page.
Thank you for spending part of your day here with me today
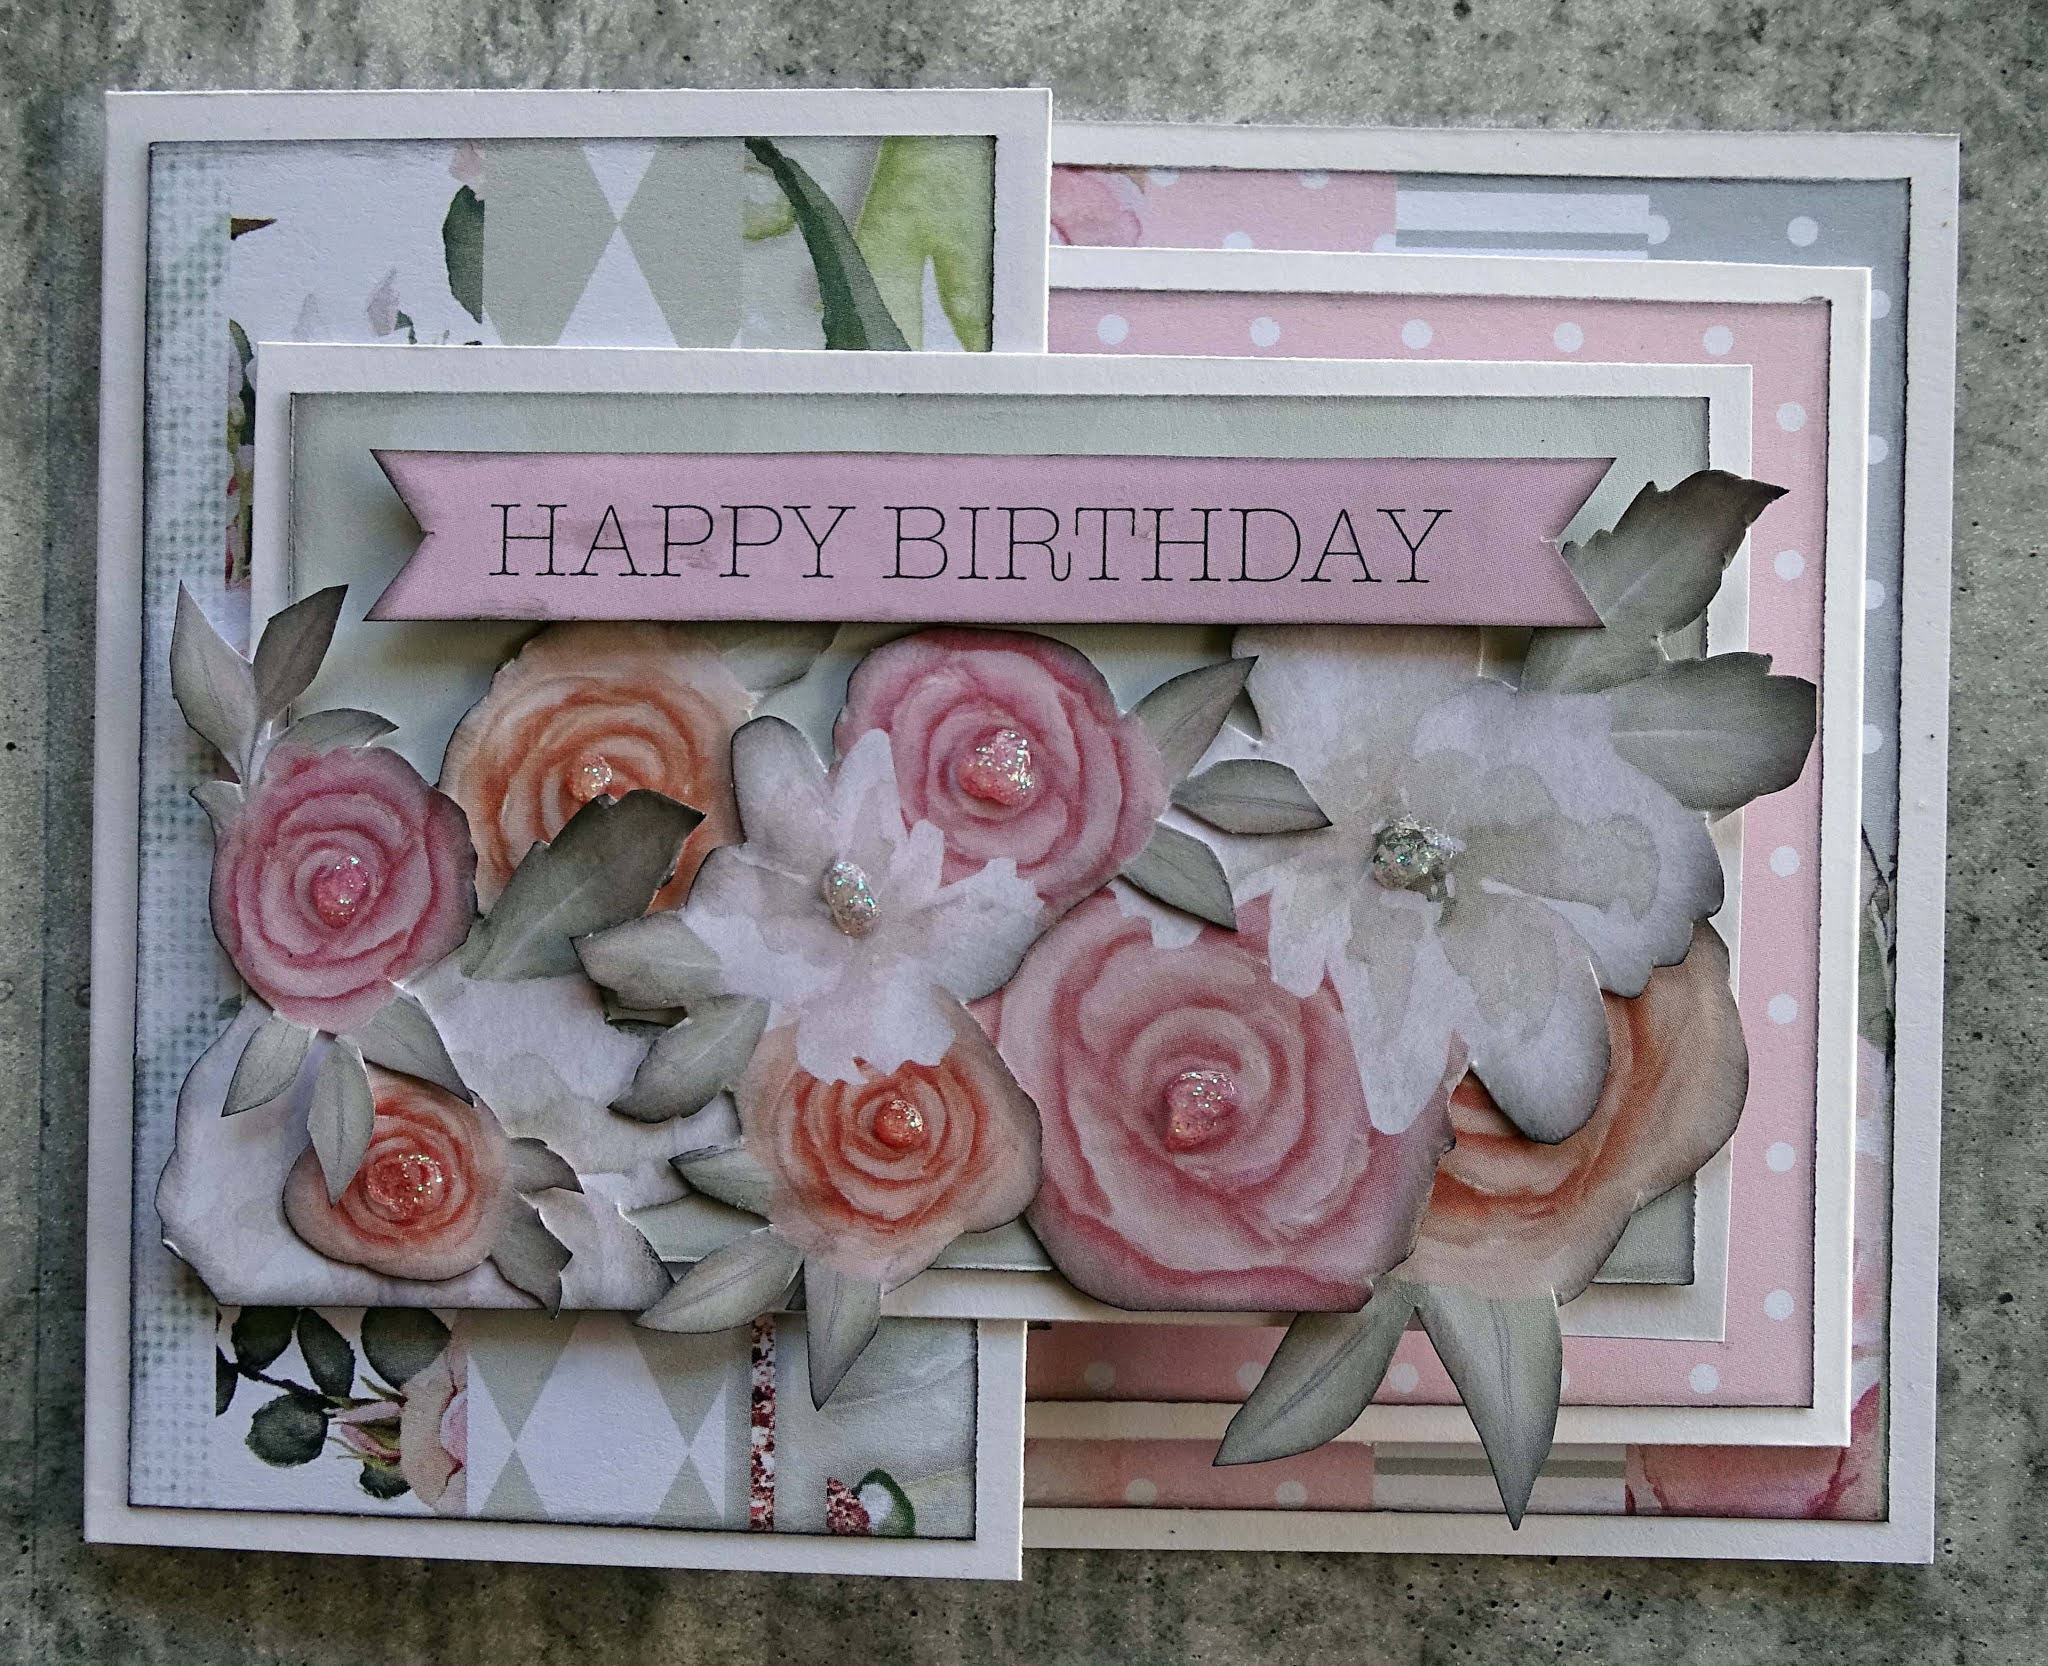
Today I want to share with you three cards I made using some different folds.
The patterned paper I have used on these cards is Uniquely Creative's Gums & Roses and I got it from Mystical Scrapbooks
The card bases are cut from 240gsm smooth white A4 sheets of cardstock.
Here are my cards
Let's start with
Card No. 1
There are three layers to this card.
The card base is 5.25" x 10.5" scored and folded at 5.25"
The next layer was created by folding a piece of cardstock in half and running it through my Big Shot with Lifestyles Nesting Doily Square die so that one of the cutting edges overhung the fold of the cardstock, which meant it did not cut.
This gave me a 4.25" square card with three fancy edges.
Use glue to attach the back left hand section of the 4.25" card level with the right hand edge of the 5.25" card base.
This is the base of our card.
Cut the patterned paper as follows:-
3 pieces 5" square
2 pieces 3.75" square
1 piece using the same die I used to cut the smaller card base (4.5")
1 piece using one size smaller die from the same set. (3.5")
I inked the edge of all of the papers and attached them to the card base using double sided tape.
To embellish the card I fussy cut a tag, some flowers and a couple of greetings from the cut apart sheet.
I used my Crop-O-Dial to add an eyelet to the tag and threaded some crochet cotton through that eyelet.
Each of the embellishments had the edges inked.
I cut a piece of gauze and frayed the edges slightly, attached this to the card front with glue, added some chipboard to the back of the tag and attached that on top of the gauze. The flowers were tucked in under the tag on the front section of the card.
One of the greetings was attached to chipboard and glued to the top of the tag while the other one was glued to the inside of the card so you could see it when the right hand section was opened.
Card No. 2
Cut a piece of cardstock 11.5" x 5.5"
Score at 0.25", 3.75", and 7.25"
Fold from 0.25" score mark, make a valley fold first.
Starting from the 0.25" fold end, cut 5/8" from one of the long edges to the 7.25" fold. Trim this piece off at the fold line
Cut a piece of white cardstock that is 2 5/8" x 4.25"
Attach this to the 0.25" fold at the front of the card, so it is level with the bottom of the piece you are attaching it to. Trim off the 0.25" folded piece that shows above the cardstock you have just added.
Cut the patterned paper as follows:-
2 @ 2 3/8" x 4"
2 @ 3.25" x 4 5/8"
1 @ 4" x 5.25"
Attach these to the card base.
To decorate this card I created another tag in the same manner as the one on the first card.
This was added to a pocket I made on the inside of the small front section of the card. The pocket was made using an off-cut from the first card.
I suggest if you are going to add a tag to your pocket, you do not add the eyelet, it makes that section quite bulky.
All of the other embellishments on the card are fussy cut items from the patterned papers or cut apart sheet.
All of the papers and embellishments were inked around the edges.
Card No. 3
Cut Cardstock 4.25" x 11" and score at 5.5"
Trim 2.75" from one end. This short section will be the front of the card. Keep the piece you trimmed off.
Cut another piece of cardstock 3.5" x 10" and score at 5"
Cut your patterned paper as follows:-
1 @ 5.25" x 4"
3 @ 4.75" x 3.25"
2 @ 2.5" x 4"
Attach the 5.25" x 4" piece of patterned paper to the inside back of the card base. (The piece with the short front)
Attach one of the 4.75" x 3.25" pieces of patterned paper to the short front section of the card base and attach another one of the same sized pieces to the 2.75" x 4.25" piece you cut off of the front of the card base.
Attach the folded 3.5" x 10" piece of cardstock to the centre of the inside back of the card base, on top of the patterned paper
Attach the loose piece of 2.75" x 4.25" piece of cardstock, centrally, to the short front panel so it is horizontal and with the patterned paper down.
Attach the rest of your patterned papers.
I made a little pocket on the inside of the short panel by adding a 1" x 4" piece of patterned paper and slipped a piece of striped patterned paper into it.
Once again I used fussy cut items as my embellishments.
For a little extra I cut fishtails into each end of the sentiment and added Nuvo Glitter Drops to the centre of the flowers.
I also stamped a sentiment on the inside of the card. I do not know the brand of the stamp as I have removed the packaging.
You might like to watch the video if my explanation is a bit hard to follow.
I have really enjoyed making these cards, makes a change from Christmas cards which seems to be the only cards I have made for a long time.
I hope you have enjoyed reading about them.
Thank you for spending part of your day here with me today
Today's layout was created using a sketch I created for the January 2021 Cyber Crop over at Mystical Scrapbooks. You will find the crop here. There are two other sketches for you to use and prizes to be won.
This is the sketch I used
and this is my layout
I have used Colour Blast's Arty Farty paper range...these are the papers and the sizes:-
Transform - Large Pennant 2" x 10" (Embossed with a Sizzix embossing folder)
The frame around the outside of the layout is black cardstock that has had the middle cut out leaving a 1" frame.
The background is a Core Color Cardstock - Orange. this is cut down to 11.5" x 11.5"
The photo (5.5" x 7") is matted on Core Color Cardstock - Aquarium 5 5/8" x 7 1/8".
All of the patterned papers have had the edges inked with black ink.
I used an emery board to file the edges of the photo giving it a fine white border.
Each of the patterned papers and the photo also have a black mat - the sizes of these are:-
6 7/8" x 8 5/8"
8 5/8" x 10 3/8"
11 1/8" x 2 5/8"
10 3/8" x 1 7/8"
5 3/4" x 7 1/4" (photo mat)
I have used DecoFoil - Transfer Gel Duo through Cadence Stencil No. MU03 then set that aside to dry. Once it was dry (ie it was clear) I laid gold Fab Foil on top and ran over it with my brayer, applying even pressure to transfer the foil to the gel.
To create my embellishments I stamped Heartfelt Creations HCPC 3550 - Dahlia Bouquet stamp twice onto a piece of the patterned paper using Versmark Embossing ink, applied StampIt Superfine Black Embossing powder and set it with my heat tool. These were then fussy cut as I don't have the matching die
The flowers were then added to the layout in clusters, one cluster to the top left of the photo and a smaller one to the bottom right of the photo
The title is from Memory Maze's Arrow Words - Kiss Sweet chipboard set. I have coloured it with a black permanent marker and attached it to the layout using glue
Here are a few closeups.
You can see the process video for this layout below
Thank you for spending part of your day here with me today
I hope I have inspired you to get crafty.
Why not pop over to Mystical Scrapbooks and check out the other sketches they have in their Cyber Crop.