Sunday, May 29, 2022

Retro TV Program Competition at Mystical Scrapbooks

Good morning

Today's layout is for week 5 of the Retro TV Program competition over at Mystical Scrapbooks.
You will find the competition here.

The program for this week is Friends.
The colour palette is rainbow, the required item is a Coffee Cup / Champagne Glass, 
you must use glitter on your page and the bonus item from the optional kit is a fabric heart.

Here is my layout


As you can see I have got the rainbow of colours as the background of my layout.
I used Simple Stories - Hello Summer papers for this layout.

I gutted a piece of black cardstock leaving a 1" frame.
My 11 1/2" square piece of Life is Good was attached to the frame using double sided tape.

I watered down both black and white acrylic paints and used my fan brush to create splatters all over my background.

I trimmed my 7" x 5" main photo to 7" x 4 1/2" and filed around the edge 
of each of the three photos with an emery board to add a fine white border.

I cut a piece of Oh Happy Day 8" x 6" and tore along one of the 8" edges.
After inking around the edges I attached my large photo to it.

I wrapped some black & white Twine around my photo three times and tied a knot at the front.

The two smaller photos were matted onto Catching Rays with a 3/16" border on each side.

I added cardboard to the back of each of the photos and attached them to the layout.

I painted my coffee cup chipboard with white acrylic paint. 
When this was dry I added a liberal coat of Art Glitter glue and pressed 
Dress my Craft Rainbow Glitter onto it, making sure it had a nice thick coat.

I added the coffee cup and the fabric heart to the layout using Art Glitter glue

To create the title I used Sizzix 662667 Alphabet die and black cardstock.
I attached the title using Art Glitter glue and my reverse tweezers

To finish the layout off I used my fountain pen to draw a double scribbly border around the page.


You can see my process video here.
I hope you enjoy watching it


Thank you for spending part of your day here with me today

Till next time
Stay safe
Hugs
Julie


Friday, May 20, 2022

Mystical Scrapbooks May Cyber Crop

Good morning

The May Cyber Crop is on this weekend over at Mystical Scrapbooks
You will find it here.

The theme for this month is 1, 2, 3. and there are three challenges.

The challenge my layout is created for is to use 1 piece of chipboard, 2 photos and a 3 word title.

Here is my layout


I have used Colour Blast Limited Editions and Love & Grace papers for this layout

I cut two 2" x 12" piece of Limited Edition - Real Deal
and tore a piece of Love & Grace - Portia to approximately 12" x 10"

Using the Portia paper I applied Modelling Paste through Dusty Attic's Criss Cross stencil

I sprayed Tattered Angels Chalkboard -Teal High Heel to three areas of the paper
and added water to help it to spread out over the page
A light spray with Docraft's Artiste Spritzing Ink - Mint 
adds a little visual dimension to the sprayed colour.

Using the Mint ink and DoCraft Spritzing Ink - Black Night, I added splatters to the background.

Once all of the mixed media was dry, I used StayzOn Jet Black Ink and 
Kazzaz - Life's Moments Background stamp 
to add random stamping to the layout.

I distressed and inked the two pieces of Real Deal paper and 
attached them to the top and bottom of my 
background piece to build it back up to 12" x 12"

I used the Black Night Spritzing ink and a brush to colour a frame 
from Memory Maze Junky Frame & Arrows chipboard pack.
I also sprayed the chipboard with Tattered Angels Glimmermist - Iridescent Gold.
The chipboard is attached to my layout using Art Glitter glue

I have used an emery board to file around the edges of my photos 
and matted them onto black cardstock.
Scrap cardboard was added to the backs of the photos 
before they were attached to the layout overlapping the chipboard.

To create the title I used Kaisercraft DD700 Alphabet Upper Case 
and Die-namics High Rise Numbers dies and black cardstock.

The final touch was to add some white splatters to the background. 
To do this I watered down some white acrylic paint and used my fan brush.


Here is my process video
I hope you enjoy watching it


Thank you for spending part of your day here with me today
Till next time
Stay safe
Hugs
Julie

Sunday, May 15, 2022

Retro TV Program Competition at Mystical Scrapbooks

Good Morning

Today is the start of week 3 of the Retro TV Program Competition at Mystical Scrapbooks

The program for this week is Lassie
The colour palette is Spring Colours
The required item is a flower
The technique is Fussy Cutting
and the optional kit item is twine.

Here is my layout


The papers I have used on this layout are from Cocoa Vanilla's These Days paper collection.

I cut a piece of Family Ties 3' x 12" and 5" x 12" and used both sides to create the two strips down the left hand edge of the layout

An 8" square piece of Home Grown is used to matt my photos.

I have a 5" x 7" photo and two 3" x 4" photos on this layout
I have filed around the edge of each photo with an emery board
before using double sided tape to attach them to the Home Grown paper.

I then took all of my papers to my sewing machine and stitched around the edge of them, including the sheet of Pretty Posies that I am using for my background

I ran a double layer of the twine from the kit along the bottom of my photo panel and then backed the panel with scrap cardboard

Time now to attach all of my papers to the background page.

I have fussy cut some flowers and a butterfly from the Home Grown paper, inked the edges
and used liquid glue to attach them to my page.

A wooden button and a fussy cut pennant added to the 
top right of the photo matt complete my embellishments

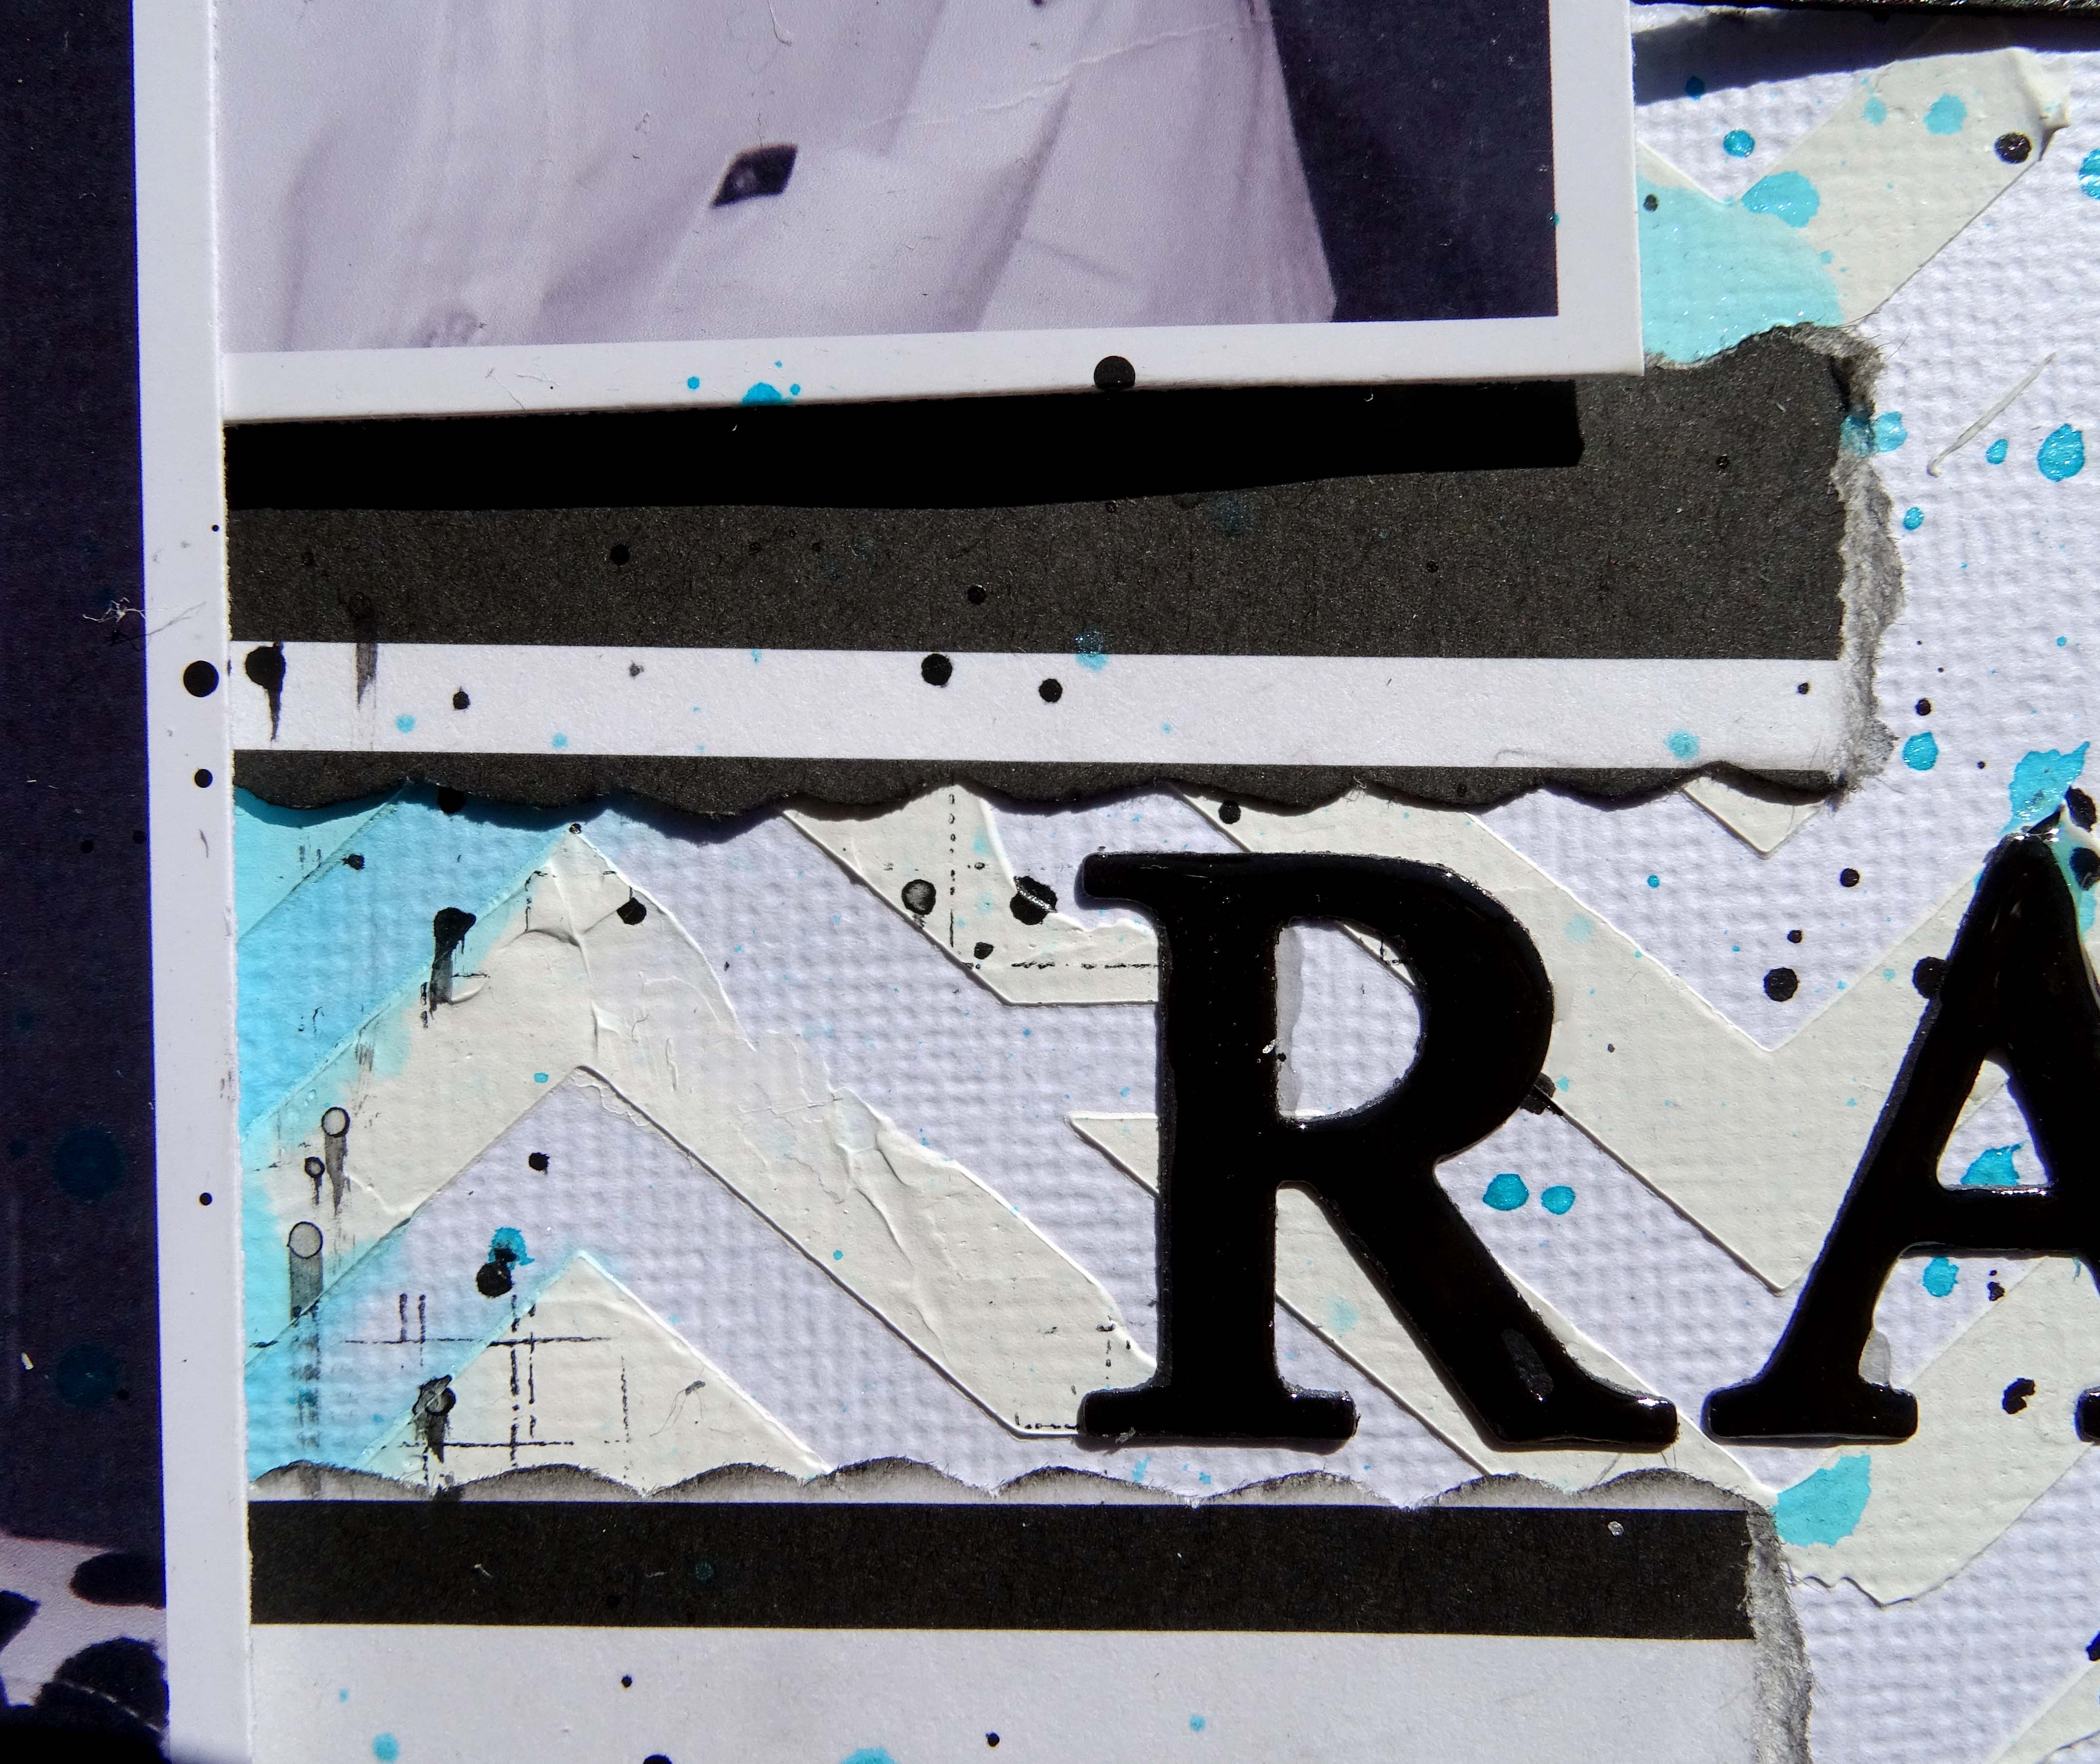
The title is also fussy cut from the papers 
and attached to the layout with some scrap chipboard behind it.

I added some white acrylic paint splatters to finish.


Here is my process video. I hope you enjoy watching it.


As always, thank you for spending part of your day here with me today

Till next time
Stay safe
Hugs
Julie


Friday, May 13, 2022

Off The Rails Scrapbooking May Challenge

Good morning

Today I am sharing the layout I created for the May challenge at Off the Rails Scrapbooking

The challenge for this month is Black & White with only one other colour.
I have chosen blue as my other colour


I have gone with a simple clean layout for this challenge.
The minimalist look seems to be appealing to me at the moment.

I have added Modelling Paste through TCW Chevron stencil 
to the centre section of my white cardstock background. 
I have not been too particular with this application 
as I am looking for a random type of feel.

My colour is added by spraying Tattered Angels Jazz Blue Glimmermist 
at the top of the page and using extra water spray 
to help it run down the centre of the layout 
over some of the Modelling Paste.

When everything was dry I used Kaisercraft's Grid stamp 
and StayzOn Jet Black ink to stamp randomly over the background.


The patterned paper is from 2007, it is by Imaginisce and is 
Striped Sophistication from the Black Tie Optional range.

I tore this into strips using my Deckle edged ruler.
I inked the edges of the strips after I had torn the edges down 
to create an assortment of lengths then 
attached them to my background using Art Glitter Glue


My black & white photos were printed with the white border and measure 3" x 4 1/2".
I have attached pieces of cardboard to the back of the photos before attaching them to my layout.

To embellish the page I have painted 
Scrapmatts CB5156 Triangles 01 chipboard with black acrylic paint.
I cut the chipboard into three pieces and attached it to my page along side each of my photos

I used my fountain pen to draw a double scribbly border around the page.

A little more detail was added to the background by splattering some of the 
Glimmermist and black acrylic paint lightly, mostly to the central area of the layout.

The title was cut from black cardstock using Kaisercraft's DD735 Uppercase Alpha dies.
Once it was attached to the layout using my t ruler, reverse tweezers and Art Glitter Glue
I coated it with Glossy Accents. This gives a beautiful glossy finish when it is dry


Here is my process video. 
I hope you enjoy watching it.


Thank you for spending part of your day here with me today
Till next time
Stay safe
Hugs
Julie


Sunday, May 8, 2022

Fun Fold Purple Cards

Hello hello

Today I am sharing a couple of fun fold cards I created for the 

The program for week one is Bewitched.
The challenge is to use Halloween colours, a witch/broom/cat, add splatters 
and use some of the chipboard stars from the optional kit.

I have not included those elements on my cards but I am using purple as my Halloween colour.

Purple is not a colour I use very often so this is a challenge for me.
The papers come from a paper pad my grand daughter chose when we were shopping for some craft supplies so not even papers I have chosen myself.
I can not tell you the name or brand of the papers 
as I have torn the papers I thought I might use out 
and disposed of the rest of the pad, including the cover

So here are my cards


Let's have a closer look at Card No. 1


The base card is a 5" square gatefold card

I cut a piece of purple cardstock to 10" x 5"
I scored on the 10" edge at 2 1/2" and 7 1/2"
I also cut a piece 3 1/2" x 3". This will be the front panel.

Because the card base is quite dark I have chosen a light coloured patterned paper and cut:-
1 piece 4 3/4" square  (inside back panel)
4 pieces 4 3/4" x 2 1/4" (inside and outside side panels)
1 piece 3 1/4" x 2 3/4" (front loose panel)
1 piece 1 1/2" x 2 3/4" (inside back loose panel)

The light patterned paper is the only layer of paper added to the inside of the card

To break up the two patterned paper layers I used white cardstock.
I cut:-
2 pieces 4 1/2" x 2" (outside front side panels)
1 piece 3" x 2 1/2" (front loose panel)

The dark patterned papers:-
2 pieces 4" x 1 3/4" (outside front panels)
1 piece 2 3/4" x 2 1/4" (front loose panel)

All of the edges were distressed using my distressing tool and purple ink.

Once all of the layers were attached to the card base, I used double sided tape to attache the centre front panel so it was central on the card front, being careful to only apply tape to the section that is attached to the left hand front panel.

To decorate the card I used a flower from my stash 
that I had previously made using Craft Barn's Primrose die.

The sentiment is from Paper Rose's All Occasions Sentiment Sheets. 
I have added this to the card with scrap chipboard behind it for added height.


Now for Card No. 2


I don't know what this style of card is called but the front of it looks like a capital "I"


I cut my purple cardstock base 10 1/2" x 5 1/4"
and scored it at 5 1/4" on the long edge.

I then cut this piece 1 1/4" from the score mark, so my main piece now measures 6 1/2" x 5 1/4" with a score mark at 5 1/4" on the longer edge.

 I cut a 1 1/4" x 5 1/4" piece from the piece I had just cut from my card base, 
this leaves me a piece that is 2 3/4" x 5 1/4". I trimmed that down to 2 3/4" x 5"

The 2 3/4" x 5" piece is used to join the 1 1/4" x 5 1/4" piece to the card base 
by attaching it lengthwise to the top 1 1/4" section and to the loose 1 1/4" piece
 so that it lines up perfectly with the bottom back of the cardbase.

You can see this process in the video below if this description confuses you.

I used the same two patterned papers that I used on the first card but this time I separated the layers with some silver glitter card.

Light patterned paper sizes are:-
2 pieces 5" x 1" (top and bottom front panels)
1 piece 5" x 5" (inside back)
1 piece 2 1/2" x 5" (inside front centre panel)
1 piece 2 1/2" x 2 1/2" (outside front centre section)
4 pieces 1" square (inside top sections)

Silver Glitter paper sizes are:-
1 piece 4 3/4" square (inside back)
1 piece 2 1/4" square (outside front centre section)
2 pieces 4 3/4" x 3/4" (top and bottom front panels)

Dark patterned paper sizes are:-
1 piece 4 1/2" square (inside back)
1 piece 2" square (outside front centre section)
2 pieces 4 1/2" x 1/2" (top and bottom front panels)

Once again the edges the patterned papers (not the glitter card) were distressed 
before being attached to the card base


The sentiment for this card comes from another Paper Rose sentiment pack called 
Big Sentiments 1.0.

I used my Spellbinders nested Standard Circles Large and Standard Circles Small dies
to cut the sentiment and a piece of silver glitter card.
I inked the edges of these and layered them on top of each other before attaching them to
the centre front panel of the card with some cardboard behind it.

So there we have my two cards for today and here is my process video


I hope you enjoy watching my video and it clears up any confusion
 you may have got from my description.

As always, thank you for spending part of your day here with me today

Till next time
Stay safe
Hugs
Julie


Monday, May 2, 2022

Little Golden Book Junk Journal

Good afternoon

Just a quick post today to share a link to the flip through of my Little Golden Book Junk Journal.

I watched several YouTube clips to work out how to create the cover for this journal and then went about adding pages and decorating it.

This journal is probably not as "Pretty" as I would have created if the story had of been a little more feminine, but I am very happy with it.

I have included lots of different textures and elements.

You will find my video below, hope you enjoy it.


Thank you for spending part of your day here with me today

Till next time
Stay safe
Hugs
Julie