Good morning to you,
Today I am sharing three cards that use velum.
There is a process video for you to watch here if you would like to see how they came together.
All of the cards use a white card base that is 130mm x 130mm (5 1/8" square)

The first card

I cut a piece of pink cardstock 5" square, to this I added a piece of fine pale pink ribbon about 2/3rds of the way down from the top.
Using Translucent velum, Wow Opaque Bright White embossing powder, Versamark Embossing Ink and my heat tool I heat embossed all five flowers in the Heartfelt Creations Daisy Patch Flower stamp set. I repeated this same process with the leaf from the Heartfelt Creations Delicate Aster stamp set to make two leaves.

These were then fussy cut. I made two flowers by layering the three larger flowers to make one flower and the two smaller ones to make the other. The leaves were a single layer.
A clear gem was added to the centre of each of the flowers to complete them.
I used the same embossing technique to emboss the "hello" greeting onto another piece of the translucent velum. I used my Kaisercraft Nesting Rectangles die to cut the greeting out.
To attach the velum embellishments to the card I used Aleene's Original Tacky Glue behind the areas that had embossing on them so the glue could not be seen from the front of the card.
To finish the card off I used a white Signo Gel pen to add faux stitching to the edge of the pink cardstock and the greeting velum.
The second card.

I heat embossed the large flower image and leaves onto some of the same translucent velum that I used on the previous card but this time I used gold embossing powder. They were then fussy cut.
Using alcohol markers I coloured the back of the velum. I used Vivid Green and Nile Green for the leaves, Pale Pink, Pastel Pink and Pastel Violet for the flower and Lemon Yellow for the flower centre.


I chose a piece of opaque white velum with a self pattern in it for the background of the card. I cut this velum to 5 1/8" square so it was the same size as the card base
All of the embellishments were then attached to this velum piece using 3M Velum tape. This is a special tape to use with velum that, when applied correctly, does not show through the velum. It is important when using the velum tape to burnish it very well.
The velum panel was then attached to the card base using glue behind the floral embellishment.
The Congratulations greeting was heat embossed on to a piece of the pink cardstock that I used on the first card with gold embossing powder. It was then cut to 5/8" x 2 3/4". A piece of gold cardstock was cut to 3/4" x 2 7/8" and the pink cardstock, with the greeting on it, was attached to the centre of the gold cardstock. The greeting was then attached to the card with foam tape.
A gold gel pen was then used to add faux stitching to the outer edge of the velum card panel.
The third card

This card is the easiest of the three.
The front panel of the card is brightly coloured velum which has been cut to the same size as the card base.
I then cut the daisy in a frame die from Gold Mirror Card and attached it to the centre of the velum piece.

Adding glue to the back of the velum behind the pattern allowed me to attach the colourful velum to the front of the card.
I cut two of the congratulations die in white cardstock and layered them on top of each other to give the greeting a little more sturdiness and then attached the greeting to the top centre of the card with glue.

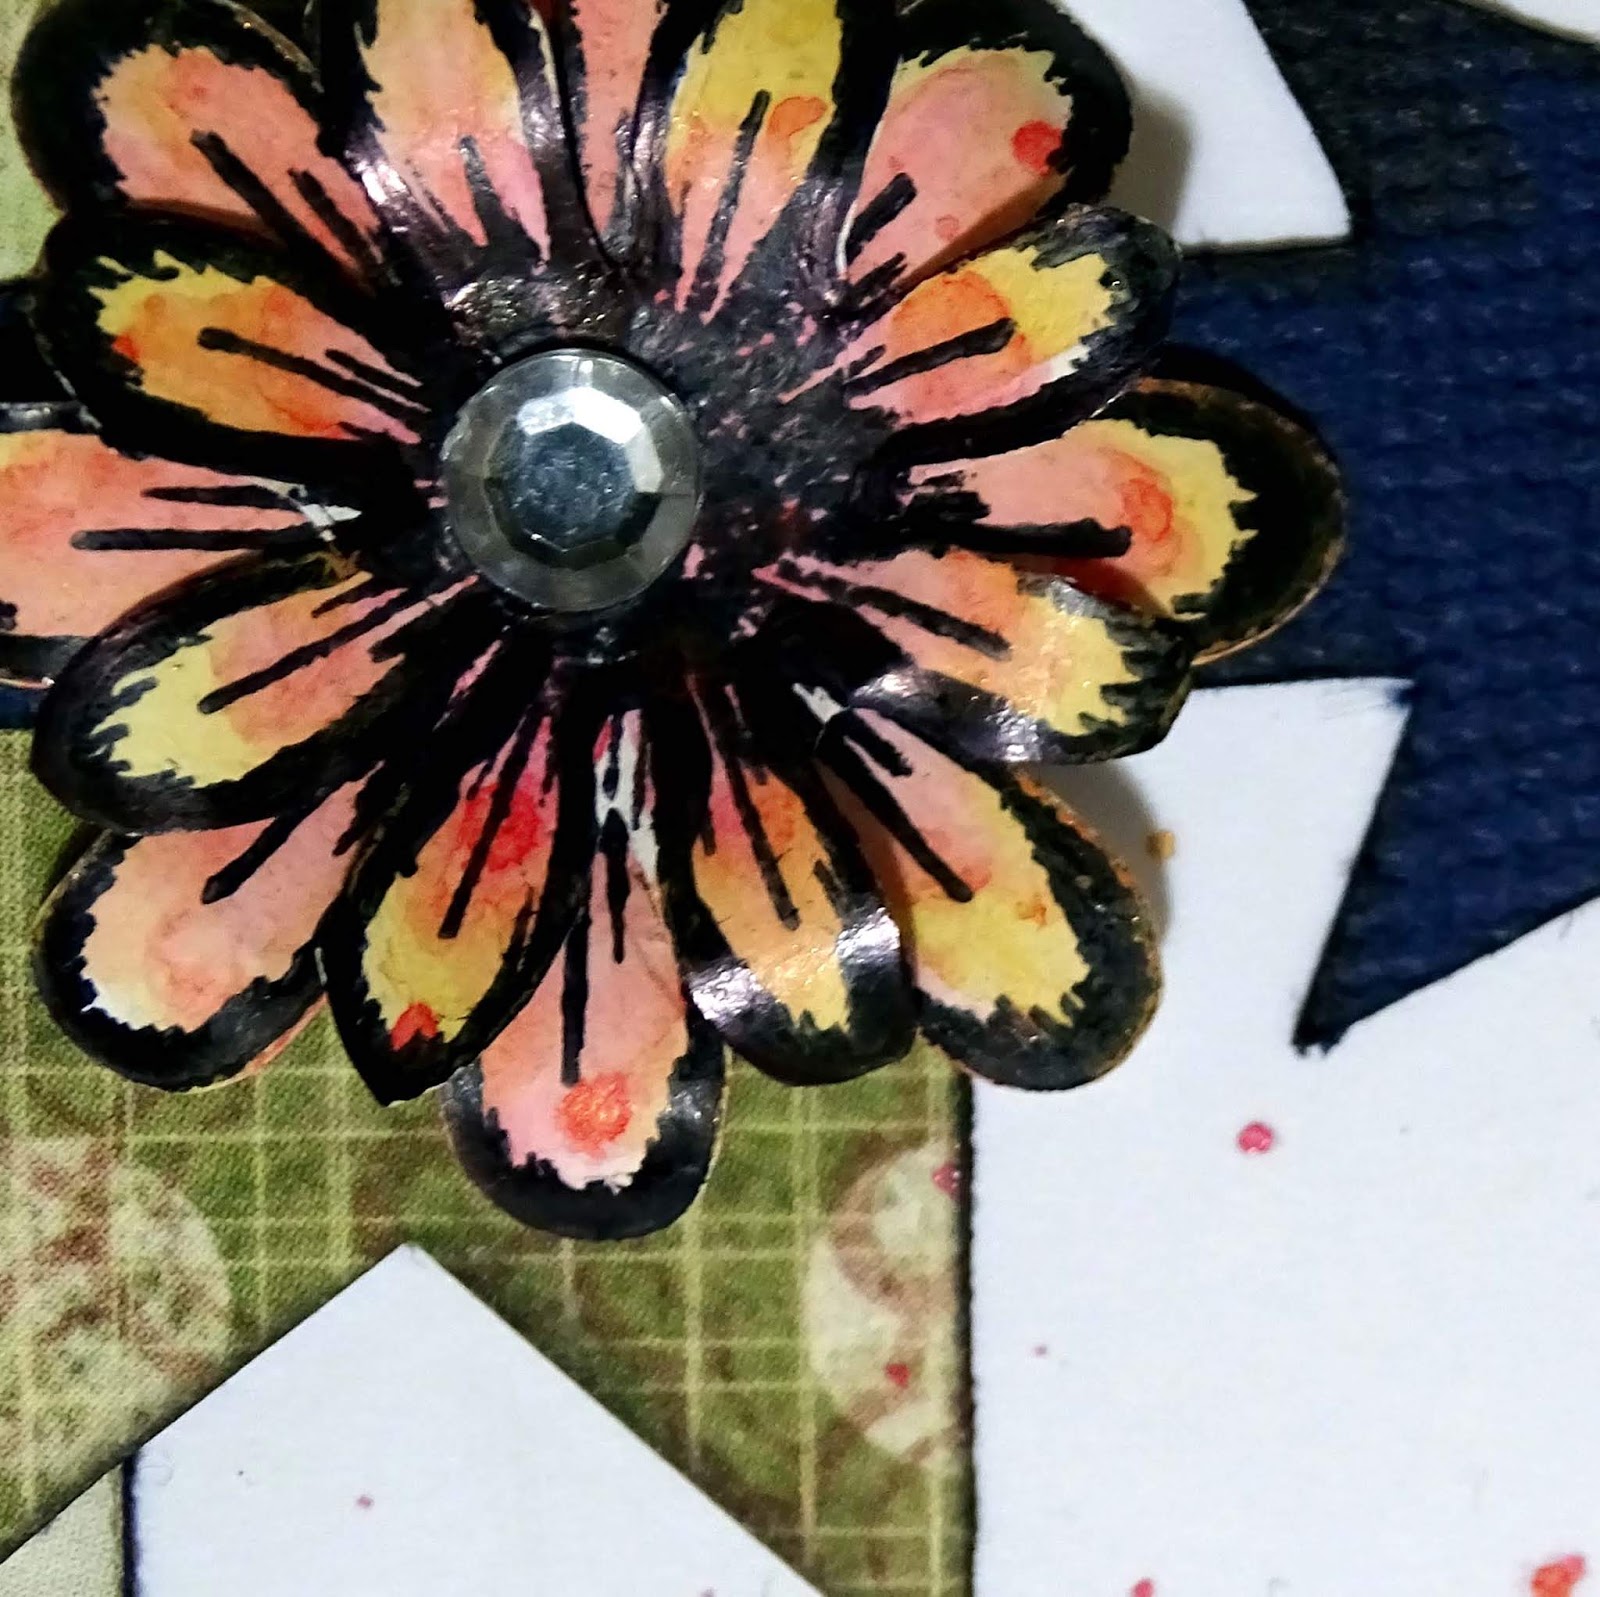
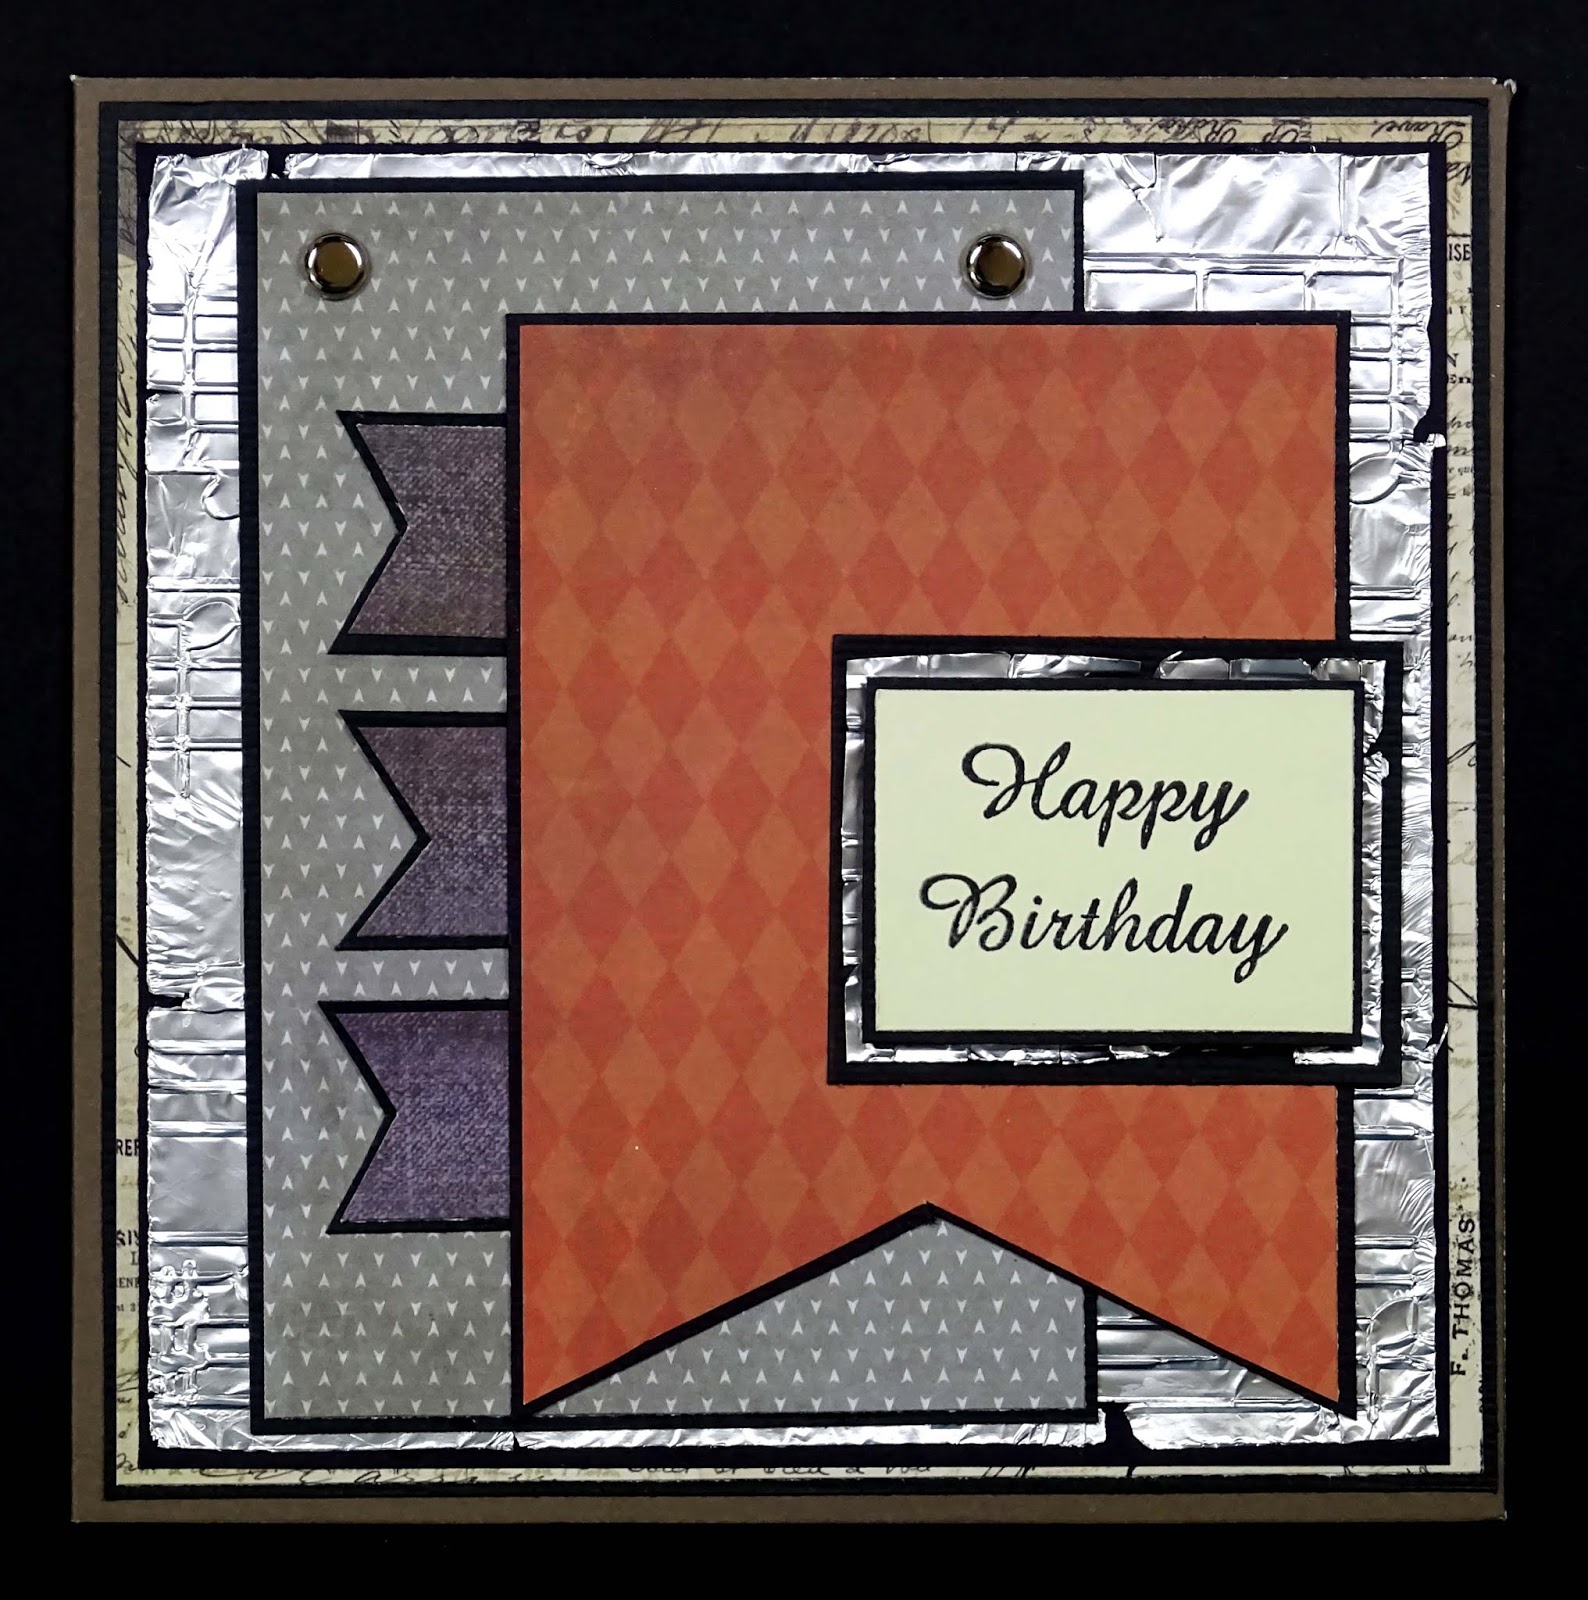
As a bonus card, and this is not on the video, I saved all of the gold pieces I pushed out of the die cut used on this card.

I cut a piece of pink patterned paper to 5" square, inked around the edges of it with black ink and attached that to my card base.
Then I die cut the same daisy image from some plain pink cardstock and paper pieced the gold pieces from the previous card into the pink die cut
I heat embossed happy birthday onto some of the same plain pink cardstock with gold embossing powder, trimmed it to size, inked around the edge of it then matted it on some of the same paper I used for the background layer. This panel was then attached to the top centre of the card with foam tape.
I hope you have enjoyed reading about my velum cards today. I have heaps of velum and I plan on using it more often. If you have any ideas on how to use velum please let me know in the comments because I am always looking for new ideas.
Don't forget to pop over and watch the video
Thanks for dropping by today
Till next time
Hugs
Stay Safe
Julie
Today I am sharing three cards that use velum.
There is a process video for you to watch here if you would like to see how they came together.
All of the cards use a white card base that is 130mm x 130mm (5 1/8" square)

The first card

I cut a piece of pink cardstock 5" square, to this I added a piece of fine pale pink ribbon about 2/3rds of the way down from the top.
Using Translucent velum, Wow Opaque Bright White embossing powder, Versamark Embossing Ink and my heat tool I heat embossed all five flowers in the Heartfelt Creations Daisy Patch Flower stamp set. I repeated this same process with the leaf from the Heartfelt Creations Delicate Aster stamp set to make two leaves.

A clear gem was added to the centre of each of the flowers to complete them.
I used the same embossing technique to emboss the "hello" greeting onto another piece of the translucent velum. I used my Kaisercraft Nesting Rectangles die to cut the greeting out.
To attach the velum embellishments to the card I used Aleene's Original Tacky Glue behind the areas that had embossing on them so the glue could not be seen from the front of the card.
To finish the card off I used a white Signo Gel pen to add faux stitching to the edge of the pink cardstock and the greeting velum.
The second card.

I heat embossed the large flower image and leaves onto some of the same translucent velum that I used on the previous card but this time I used gold embossing powder. They were then fussy cut.
Using alcohol markers I coloured the back of the velum. I used Vivid Green and Nile Green for the leaves, Pale Pink, Pastel Pink and Pastel Violet for the flower and Lemon Yellow for the flower centre.


I chose a piece of opaque white velum with a self pattern in it for the background of the card. I cut this velum to 5 1/8" square so it was the same size as the card base
All of the embellishments were then attached to this velum piece using 3M Velum tape. This is a special tape to use with velum that, when applied correctly, does not show through the velum. It is important when using the velum tape to burnish it very well.
The velum panel was then attached to the card base using glue behind the floral embellishment.
The Congratulations greeting was heat embossed on to a piece of the pink cardstock that I used on the first card with gold embossing powder. It was then cut to 5/8" x 2 3/4". A piece of gold cardstock was cut to 3/4" x 2 7/8" and the pink cardstock, with the greeting on it, was attached to the centre of the gold cardstock. The greeting was then attached to the card with foam tape.
A gold gel pen was then used to add faux stitching to the outer edge of the velum card panel.
The third card

This card is the easiest of the three.
The front panel of the card is brightly coloured velum which has been cut to the same size as the card base.
I then cut the daisy in a frame die from Gold Mirror Card and attached it to the centre of the velum piece.

I cut two of the congratulations die in white cardstock and layered them on top of each other to give the greeting a little more sturdiness and then attached the greeting to the top centre of the card with glue.

As a bonus card, and this is not on the video, I saved all of the gold pieces I pushed out of the die cut used on this card.

I cut a piece of pink patterned paper to 5" square, inked around the edges of it with black ink and attached that to my card base.
Then I die cut the same daisy image from some plain pink cardstock and paper pieced the gold pieces from the previous card into the pink die cut
I heat embossed happy birthday onto some of the same plain pink cardstock with gold embossing powder, trimmed it to size, inked around the edge of it then matted it on some of the same paper I used for the background layer. This panel was then attached to the top centre of the card with foam tape.
I hope you have enjoyed reading about my velum cards today. I have heaps of velum and I plan on using it more often. If you have any ideas on how to use velum please let me know in the comments because I am always looking for new ideas.
Don't forget to pop over and watch the video
Thanks for dropping by today
Till next time
Hugs
Stay Safe
Julie