I have torn one long edge of each of these paper strips, inked the edges with my black Versacolour ink cube and layered them onto my white card stock background so each layer slightly overlaps the one below it.
I have fussy cut several flowers from the Garden Variety sheet of patterned paper to embellish my page.
To fill the stamping requirement I used the zig zag stamp from Kaisercraft's Bow & Arrow stamp set to stamp with Versamark Ink and heat emboss with clear embossing powder to areas of the background that would not be covered by my photos
The title was cut using Kaisercraft's Alphabet Upper Case die set from the Sun Shower patterned paper
I also used the Sun Shower patterned paper to cover the chipboard arrow from the optional kit before I attached it to the layout
Here is the process video
That you for spending part of your day here with me today
A very quick post today to show you three cards I made using layered flowers as the focal points
All of the cards are 5" square and have been cut from 240gsm smooth white cardstock.
The decorative paper is from Kaisercraft's Dream Big 6" paper pad.
Card No. 1
This card is a Z fold card.
The front white cardstock panel is 3.25" square.
The featured flower is stamped and heat embossed using Heartfelt Creations Daisy Patch Flowers stamp, black pigment ink and clear embossing powder.
After fussy cutting the flowers they were shaped using my flower shaping tool and layered onto the front panel. A rhinestone gem finished the flower off.
The sentiment was stamped using one of the stamps from Woodware's Word Fragments clear stamp pack.. This was heat embossed and layered onto some white cardstock and another layer of the pink patterned paper. This was attached to the card front just below the flower with chipboard behind it to give it some extra height.
Card No. 2
I cut a piece of cardstock 5" x 5" and stamped and heat embossed the background of daisies. I do not know the name of the stamp I have used here. I stamped it with black pigment ink and heat embossed with clear embossing powder.
I trimmed this piece down to 4.5" square and cut a piece of gold mirror board to 4.75" square and layered them onto the front of the card.
For the focal point I stamped and heat embossed two flowers using Embossing Arts Co. 192-GB Giant Flowers stamp cube. This stamp is from 2001 so I don't think it would still be available. The flowers were then fussy cut, shaped, layered onto each other and attached to the front of the card in the bottom left section.
A rhinestone gem finished off this flower.
The sentiment is from Uniquely Creative and came in a kit. I have cut the sentiment from the page and cut a fishtail in one end.
Card No. 3
I cut a 5" square piece of cardstock and stamped and heat embossed Woodware's Five Daisies onto this cardstock and another scrap piece of cardstock.
I used some Anko Watercolour Brush Pens, that I purchased at Kmart and had been wanting to try, to colour both sets of flowers and the leaves on the 5" piece of cardstock.
Once the flowers were coloured I fussy cut the ones that were on the scrap cardstock.
I trimmed the 5" piece of cardstock to 4.5" and cut a piece of orange cardstock to 4.75" to layer between the card front and the stamped panel.
After shaping the fussy cut flowers they were layered on top of the other flowers using foam squares.
The sentiment on this card is from my computer generated greeting sheet and has been matted on a piece of the orange cardstock and attached to the card front with a piece of chipboard behind it.
So there we have my three cards for today.
Here is the video if you would like to watch the cards come together.
Thanks for spending part of your day here with me today.
Today's share is an Art Journal page I created because I wanted to play with my Alcohol Inks
I used glossy card and Adirondack Blending Solution for all of my combinations.
The four colour combinations I created are
Reds
Paper Mill Mandarin, Paper Mill Poppy, Paper Mill Citrus and Paper Mill Platinum
Purples
Paper Mill Amethyst, Paper Mill Lavender and Adirondack Mixative Gold
Pinks
Paper Mill Pearl, Paper Mill Fuchsia Shimmer, Paper Mill Magenta Shimmer, Paper Mill Rose and Paper Mill Rose Quartz
Blues/Greens
Paper Mill Winter Lake, Paper Mill Ocean Blue Shimmer, Paper Mill Lime Green Shimmer, Paper Mill Sea Breeze Shimmer and Paper Mill Brass Shimmer
To create the background for the page I attached sewing pattern tissue with Mat Medium, scrunching it as I applied it to the page.
A coat of black acrylic paint was added when the gel medium was dry.
I sponged some white acrylic paint through a Crafters Workshop stencil called Reverse Chickenwire randomly to the page.
Using a Deep Red stamp called Bubbles Background, I stamped with gold pigment ink and then heat embossed with clear embossing powder in several areas.
With a dry stiff brush I dry brushed some gold acrylic paint over the whole page.
I used my Spellbinders Hexagon dies to cut two sizes of hexagons from the alcohol ink cardstock
I played around with placement until I was happy then attached the hexagons to the page using Heavy Gel Medium.
A fine black paint marker was used to give each hexagon a faux stitched border.
I used my Kaisercraft Upper Case Alphabet dies to cut "DAY" from some of the left over alcohol ink card and printed the rest of the quote from my computer. These were attached to the page using Gel Medium.
A page border was created using some slightly watered down white acrylic paint in a Fineline bottle.
You can watch my process video here
Thanks for spending part of your day here with me today.
Today I want to share with you three cards I have made using the April theme of Black +1 at Mystical Scrapbooks
All of these cards are the same slimline size of 8.25" x 4" which fit nicely into our DL envelopes.
Each card has been cut from an A4 sheet of black 240gsm cardstock.
I have cut the cards 8" x 8.25", scored and folded at 4" on the 8" edge.
This leaves an off cut that is suitable to cut a 7.75" x 3.5" panel from to use as a front panel on each card.
Each card also has a gold mirror card panel that is 8" x 3.75" that is layered between the card base and the black cardstock panel.
The first two cards a very quick to create, the third card (a shaker) took a little more time but not that long really.
Let's start with this card
Card No. 1
I have applied DecoFoil Transfer Gel Duo through Studio Calico's Bubbles mask with my palette knife.
Once this had dried I laid a sheet of Fab Foil in gold over the top of it and burnished it using my brayer.
The sentiment has been heat embossed with gold embossing powder, trimmed and matted on some of the gold mirror board. This was attached to a piece of chipboard before being attached to the centre front of the card.
Card No. 2
The front panel for this card was run through my big shot with an embossing folder. I am not completely sure but I think this embossing folder is from Kaisercraft but any embossing folder will give the same results.
I then used my finger to apply a couple of light coats of Metallique Wax in White Gold to the raised areas of the panel. A few light coats is better than a heavy coat so the wax does not get down into the crevices of the embossed pattern.
The sentiment was once again heat embossed with gold embossing powder, matted with gold mirror card and attached to a piece of chipboard before being attached to the bottom right section of the card front.
Card No. 3
A shaker card.
I used my Scan N Cut to cut 3 white panels and one black panel to create the window for the shaker compartments.
I layered these panels on top of each other with a sheet of acetate between the stack of white panels and the black panel which is at the top of the stack.
The gold mirror card panel was attached to the card base.
I then added a mixture of gold and black superfine glitter, on top of the gold cardstock, where the shaker windows would be and used a good amount of glue to attach the black panel on top of that.
I used my Scan N Cut once again to cut gold circles to frame the shaker windows.
Today's post is just a quick one to share with you a flip through video of a Folio I made using some of the supplies I received in my April DT kit from KS4U.
KS4U have two stores and you will find them here & here.
The theme for the month is Black + 1 and my added challenge is to add at least one patterned paper that you have made yourself.
You can create your patterned paper in many different ways. I have stamped on a plain cardstock to create mine but you could use paste through a stencil to create an all over pattern, use ink through a stencil, add watercolours using the packaging technique, heat embossing and alcohol inks can also be used to create patterns on plain cardstock or even lightly patterned cardstock.
I filed around the edges of the photo, which is 8" x 5" then double matted it on the blue which is 8.25" x 5.25" and black which is 8.5" x 5.5" I added a piece of foam between the two mats.
To create the flower embellishments I stamped, using Embassy Arts Giant Flowers stamp block, and heat embossed two flowers on the Real Deal paper and one on the blue cardstock. These were then fussy cut and had a piece of chipboard added to the back.
I used a couple of pieces of chipboard to embellish my layout. A tab from Dusty Attics Mini Tabs #2 and a heart from Memory Maze's Criss Cross Heart Set. These were given a coat of Baby blue acrylic paint. The tab was later changed to black using a permanent marker.
A piece of ribbon and a couple of rows of bling were also added to finish off the embellishing.
The title was cut using Tim Holtz Inside Out alpha die from the blue cardstock and attached to the top left of the layout.
Here is the process video
Thank you for spending part of your day here with me today
This is the mood board and the challenge is to use sewing on your project
This is the layout I have created
All of the patterned papers have the edges inked using a black Versa Color ink cube.
There are only two patterned papers used on this layout, they are both from DCWV 12" paper pads.
One is from the Get it Girl pad and the other is from the Fairytale Floral pad.
From the first paper I cut a 1" frame that is 12" x 12" to create a frame for my white cardstock background. The white cardstock measures 11 3/8" x 11 3/8"
I also matted my photos so they had a 1/8" border on all sides with this paper
From the second paper I cut the waves using my Scan N Cut. The wave cut file is in Canvas Workspace under the Borders section. I cut four of these. This actually gave me 8 rows of waves because when you turn the negative of the cut upside down they are waves too.
I cut a piece of the same patterned paper to 11 3/8" x 3" to attach my waves to so that the white background did not show through the waves. The waves were then attached to this piece so they slightly overlapped. I alternated the two different styles of waves so they did not form a pattern.
This assembly was then attached to a piece of chipboard so it will be raised up from the background when it is attached.
Before I attached the wave assembly I made holes 1/4" in, on three sides of the white background cardstock. These holes were 1/4" apart and made it easy for me to hand stitch a border. I used two strands of white, two strands of light grey and two strands of dark green embroidery floss to do this.
Once my border was finished I attached the wave assembly to the bottom of the white cardstock background.
My matted photos were then attached to the page so the smaller photo was tucked slightly under the waves and the larger photo was tucked slightly under the smaller photo
I printed my journaling onto some of the same patterned paper I used for the waves and cut them into circles using my Spellbinders Standard Circles Small die. I was looking for a bubble effect. I used two strands of the dark green embroidery floss to stitch around the edges of these circles.
The title was also cut on my Scan N Cut using the same paper as the photo mats. The font I have used is Cairo. I seem to have taken a shine to this font of late.
The final touch for this page was to sprinkle some green/blue sequins around and attach them to the page with a dot of glue. I was looking for a bubble/glistening effect with these.
So there we have my page for today
Here is my process video
Thank you for spending part of your day here with me today
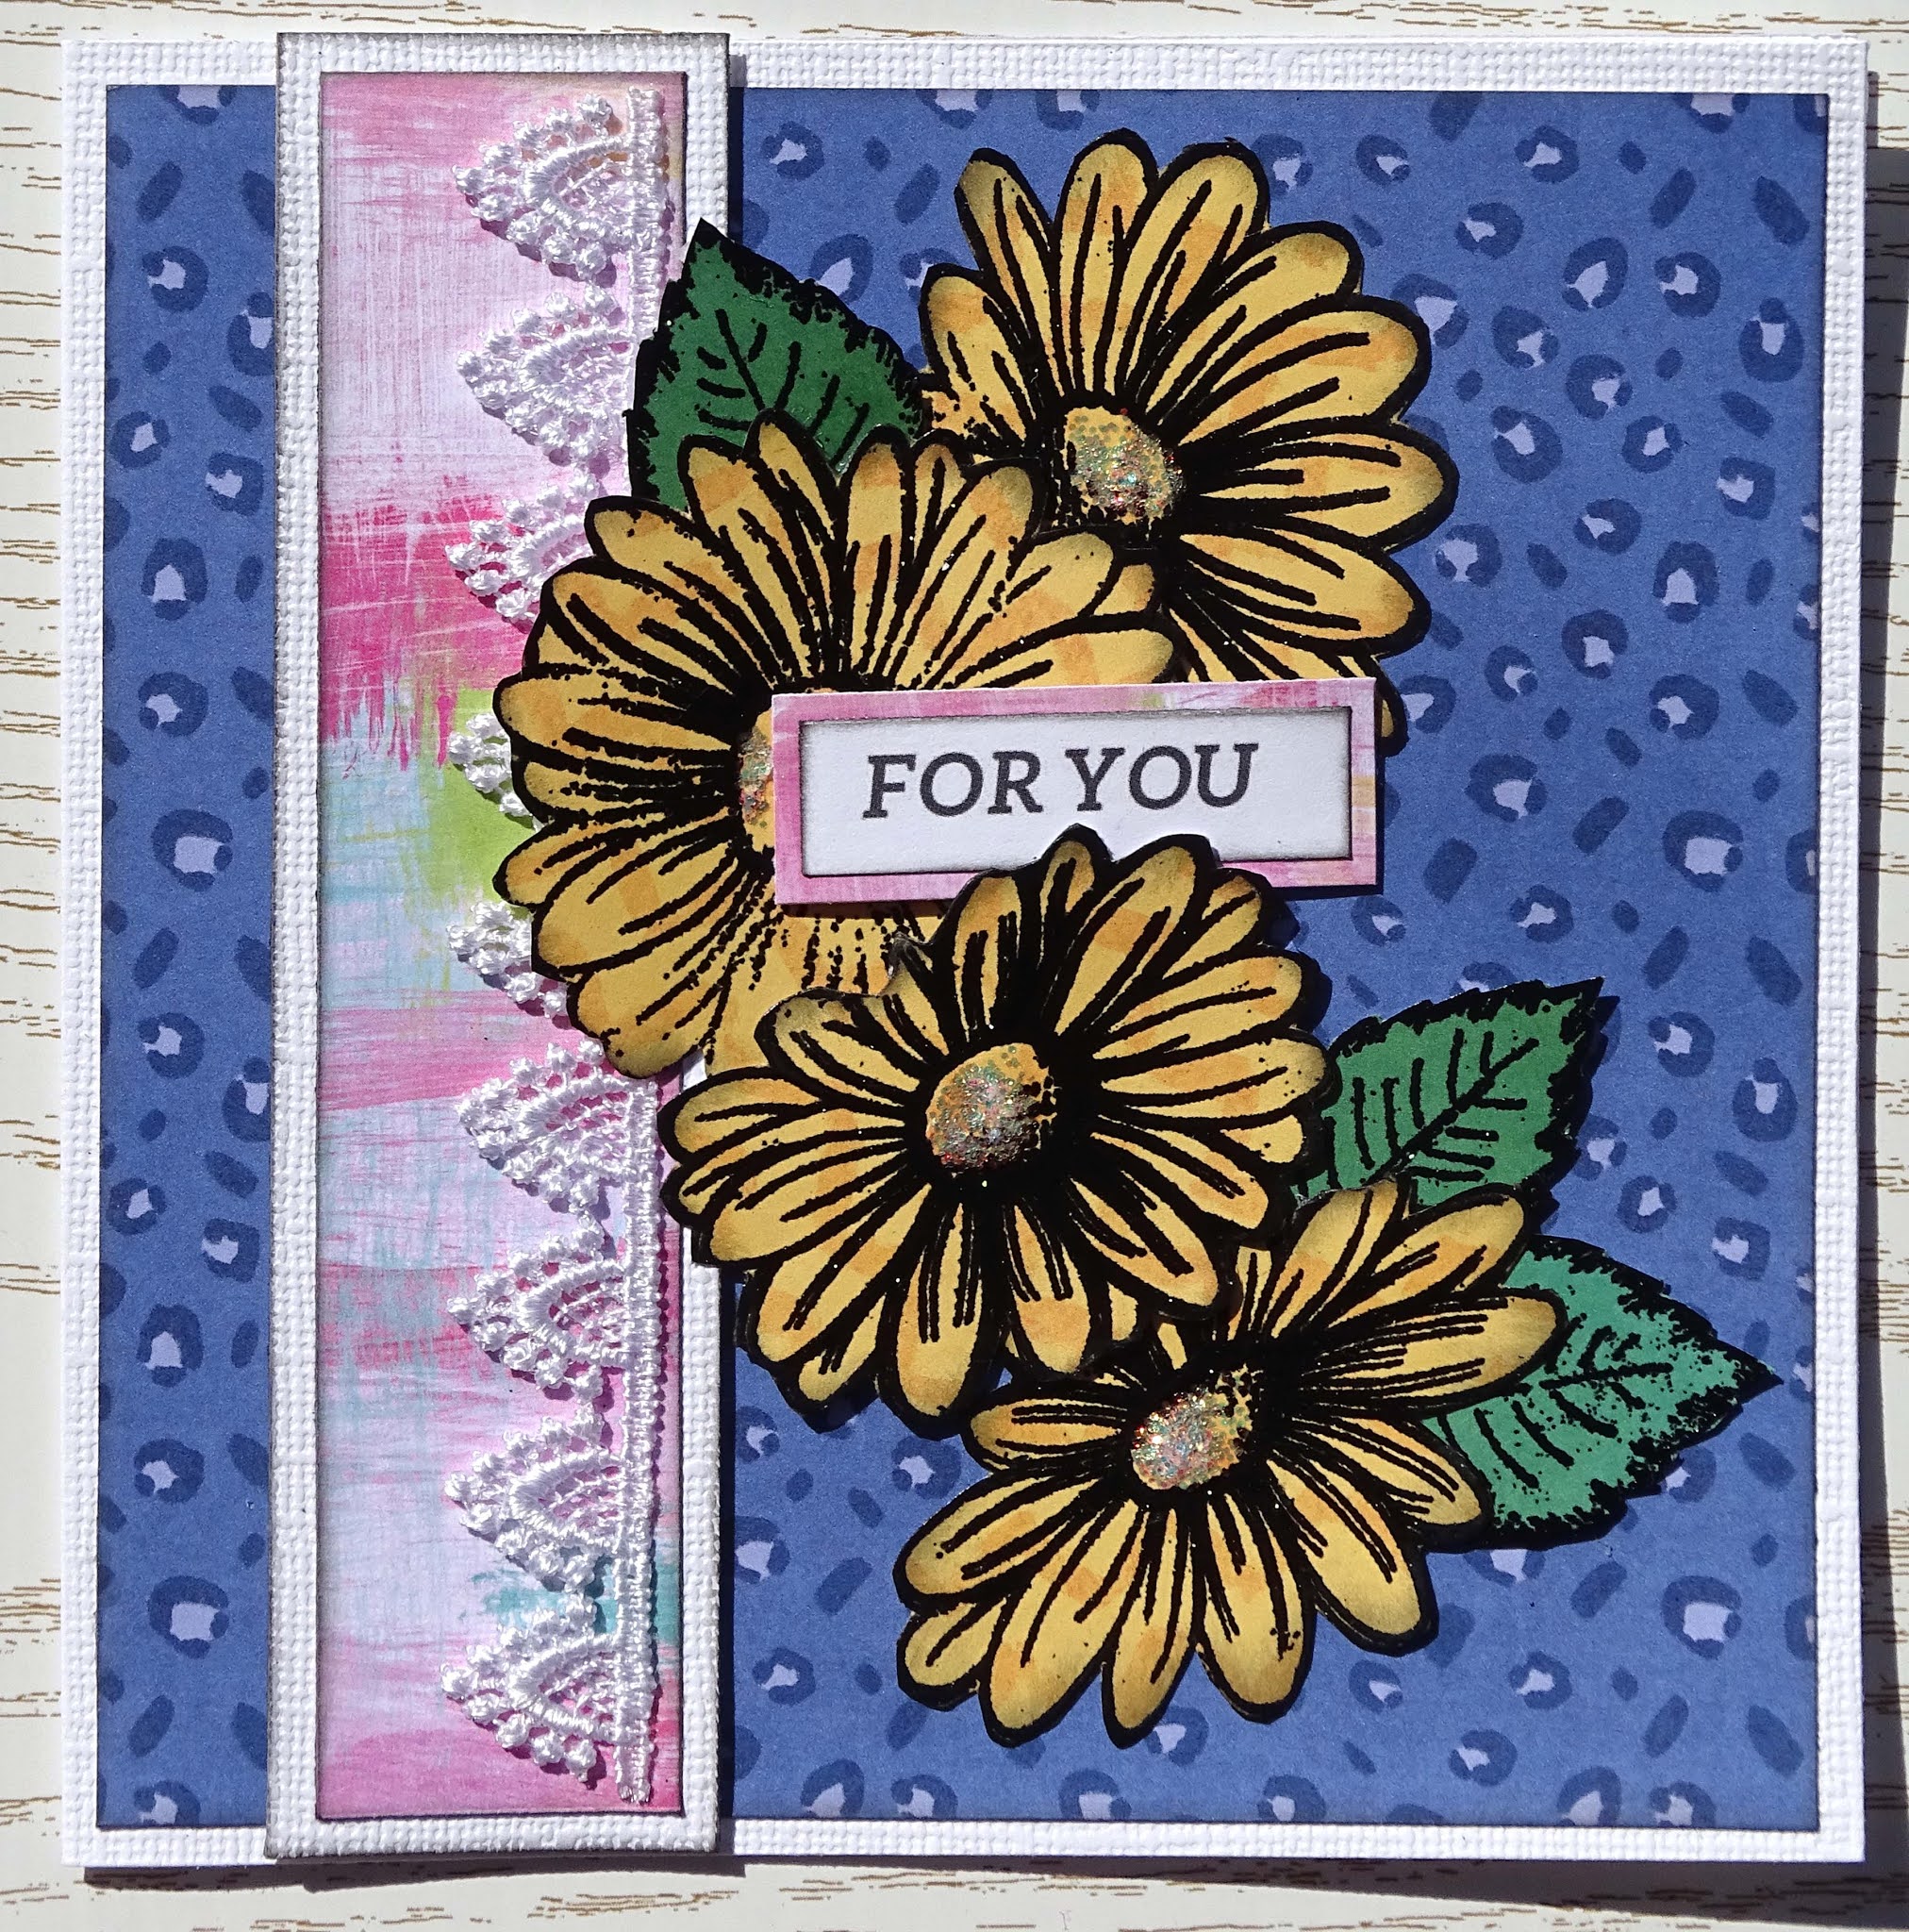
Time now to add the layers to the card starting with the blue background paper, the strip panel which was attached to a piece of chipboard before being added to the card front and then the flowers and leaves. Some of the flowers and leaves are also mounted on chipboard.
The sentiment is from a branding strip from a patterned paper I used some time ago. This has been matted on the Feeling Fine paper that I used for the vertical strip and attached to the card front with chipboard behind it.
To add some glimmer to the card I filled the flower centres with Ice Stickles
Card No. 2
This card is 4" x 8.25" and uses a pink card base.
The card base was cut to 8.25" x 8" and scored and folded at 4" on the 8" edge.
The pink cardstock had one edge punched using a Martha Stewart punch then trimmed to 1" x 8".
The Just Chillin paper was cut using Sizzix Lace Scallop edge die and trimmed to 8" long.
To create the sentiment panel I used Spellbinders Classic Scalloped Circles Small dies to cut a pink and a Just Chillin circle. The sentiment is from my computer generated printout and matted on some of the pink cardstock.
For a tough of glimmer I added Ice Stickles on top of the sentiment and smeared it all over the sentiment with my finger.
Card No. 3
This card is 5" square and uses a yellow card base
I cut 4 pieces of white cardstock, one is 4.75" square, one is 3 7/8" square, one is 1.75" x 2" and the last one is 1 5/8" x 4.75" with a fishtail cut in one end.
From plain yellow cardstock I cut one piece 4" square, one piece 5" x 1 1/8" and one piece 1 7/8" x 2 1/8".
Why not check out their Facebook page, they have lots of beautiful projects to inspire you from all types of artisans.
The card bases were created by cutting down a 12" x 12" sheet of 240gsm white cardstock.
All of the patterned papers for these cards came from a 6" x 6" paper pad from Authentique - collection called Original.
The burlap sheet is from Uniquely Creative.
All of the papers have been inked with Versa Color black ink
These are my cards for today.
We will start with this card.
This card is 5.25" square.
The dark blue patterned paper is 5" square
There are two pieces of burlap 1" x 4.75"
The diamond patterned paper is 4" x 4.75"
The greeting was stamped using the Happy Birthday stamp from Kaisercraft's Factory 42 stamp set.
I have heat embossed it with Rangers Embossing Antiquities powder - Colbolt.
The sentiment was stamped onto white cardstock which was trimmed to 2.5" x 1.5" and matted onto a piece of the dark blue patterned paper that measure 2.75" x 1.75"
I fussy cut 8 of the diamonds and used foam to mount them over the top of some of the diamonds on the background paper.
The sentiment was attached to the card using foam tape
Card No. 2
This card is 5.25" square
The navy patterned paper was cut to 5 1/8" square
I used a stamp from The Creative Stamp Collection Pty Ltd (EC172 Star) and Cream embossing powder to heat emboss the stars randomly onto the navy patterned paper.
I have had this stamp for close to 20 years so it is probably no longer available.
I used my Nellie's Multi Frame Star die to cut 1 star 2.75", 3 stars 2.25" and 4 stars 7/8"
The large star and one of the small stars was cut from burlap
A piece of navy spot paper was cut to 1.25" x 4.75" and matted on a piece of white cardstock so a 1/16" boarder showed all around. This was attached to the card using foam tape. The stars were attached to the card front using an assortment of foam tape and glue so some are risen and some are flat on the card front.
To create the sentiment I stamped and heat embossed Hero Arts (C5594) Happy Birthday stamp using the same embossing powder I used for the stars on the background
The sentiment was trimmed to 2.75" x 7/8" and matted on a piece of white cardstock giving a 1/16" border. This was attached to the card using foam tape.
The small navy star on top of the large burlap star was given a coat of Glossy Accents.
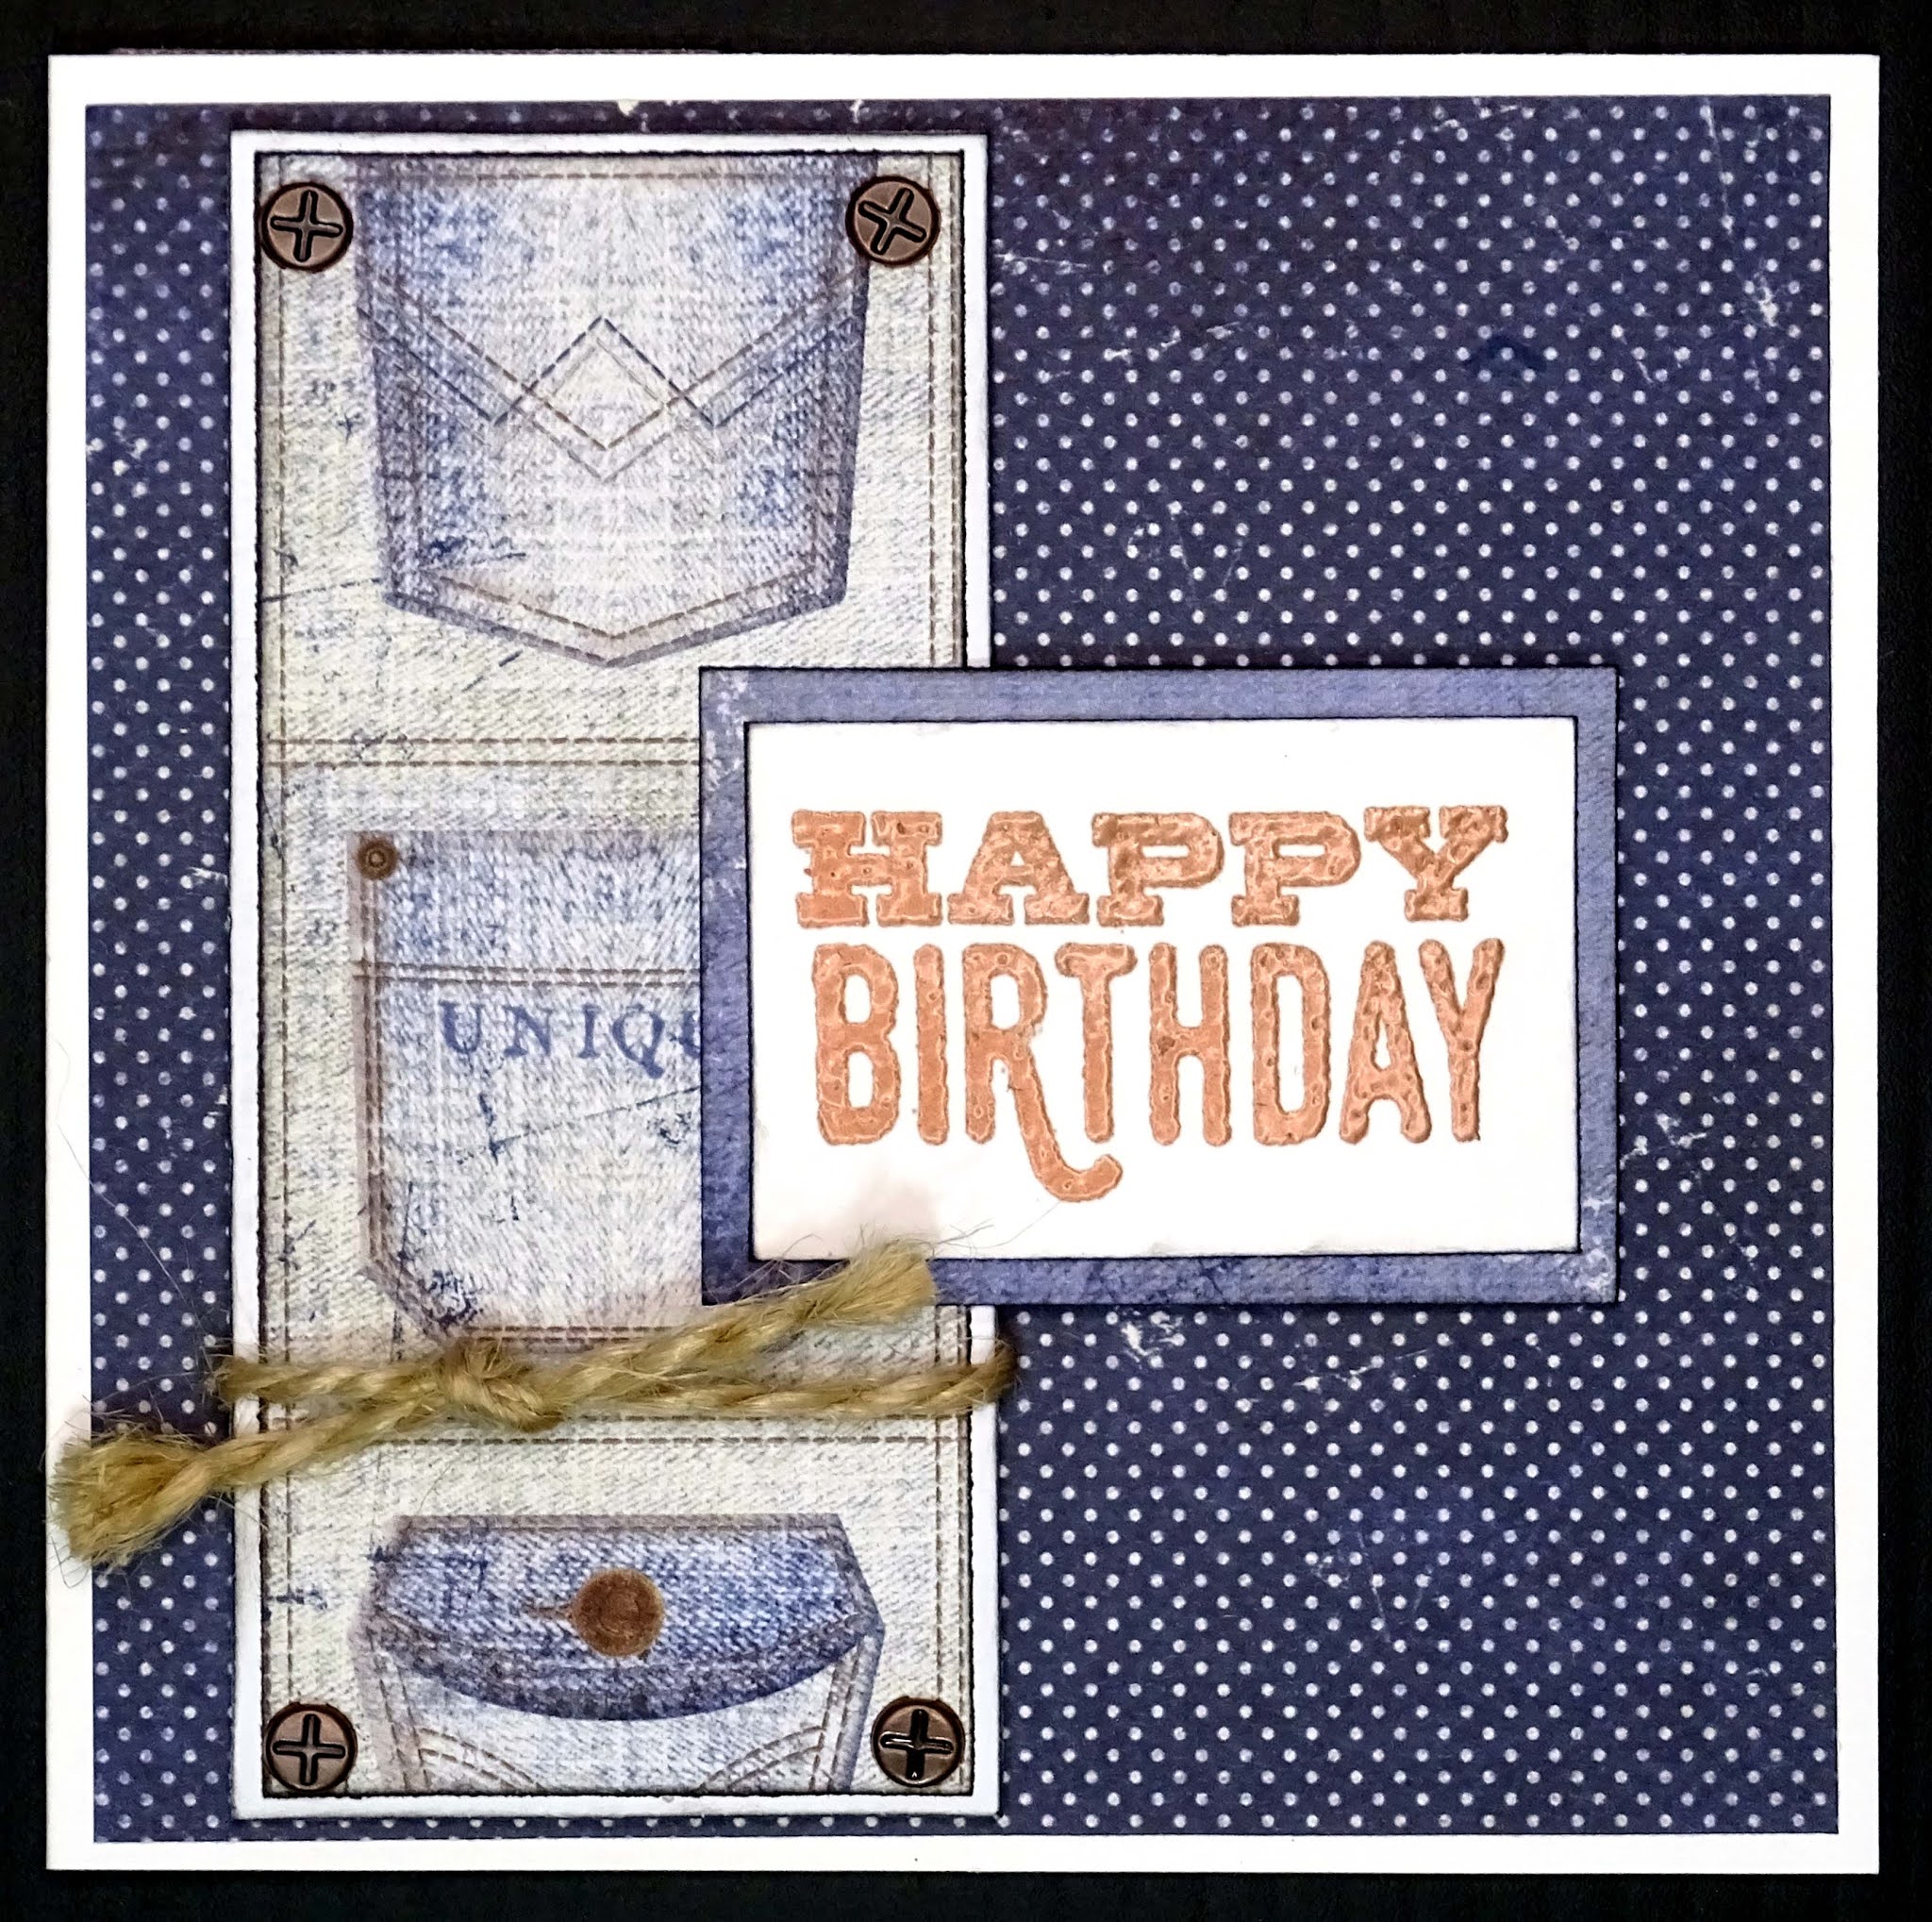
Card No. 3
This card is 5" square
The navy spot patterned paper is 4.75" square
The pocket patterned paper is 2" 4.5"
The white cardstock that the pocket patterned paper is matted on is 2 1/8" x 4 5/8"
Once the pocket paper was attached to the white cardstock mat, I added a copper brad to each corner.
I also tied a piece of string around this panel and secured it with sticky tape on the back.
The panel was then added to the card front using foam tape.
The sentiment uses the same stamp as the first card and has been heat embossed using Copper embossing powder on white cardstock
The sentiment was trimmed to 2.25" x 1.5" and matted on some denim colours patterned paper which had been trimmed to 2.5" x 1.75".
This was attached to the front of the card using foam tape.
So there we have my cards for today. I hope you enjoyed reading about them.
You can see the process video below
Thank you for spending part of your day here with me today
Today's layout is for the April challenge over at Mystical Scrapbooks.
The theme for the month is Black +1 and this challenge is to use 3 elements from this grid. The elements must be in a line on the grid. The line can be horizontal, vertical or diagonal.
For my layout I have chosen pink for my plus one and the three elements are Fussy Cutting, Tag and Chipboard (diagonal top left to bottom right)
The paper I have used on this layout is Uniquely Creatives's Serendipity- Happiness
I tore two opposing edges of the Black Cardstock, cut two strips of the Happiness patterned paper to 1.25" x 12", inked around three edges of the patterned paper and attached those to the top and bottom of the black cardstock to make it back to 12" x 12"
I fussy cut the two floral clusters from the edge of the Happiness paper, inked around the edges and attached them to the sides of the layout with glue.
I filed around the edge of my photos and matted them on bright pink cardstock (Heartfelt). They were then attached to the layout using double sided tape. I was careful to place the tape on the bottom photo so that my tag would be held in place when it was inserted.
I used my Scan N Cut to cut a tag from the Happiness paper and a mat from the Heartfelt cardstock. After inking the edges I used glue to attach one layer on top of the other. Using my Crop-O-Dile I add a pink heart eyelet to the tag. To finish the tag off I added some bright pink Rik Rac. My journalling is handwritten on the tag and the tag tucks under the right hand edge of the bottom photo.
The title was also cut from the Heartfelt cardstock. I used the negative to place my letters evenly on the top right area of the layout. The title then had a coat of Glossy Accents to give it a nice shine.
The chipboard butterflies are from the Memory Maze Wire Butterfly Set. I have painted them with acrylic paint. Once they were dry I added some Dress My Craft Frosted Sugar Powder to the bodies of the butterflies. I was not that happy with this as the sugar powder is a bit too chunky, I think something a bit finer, like glitter would have been a better choice
You can see my process video below
Thank you for spending part of your day here with me today