The challenge is to use Halloween colours, a witch/broom/cat, add splatters
and use some of the chipboard stars from the optional kit.
I have not included those elements on my cards but I am using purple as my Halloween colour.
Purple is not a colour I use very often so this is a challenge for me.
The papers come from a paper pad my grand daughter chose when we were shopping for some craft supplies so not even papers I have chosen myself.
I can not tell you the name or brand of the papers
as I have torn the papers I thought I might use out
and disposed of the rest of the pad, including the cover
So here are my cards
Let's have a closer look at Card No. 1
The base card is a 5" square gatefold card
I cut a piece of purple cardstock to 10" x 5"
I scored on the 10" edge at 2 1/2" and 7 1/2"
I also cut a piece 3 1/2" x 3". This will be the front panel.
Because the card base is quite dark I have chosen a light coloured patterned paper and cut:-
1 piece 4 3/4" square (inside back panel)
4 pieces 4 3/4" x 2 1/4" (inside and outside side panels)
1 piece 3 1/4" x 2 3/4" (front loose panel)
1 piece 1 1/2" x 2 3/4" (inside back loose panel)
The light patterned paper is the only layer of paper added to the inside of the card
To break up the two patterned paper layers I used white cardstock.
I cut:-
2 pieces 4 1/2" x 2" (outside front side panels)
1 piece 3" x 2 1/2" (front loose panel)
The dark patterned papers:-
2 pieces 4" x 1 3/4" (outside front panels)
1 piece 2 3/4" x 2 1/4" (front loose panel)
All of the edges were distressed using my distressing tool and purple ink.
Once all of the layers were attached to the card base, I used double sided tape to attache the centre front panel so it was central on the card front, being careful to only apply tape to the section that is attached to the left hand front panel.
To decorate the card I used a flower from my stash
that I had previously made using Craft Barn's Primrose die.
The sentiment is from Paper Rose's All Occasions Sentiment Sheets.
I have added this to the card with scrap chipboard behind it for added height.
Now for Card No. 2
I don't know what this style of card is called but the front of it looks like a capital "I"
I cut my purple cardstock base 10 1/2" x 5 1/4"
and scored it at 5 1/4" on the long edge.
I then cut this piece 1 1/4" from the score mark, so my main piece now measures 6 1/2" x 5 1/4" with a score mark at 5 1/4" on the longer edge.
I cut a 1 1/4" x 5 1/4" piece from the piece I had just cut from my card base,
this leaves me a piece that is 2 3/4" x 5 1/4". I trimmed that down to 2 3/4" x 5"
The 2 3/4" x 5" piece is used to join the 1 1/4" x 5 1/4" piece to the card base
by attaching it lengthwise to the top 1 1/4" section and to the loose 1 1/4" piece
so that it lines up perfectly with the bottom back of the cardbase.
You can see this process in the video below if this description confuses you.
I used the same two patterned papers that I used on the first card but this time I separated the layers with some silver glitter card.
Light patterned paper sizes are:-
2 pieces 5" x 1" (top and bottom front panels)
1 piece 5" x 5" (inside back)
1 piece 2 1/2" x 5" (inside front centre panel)
1 piece 2 1/2" x 2 1/2" (outside front centre section)
4 pieces 1" square (inside top sections)
Silver Glitter paper sizes are:-
1 piece 4 3/4" square (inside back)
1 piece 2 1/4" square (outside front centre section)
2 pieces 4 3/4" x 3/4" (top and bottom front panels)
Dark patterned paper sizes are:-
1 piece 4 1/2" square (inside back)
1 piece 2" square (outside front centre section)
2 pieces 4 1/2" x 1/2" (top and bottom front panels)
Once again the edges the patterned papers (not the glitter card) were distressed
before being attached to the card base
The sentiment for this card comes from another Paper Rose sentiment pack called
Big Sentiments 1.0.
I used my Spellbinders nested Standard Circles Large and Standard Circles Small dies
to cut the sentiment and a piece of silver glitter card.
I inked the edges of these and layered them on top of each other before attaching them to
the centre front panel of the card with some cardboard behind it.
So there we have my two cards for today and here is my process video
I hope you enjoy watching my video and it clears up any confusion
you may have got from my description.
As always, thank you for spending part of your day here with me today
I used my Distress Tool and Black ink to distress the edges of all of the patterned papers.
The patterned papers are then attached to the two card panels.
I have used double sided tape but you could also use glue if you wish.
I attached the smaller piece of cardstock to the larger piece of cardstock by attaching a piece of 1/2" double sided tape at both ends of the 10 3/4" piece of cardstock and layering it on top of the other piece so the larger section, of the 10 3/4" piece, is on the top of the card and the right hand edge is approx 1/2" from the right hand edge of the bottom panel.
The fussy cut piece is attached to the 3 1/4" x 2 1/4" piece of cardstock.
This is then attached to the front of the card with sticky backed foam behind it.
I have scored and folded the 7" piece at 4 1/4" and the 4" piece at 1".
The smaller piece of cardstock is attached to the right hand edge of the larger piece so the fold butts up to the right hand edge and it is centred between the top and bottom of the card
I attached the chipboard to the front of the card, next I layered a 4" strip if white lace and a fussy cut floral cluster from the same patterned paper.
The patterned papers are attached to the pocket and the insert with double sided tape.
Before adding the patterned paper to one side of the insert use liquid glue to attach a piece of lace to make it easier to take your tag in and out of the pocket.
I used a circle die to cut a part circle from the top of the pocket.
You could use a circle punch if you prefer.
To embellish the insert I fussy cut the castle from the patterned paper and attached it to the front.
The back is for your personal message and/or to attach a gift card.
To embellish the front of the pocket I used liquid glue
to attach 5 rows of lace to the bottom 3/4 of the pocket.
A piece of chipboard foliage, that has had a coat of Gesso, was layered onto of the lace
and a fussy cut floral piece was added on top of that.
My layout today is for the April Cyber Crop over at Mystical Scrapbooks. You will find the crop here.
This month the theme is colour palettes and for this particular challenge you can choose any colour you like but your project has to be monochromatic, meaning you can use any number of shades of your chosen colour with a minimal amount of black and white.
I added Modelling Paste coloured with Starfish Glimmermist through TCW Two Hearts stencil.
This added a lot of pink to the background and minimised the white.
I splattered the background with Artiste Spritzing Ink in Black Night, Glimmermist Cherub Pink and Glimmermist Iridescent Gold
The final addition to the background was random stamping using Versafine Onyx Black Ink and Kazzaz Reason Season Lifetime, Kaisercraft Grid and Kaisercraft Numbers stamps.
I cut two strips of deep pink and two strips of pale pink cardstock to 1/2" x 12, inked the edges with my Versa Color Black Ink cube and attached them to each other with the light pink on top and about 1/4" of the dark pink showing above it.
I added a torn strip of pink washi tape to each of these strips and a pice of pink glitter washi layered on the first washi tape.
These were attached to the top and bottom of my page.
I used double sided tape to attach these to the centre of my layout, layering them on top of each other, widest paper on the bottom working up to the narrowest paper.
I also added two small strips of the glitter washi so they will poke out from
behind the photo when I attach it.
I am using a 6" x 4" photo, I have filed around the edge of the photo with an emery board before attaching it to a 6 1/4" x 4 1/4" piece of the dark pink cardstock.
To give my photo some lift I have added a piece of sticky backed craft foam before attaching it to the layout slightly above centre.
To embellish my layout I have fussy cut a doily from Serendipity - Carefree and selected several items from Uniquely Creative's Gums & Roses Creative Cuts pack.
I have inked the edges and attached them to my layout
The title is a tag from the Creative Cuts pack, I have added some pink ribbon and attached it to the layout with sticky backed craft foam behind it
Here is my process video if you would like to check out
Don't forget to check out the Cyber Crop, they are always fun and there are prizes to be won.
Thank you for spending part of your day here with me today
Today's layout features five photos. This is not something I do very often but I have lots of photos of our visit to Monaro Zoo and our "Feeding the Giraffes" experience and I wanted to fit them onto a two page layout.
I reduced the size of my photos and cropped them so only the important parts of the photo were left.
The Giraffe feeding photos will be on the second page of this two page layout.
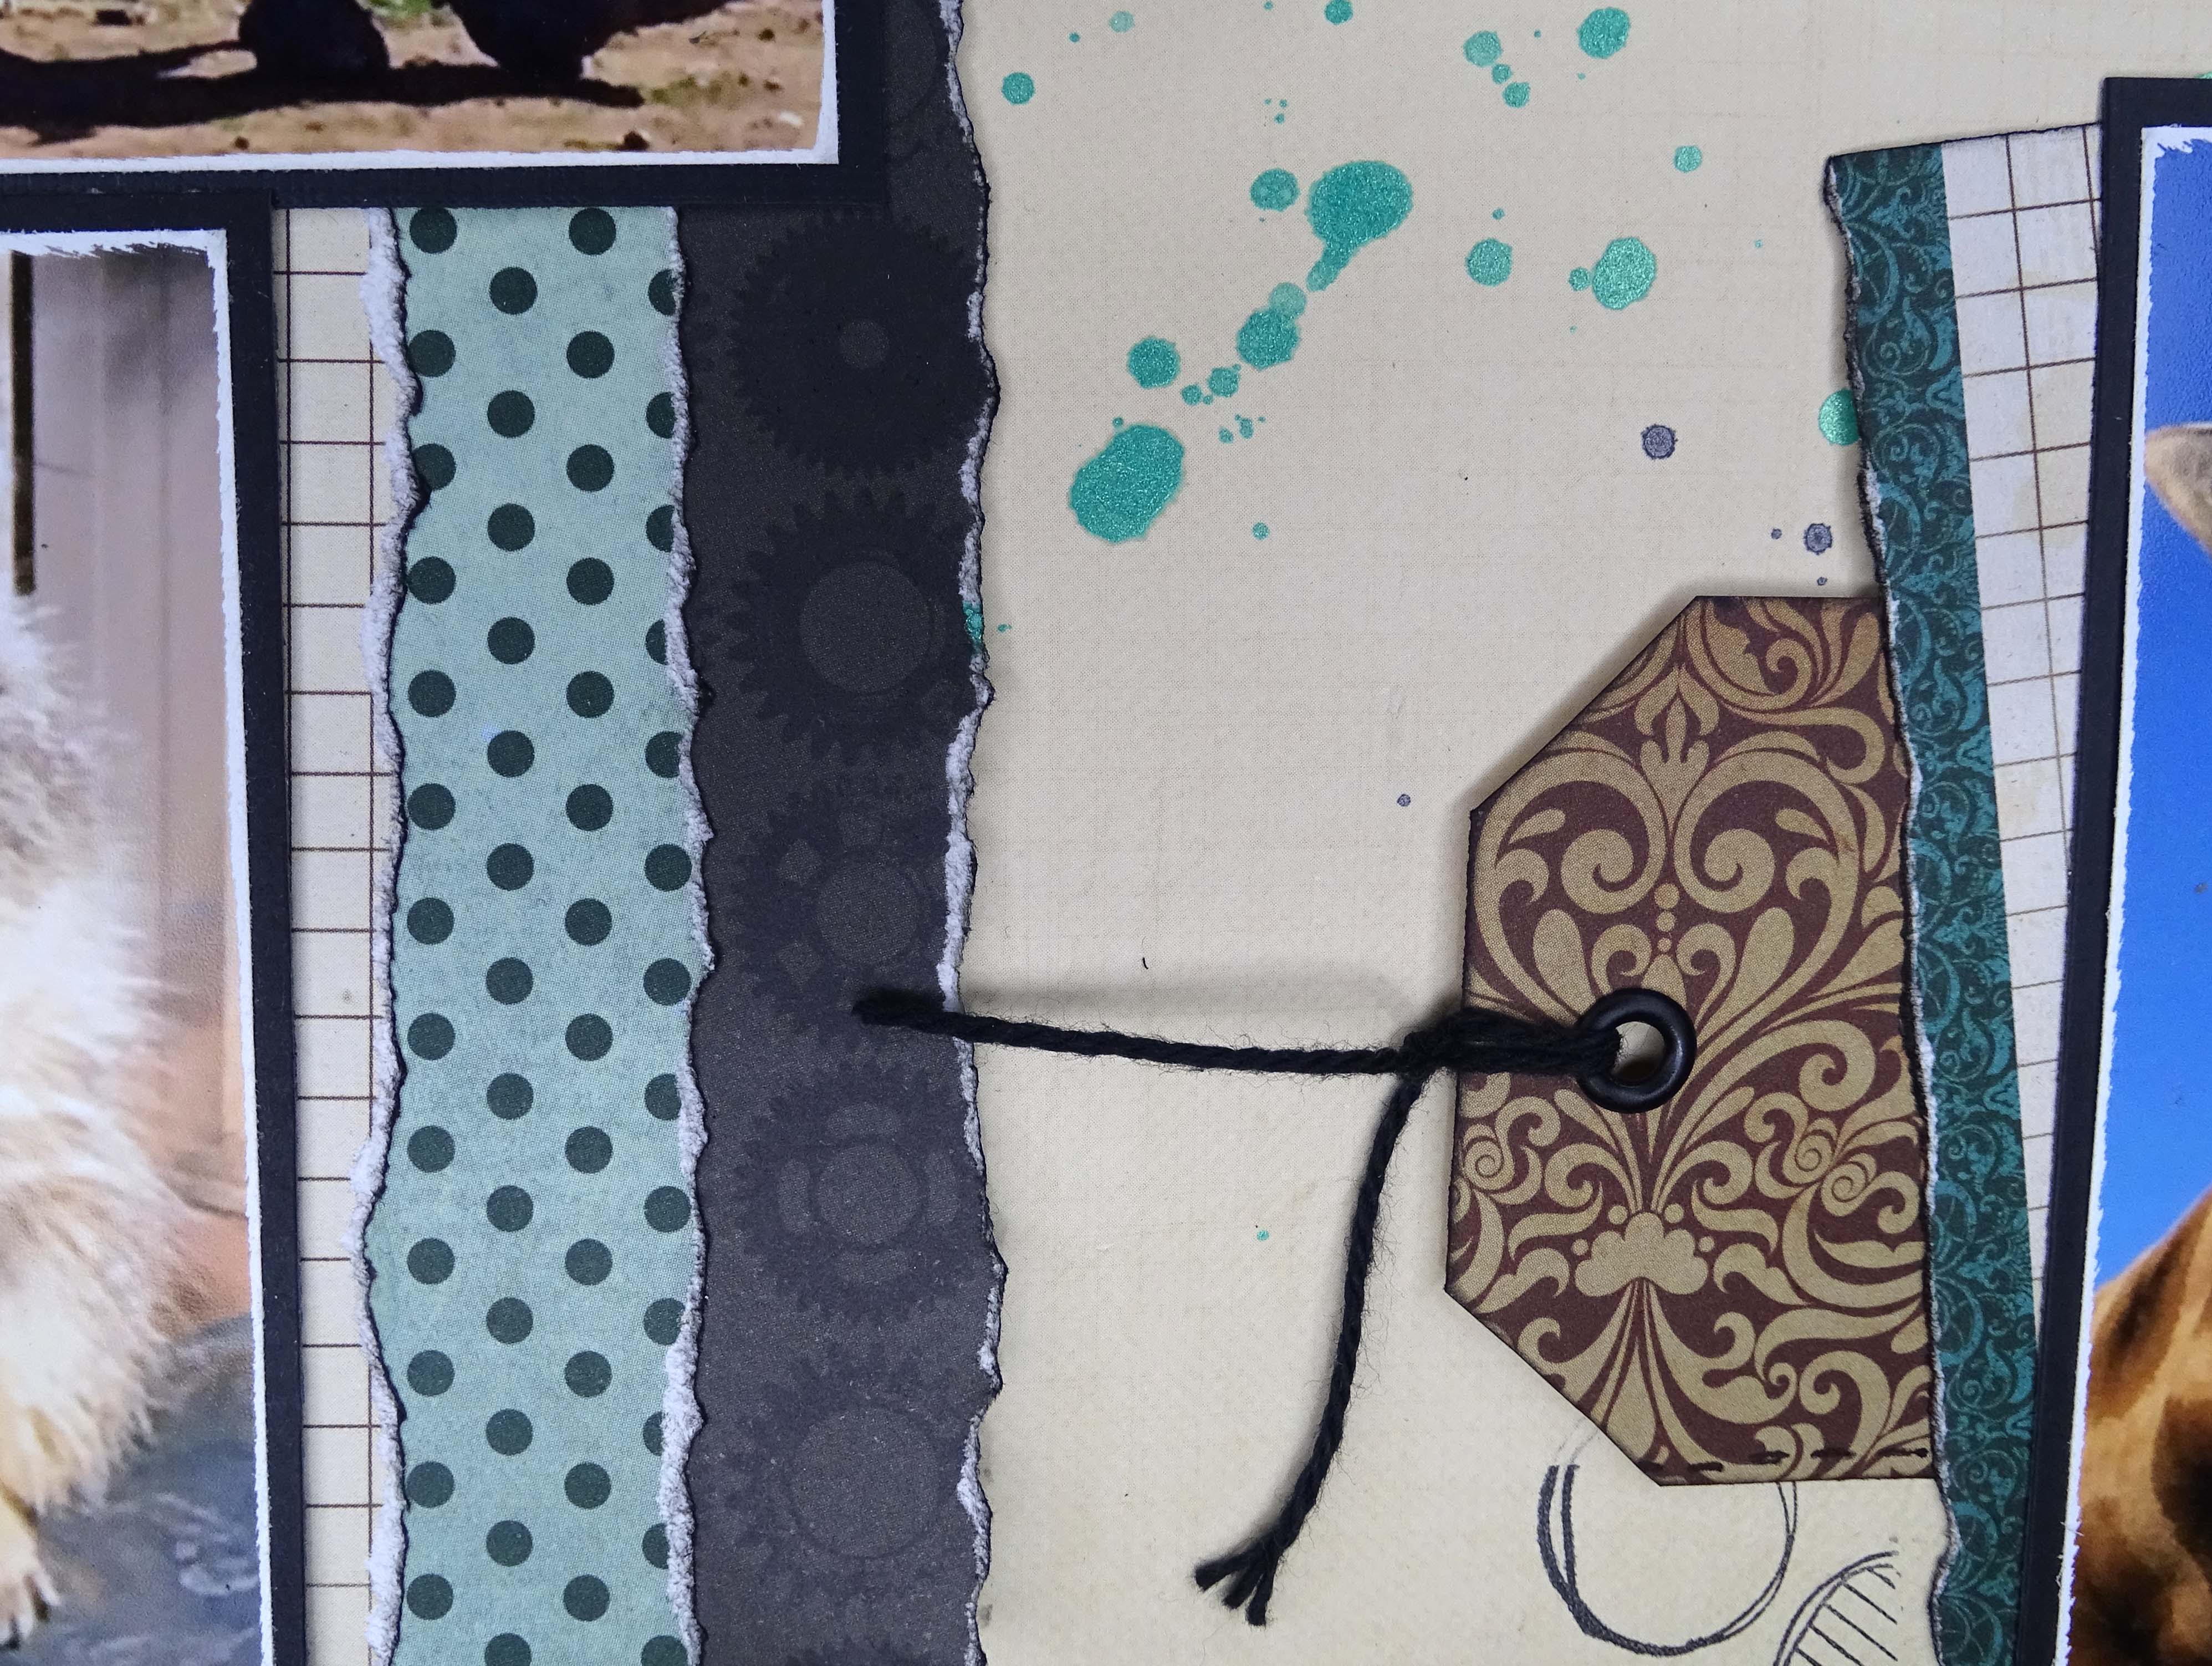
I have used Kaisercraft Belle Collection - Angel paper for my background.
The other papers I have used are Kaisercraft Time Machine Collection papers.
To create the strips to go under my photos I cut:-
Dylusions Anatomy of a Page stamp set randomly on my background.
I created two tags from the Iron Clad paper, added a black eyelet and some black crochet cotton.
A piece of the Iron Clad patterned paper that had the branding strip attached was cut to 4" x 2", the branding strip edge was torn and inked and attached to the giraffe photo on a slight angle.
Now that all of my elements are ready I attached them to the background.
I die cut he title using Kaisercraft's DD700 Alphabet Upper Case Dies and Mechanism patterned paper.
I used my reverse tweezers and liquid glue to attach the title to the page.
I thought the page need something more so I trimmed the background down to 11" x 12" and added a strip of Iron Clad to the left and right hand edge of the layout to build it back up to 12" square.
A faux stitched line along the left and right hand edge of the cream background finished this layout off.
You can watch me create this page in this video, things do not always go smoothly.
Hope you enjoyed my video
As always, thank you for spending part of your day here with me today